
How to Convert a Regular Bread Recipe for a Bread Machine?
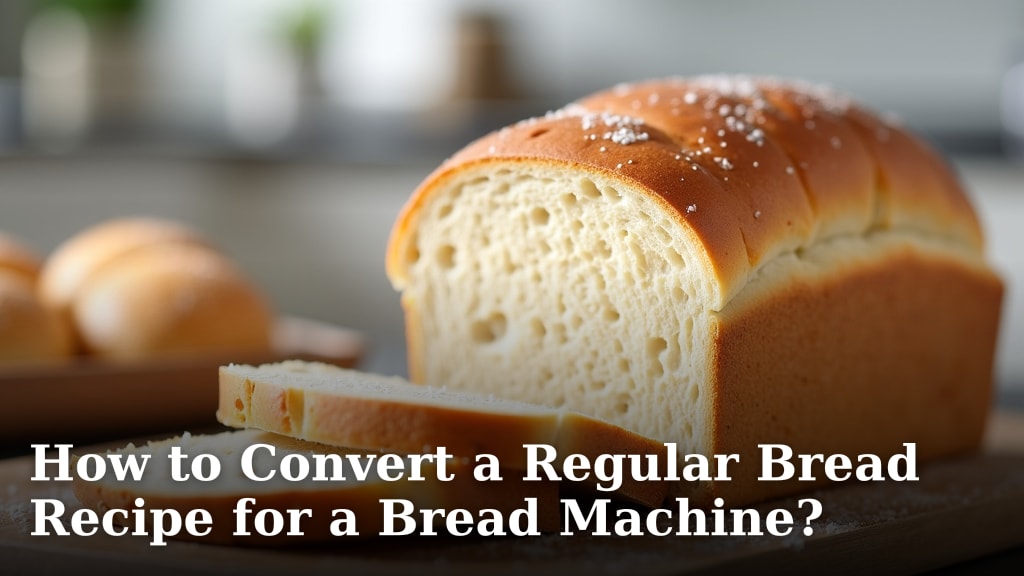
Yes, you can absolutely convert a regular bread recipe for a bread machine. It mainly requires understanding ingredient ratios and the unique machine cycle. You’ll switch up ingredient order and liquid temperatures.
Many home bakers find this a great way to enjoy their favorite recipes with less fuss. You’ll discover how simple variations make a big difference for perfect machine-baked bread. It’s truly easier than you might think!
- Understand ingredient order.
- Adjust liquid temperature.
- Check yeast type.
- Scale recipe for your machine.
- Enjoy fresh, homemade bread!
Ready to turn those beloved recipes into bread machine triumphs? Let’s walk through exactly how to convert a regular bread recipe for a bread machine.
Transitioning Recipes to Your Bread Machine
You’re ready to put your favorite bread recipes into your machine. The key is understanding how a bread machine works differently than traditional hand-baking. We’re about to make this process super smooth for you.
Most regular recipes are designed for an oven. Bread machines have a heating element, but also a mixing paddle and an automated cycle. This means ingredients go in a special order. It also means you need to think about the type of yeast.
Understanding How Your Bread Machine Works
Think of your bread machine as a mini, automated bakery. It handles everything. From mixing to kneading, rising, and baking. This convenience is wonderful, but it also means you need to play by its rules.
The machine uses a precise sequence. Liquids always go in first. Then dry ingredients. Yeast sits on top. This prevents the yeast from activating too early. Premature activation can ruin your loaf.
The “Wet to Dry” Rule
This is perhaps the most important rule for bread machine success. Always add liquids to the pan first. This includes water, milk, oil, or melted butter. Then layer your dry ingredients. Flour, sugar, salt, and finally, yeast (U.S. Department of Agriculture).
Following this stacking order keeps the yeast dry until the machine begins its mixing cycle. If yeast gets wet too early, it can start working before it hits the flour. This can lead to a dense, sad loaf.
Ingredient Adjustments for Machine Baking
Now, let’s talk about the specific ingredients. You might need to tweak some amounts. This is especially true for liquids and yeast. Don’t worry, it’s usually small changes.
The goal is a dough with the right consistency for machine kneading. Too wet, and it won’t rise well. Too dry, and the machine will struggle to mix it.
Liquid Amounts and Temperature
Regular recipes often assume you’re using warm water to activate yeast. For a bread machine, liquids should be room temperature. Think around 70-75°F (21-24°C).
Warm liquids can make the yeast too active too soon. This can lead to over-proofing in the machine’s long cycle (Cleveland Clinic). You might also need slightly less liquid than a hand-kneaded recipe. Machines are very efficient kneaders. They need less hydration to achieve a proper dough consistency.
The Yeast Factor
Most regular recipes call for active dry yeast. Bread machines prefer instant yeast, also known as bread machine yeast or rapid rise yeast.
Instant yeast doesn’t need to be dissolved in water first. You just sprinkle it on top of the dry ingredients. If your recipe calls for active dry yeast, you can still use it. Just use about 25% less and ensure it’s fresh. Or convert to instant yeast one-to-one for simplicity.
Here’s a quick guide for yeast types:
| Yeast Type | Ideal for Machine? | Notes for Conversion |
|---|---|---|
| Active Dry Yeast | Less ideal (can be used) | Reduce by 25% compared to Instant. Ensure fresh. |
| Instant Yeast | Yes, excellent choice | Use exact amount specified in machine recipes. |
| Rapid Rise Yeast | Yes, excellent choice | Same as Instant Yeast. |
Salt and Sugar
Salt controls yeast activity and adds flavor. Don’t omit it. Use about 1.5 to 2 teaspoons per loaf. Sugar feeds the yeast and helps with crust browning. Most recipes have enough. You rarely need to adjust these two.
Add salt to one corner of the bread machine pan. Add sugar to another corner. Keep them separate from the yeast initially. This ensures yeast doesn’t activate too early with the sugar or get inhibited by the salt.
Scaling Your Recipe to Fit Your Machine
Bread machines come in different sizes: 1 pound, 1.5 pounds, and 2 pounds. Most traditional recipes are for larger loaves. You might need to adjust the quantities.
A good rule of thumb: start by reducing a standard recipe by about 25-30% for a 1.5-pound machine. For a 1-pound machine, you might cut it in half. Never fill the pan more than two-thirds full of dough after it has risen.
Overfilling can cause your loaf to hit the lid of the machine. This can lead to a sunken top. It might even overflow. A collapsed top looks bad and hurts the texture.
Choosing the Right Bread Machine Cycle
Your bread machine has different settings. “Basic” or “White Bread” is a good default. This cycle handles most standard bread recipes. It includes kneading, rising, and baking phases.
For dough-only recipes (to bake in your oven), use the “Dough” cycle. This completes the mixing and rising. Then you can shape and bake the dough yourself. It’s great for rolls or pizza crusts.
Some machines have a “Whole Wheat” cycle. This is for heavier flours. It often includes a longer knead and rise time. This helps dense flours develop properly.
The Proof is in the Pudding (or the Dough Ball)
One of the most valuable tips we can offer is to watch your dough. About 5-10 minutes into the first kneading cycle, peek into the machine. Is the dough forming a smooth, elastic ball?
If it’s too sticky and clinging to the sides, add a teaspoon of flour at a time. If it’s too dry and crumbly, add a teaspoon of liquid. Do this sparingly. Small changes make a big difference. You want a soft, smooth ball that cleans the sides of the pan.
Troubleshooting Common Issues
Sometimes things don’t go perfectly. Don’t get discouraged! It’s part of learning. Here are a few common issues and fixes:
- Loaf doesn’t rise much: Check yeast expiration date. Ensure liquids aren’t too hot or cold. Did you forget the yeast?
- Loaf collapses: Too much liquid or too much yeast. Or liquids were too warm, causing over-proofing.
- Dense, heavy loaf: Not enough liquid or too much flour. Or the yeast was old.
- Dough paddle stuck in loaf: This happens a lot! Try removing it carefully after the loaf cools a bit. You can grease the paddle before adding ingredients to help prevent this.
Your Conversion Checklist
Before you start, run through this quick list:
- Confirm your machine’s loaf size (1, 1.5, or 2 pounds).
- Adjust all ingredients based on loaf size.
- Measure liquids precisely and ensure they are room temperature.
- Use instant or bread machine yeast if possible.
- Layer ingredients correctly: liquids first, then dry, then yeast on top.
- Select the appropriate bread machine cycle.
- Watch the dough ball during the first knead; adjust flour/liquid if needed.
Conclusion
You now have all the tools to transform your favorite traditional bread recipes into bread machine masterpieces. By understanding the right ingredient order, adjusting liquids and yeast, and scaling for your machine, you’ll achieve fantastic results. Don’t forget to observe that dough ball and make small tweaks as needed!
Your bread machine is a powerful kitchen helper. It’s ready to simplify your baking. Go ahead, experiment with those beloved recipes. Soon, you’ll be enjoying fresh, homemade bread with minimal effort. Happy baking!
Frequently Asked Questions
Can I use gluten-free flour in a converted bread machine recipe?
Yes, but you’ll likely need specialized gluten-free bread machine recipes. Gluten-free flours behave very differently than wheat flours. They require specific binders and liquid ratios for success.
My bread machine loaf has a hole in the bottom. What caused this?
That hole is where the kneading paddle was located. It’s perfectly normal. Some people remove the paddle before the final rise and bake cycle to avoid it, but this can be tricky.
How long does it take to bake a loaf in a bread machine?
Most standard cycles, like the “Basic” or “White Bread” setting, take between 3 to 4 hours. This includes mixing, kneading, rising, and baking phases.
Can I add extra ingredients like nuts or raisins to my bread machine recipe?
Yes, many bread machines have a “fruit and nut” dispenser that will add ingredients at the right time. If yours doesn’t, add them during the last 5-10 minutes of the kneading cycle. This prevents them from being crushed or over-mixed.
My bread machine bread crust is too soft/too hard. How do I fix this?
Most bread machines have crust settings: light, medium, and dark. Adjust this setting to your preference. For a crispier crust, you might also consider taking the loaf out immediately after baking. Let it cool on a wire rack.
