
How to Freeze Bread Machine Bread?

Yes, you can absolutely freeze bread machine bread to keep it fresh. When done right, freezing protects its taste and texture for weeks, even months. This method is great for anyone who bakes in batches or wants to enjoy homemade bread longer.
You’ve put in the effort to bake a delicious loaf, so why let it go to waste? We found that freezing is a simple and effective way to preserve your bread. It helps you reduce food waste and always have fresh bread ready to go.
- Wrap bread tightly in plastic wrap.
- Add a layer of foil for extra protection.
- Place in a freezer-safe bag.
- Label with the date.
- Thaw at room temperature or in the oven.
Ready to save your homemade loaves? Let’s walk through the simple steps to perfectly freeze your bread machine bread, ensuring every slice tastes just as good as the day it was baked.
Preserving Your Bread Machine Creations
You’ve just baked a beautiful loaf in your bread machine, and it smells amazing! But what if you can’t eat it all right away? Don’t worry. Freezing is your best friend here. It’s an easy way to keep that fresh taste and soft texture for weeks.
We found that proper freezing techniques are key. They protect your bread from freezer burn and staleness. This means you can enjoy your homemade goodness whenever you want, without waste.
Why Freezing Is a Bread Lover’s Secret Weapon
Freezing homemade bread is more than just convenience; it’s smart planning. Think about it: you put time and effort into making that perfect loaf. Why let it go dry or moldy?
When you freeze bread correctly, you pause its aging process. This means fewer trips to the store for commercial bread. Plus, you always have a delicious, preservative-free option on hand. It’s a win-win for your pantry and your budget.
Benefits Beyond Freshness
Beyond just keeping your bread fresh, freezing offers several advantages. It helps you manage your baking time. Bake a few loaves at once, then freeze them. You’ll have homemade bread ready for any meal.
This also helps you reduce food waste. No more throwing out half a loaf that went stale. Freezing means you use every delicious crumb. It feels good to be resourceful, doesn’t it?
When to Freeze Your Bread: Timing Is Everything
The best time to freeze your bread machine loaf is crucial. You want to capture it at its peak freshness. We found that acting quickly after baking yields the best results.
Wait until your bread is completely cool. This usually takes about 1-2 hours after it comes out of the machine. Freezing warm bread traps moisture, which can lead to ice crystals and a soggy texture when thawed. Be patient; it’s worth it!
The Right Way to Prepare Your Loaf for the Freezer
Preparing your bread for the freezer involves a few simple steps. These steps create a barrier against the cold, dry freezer air. This is how you prevent freezer burn, which can ruin texture and flavor.
Whole Loaf vs. Sliced: Which Is Better?
This is a common question, and both options have their perks. Freezing a whole loaf keeps it incredibly fresh. It acts as one big protective unit. However, it takes longer to thaw.
Freezing sliced bread offers amazing convenience. You can grab just a few slices as needed. They thaw much faster, perfect for a quick breakfast or sandwich. It really depends on how you plan to use your bread.
Tips for Slicing Before Freezing
If you choose to slice your bread, make sure your slices are even. Use a good bread knife for clean cuts. We found that slicing to your usual serving size is helpful. This way, you don’t have to re-cut frozen bread.
Once sliced, you can place a small piece of parchment paper between a few slices. This prevents them from sticking together. It makes it even easier to pull out just what you need.
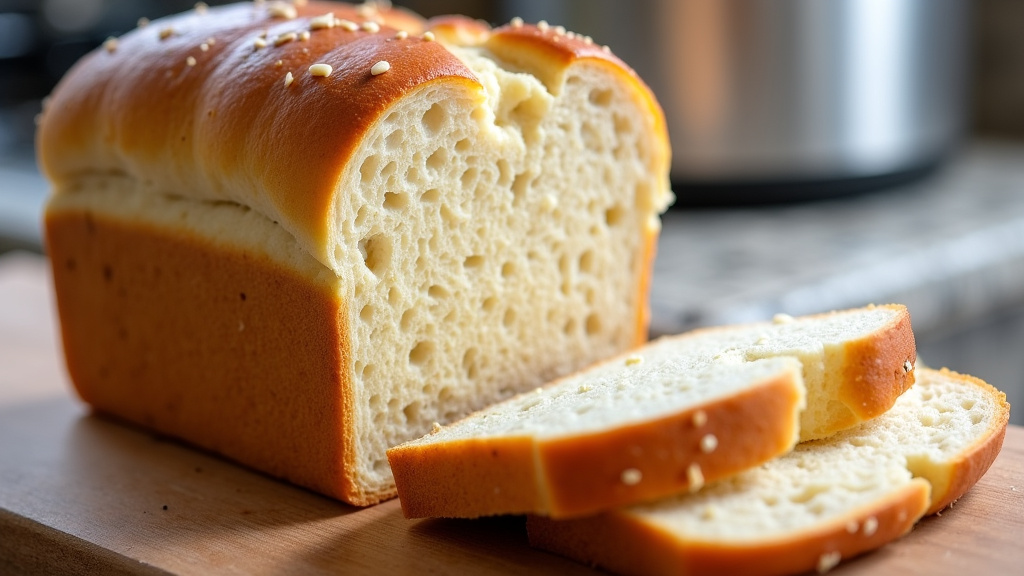
Your Essential Freezing Checklist
Before you tuck your bread away, make sure you have these items ready. They are fairly common kitchen staples. Having them on hand makes the freezing process smooth and efficient.
- Plastic wrap (heavy-duty is best)
- Aluminum foil (heavy-duty as well)
- Freezer-safe bags (gallon-sized for whole loaves)
- Permanent marker
- Optional: Parchment paper (if pre-slicing)
Step-by-Step Guide to Freezing Your Bread Machine Loaf
Let’s get down to the exact steps. Following these closely will make sure your bread tastes great months from now. It’s all about creating layers of protection.
Step 1: The Inner Wrap – Plastic Protection
Once your bread is completely cool, wrap it tightly in plastic wrap. You want to eliminate as much air as possible. Air is the enemy of frozen bread, as it causes freezer burn. We suggest using at least two layers of plastic wrap for extra security.
Make sure the plastic wrap adheres closely to every surface of the bread. This forms the first critical barrier. Think of it like a cozy, airtight jacket for your loaf.
Step 2: The Outer Wrap – Foil for the Win
Next, wrap the plastic-covered bread with a layer of aluminum foil. Again, wrap it tightly. The foil adds another layer of defense against freezer burn. It also helps to block out any freezer odors that could seep into your bread.
Many experts agree that this double-wrapping method is the gold standard for freezing baked goods (USDA Food Safety and Inspection Service). It provides superior protection.
Step 3: The Final Layer – Freezer Bag Security
Place your double-wrapped bread into a large, freezer-safe plastic bag. Push out any remaining air from the bag before sealing it. This creates a third, robust barrier.
The freezer bag helps protect against any punctures to the foil or plastic. It’s like putting your bread in a little freezer fortress! This step is especially important if your freezer is often full and items might shift around.
Step 4: Label and Date It (Don’t Skip This!)
Before you put it in the freezer, grab your marker. Write the date you froze the bread and what kind of bread it is (e.g., “Whole Wheat – 10/26”).
Trust us, you’ll thank yourself later! It’s easy to forget when something went into the freezer. This simple step ensures you use your bread while it’s still at its best. Most bread stays good for 2-3 months in the freezer.
| Step | Purpose | Key Tip |
|---|---|---|
| 1. Cool Completely | Prevent sogginess and ice crystals | Allow 1-2 hours at room temperature |
| 2. Plastic Wrap | First barrier against air | Wrap tightly, 2 layers recommended |
| 3. Aluminum Foil | Extra protection, block odors | Wrap snugly over plastic |
| 4. Freezer Bag | Final seal, prevent punctures | Remove excess air before sealing |
| 5. Label & Date | Track freshness | Use permanent marker, include bread type |
Thawing Your Frozen Masterpiece
You’ve successfully frozen your bread; now for the delicious payoff! Thawing is simple and can be done a couple of ways. The goal is to bring it back to its original glory.
The Room Temperature Method
For a whole loaf, simply unwrap it and let it sit on your counter at room temperature. It usually takes 4-6 hours to thaw completely. For individual slices, it’s much faster, often just 15-30 minutes.
Once thawed, you can slice and serve as usual. This method is great when you have a little time and want that fresh-baked feel. It’s perfect for when you plan ahead a bit.
The Oven Revival Method
Want that “just baked” aroma and crust? The oven is your friend. Place your still-frozen, unwrapped loaf into a cold oven. Then, set the temperature to about 350°F (175°C).
As the oven preheats, the bread thaws gently. Once the oven reaches temperature, bake for another 10-20 minutes, depending on the size of the loaf. This method gives you a warm, crusty exterior and a soft interior. It’s a real treat!
For slices, you can pop them directly into a toaster. This is super quick and perfect for breakfast toast. Just be careful not to over-toast them!
Conclusion
You now have all the tools to successfully freeze your delicious bread machine creations. By cooling completely, using the right wrapping techniques, and labeling carefully, you can extend the life of your homemade loaves for months. This not only saves you time and effort but also helps reduce food waste, keeping fresh, homemade bread always within reach.
We found that a little preparation goes a long way in preserving that fresh-baked taste and texture. So, don’t let another crumb go to waste! Go ahead and bake an extra loaf, knowing you can keep it perfectly fresh for later enjoyment.
Frequently Asked Questions
How long can you freeze bread machine bread?
You can typically freeze bread machine bread for 2 to 3 months without a significant loss in quality. After this, it’s still safe to eat, but the texture or flavor might start to diminish slightly.
Can I freeze part of a loaf, or does it have to be whole?
Yes, you can absolutely freeze part of a loaf. Simply wrap the remaining portion using the same double-wrapping method (plastic and foil) and place it in a freezer-safe bag. It’s a great way to save smaller amounts.
Do I need to thaw bread before toasting it?
No, you don’t need to thaw sliced bread before toasting. You can pop frozen slices directly into the toaster. They might need a slightly longer toasting time than fresh bread.
What happens if I freeze warm bread?
Freezing warm bread traps moisture inside the packaging. This can lead to the formation of ice crystals, which will make your bread soggy and alter its texture when thawed. Always ensure your bread is completely cool before freezing.
Can I refreeze thawed bread?
Generally, it’s not recommended to refreeze bread once it has been fully thawed. Refreezing can degrade the bread’s quality, leading to a drier, more crumbly texture. It’s best to freeze bread in portion sizes you know you’ll use.
