Why Does My Bread Machine Bread Rise Then Fall?
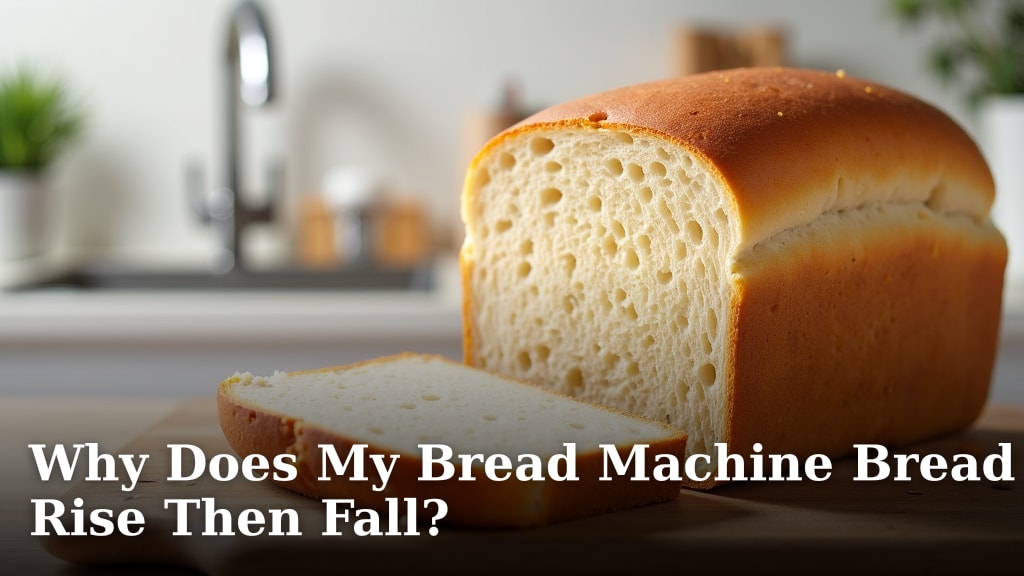
Your bread machine bread rises then falls because of too much yeast, too much liquid, or an imbalance in ingredients. These issues cause the dough to overproof, leading to a weak structure that cannot hold its rise.
When you see your loaf collapse, it’s often a sign that the yeast worked a little too hard or the dough got too warm. We found that getting the proportions right is key. Even small errors can lead to a flat, sad loaf.
TL;DR:
- Too much yeast causes over-rising.
- Too much water weakens the dough.
- Improper ingredient balance is a common culprit.
- Dough gets too warm and overproofs.
- Weak gluten structure cannot hold the rise.
Don’t worry, you’re not alone in this baking mystery. Let’s dig into the common reasons why your bread machine bread rises then falls and how you can fix it for good.
Understanding Why Your Bread Machine Bread Collapses
When your bread machine bread rises beautifully only to sink back down, it’s a sign that the delicate balance of ingredients and environment was disrupted. This common problem often points to issues with yeast activity, moisture levels, or dough structure.
The Delicate Dance of Yeast: Too Much of a Good Thing
Yeast is a living organism, a tiny factory that produces gas, causing your dough to rise. But like any good thing, too much yeast can actually be detrimental. We found that this is one of the most frequent culprits behind a collapsed loaf.
Overactive Yeast Leads to Overproofing
If you add too much yeast, it goes into overdrive, producing gas very quickly. This rapid expansion stretches the gluten structure of your dough too far, too fast. Think of it like blowing up a balloon too quickly; it gets thin and eventually pops. Your dough experiences a similar fate, reaching its peak too soon and then collapsing under its own weight because the gluten network is too weak to hold the gas.
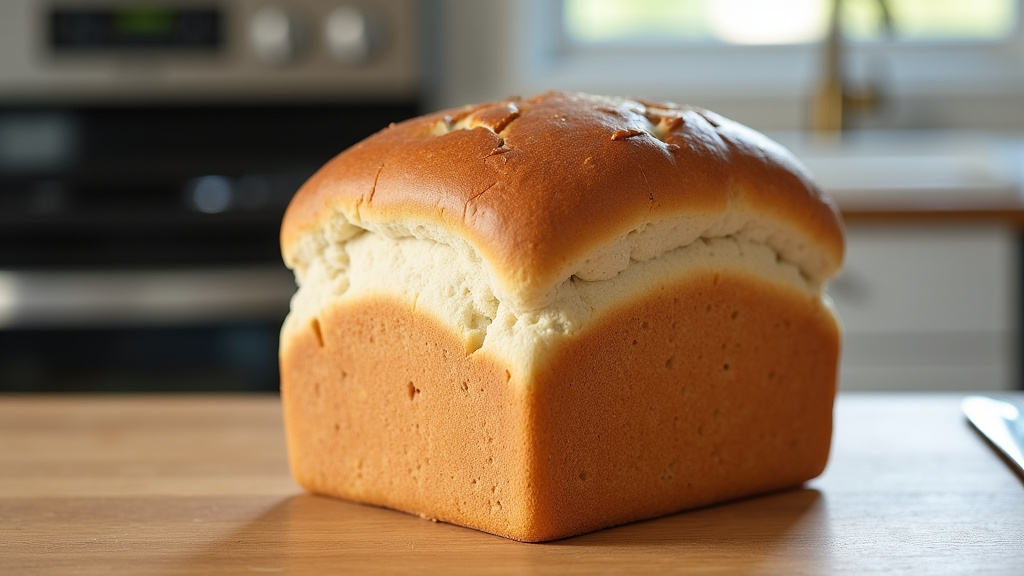
The dough essentially “runs out of steam.” It rises gloriously, but then the gluten, exhausted from over-stretching, can no longer contain the gas. We often see this result in a dense, crumbly texture at the bottom of the loaf, with a gaping hole or sunken top.
Correcting Yeast Levels
Always measure your yeast precisely. Don’t eyeball it. Many recipes call for active dry yeast, while others use instant yeast, which is more potent. Make sure you’re using the correct type and amount specified in your recipe. If you suspect overproofing due to too much yeast, try reducing the amount by about a quarter teaspoon next time. We’ve seen this small adjustment make a big difference for many bakers.
The Role of Liquids: Hydration Is Key (But Not Too Much!)
Water, milk, or other liquids hydrate the flour and activate the yeast. They are essential for creating the dough’s texture and allowing gluten to form. However, an excess of liquid can turn your perfect loaf into a sunken mess.
Too Much Liquid Weakens Gluten
Imagine trying to build a sandcastle with too much water; it just won’t hold its shape. The same principle applies to your bread dough. If there’s too much liquid, the gluten strands can’t form a strong, elastic network. This weak structure means the dough can’t trap the gas produced by the yeast effectively. It rises, but the walls of its “gas chambers” are too thin and fragile to maintain their form, leading to a collapse.
We found that this often results in a loaf that is very moist, almost gummy, and dense at the bottom, even after being fully baked. The top will have that tell-tale concave, “fallen” look.
Adjusting Liquid Levels
Precision is paramount when measuring liquids. Use a liquid measuring cup at eye level. Sometimes, even the humidity in your kitchen or the type of flour can affect how much liquid your dough needs. If your bread repeatedly collapses and seems overly moist, try reducing the liquid by one or two tablespoons. You might be surprised at how small adjustments improve results (University of Nebraska-Lincoln Extension recommends this approach for optimal bread texture).
Temperature Troubles: When Your Kitchen Is Too Warm
Yeast thrives in warmth, but too much heat can accelerate its activity to an undesirable extent. Your bread machine’s environment plays a big role in proofing.
High Temperatures Speed Up Proofing
A warm kitchen or direct sunlight on your bread machine can cause the dough to rise too quickly. The yeast ferments at an accelerated rate, pushing the dough to its maximum volume before the gluten has a chance to fully develop and strengthen. This rapid, uncontrolled rise often leads to a sudden collapse, as the structure can’t keep up with the gas production.
The dough effectively overproofs prematurely. The gluten gets overstretched, much like with too much yeast, and can’t recover. You might notice the bread machine getting quite warm to the touch, which could be an indicator that the internal temperature is also too high for an ideal, slow rise.
Managing Dough Temperature
Try placing your bread machine in a cooler spot in your kitchen, away from direct heat sources or sunny windows. If your tap water is very warm, use cool or even slightly cold water to start. Some experts suggest using water at around 75-85°F (24-29°C) for optimal yeast activity without over-acceleration. A simple kitchen thermometer can help you check the water temperature before adding it to the pan.
The Foundation of Flour: Gluten Development
Flour is the backbone of your bread. Its protein content, specifically gluten, forms the stretchy network that traps gas and gives bread its structure. If the gluten is weak, your bread will struggle to hold its rise.
Low Protein Flour or Insufficient Kneading
Using a low-protein flour, such as all-purpose flour instead of bread flour, can result in weaker gluten development. Bread flour typically has a higher protein content (around 12-14%), which forms a stronger, more elastic gluten network. If your recipe calls for bread flour, stick to it. Moreover, if your bread machine’s kneading cycle isn’t long enough or is interrupted, the gluten may not develop fully. Without a strong gluten network, the dough can’t trap the CO2 gas produced by the yeast, leading to a collapse.
We’ve often observed that a bread machine loaf with insufficient gluten development can appear quite dense and heavy, especially at the bottom, because it lacks the internal scaffolding to support its own weight.
Ensuring Strong Gluten
Always use fresh bread flour for best results. Check the expiration date. If your recipe allows, and you suspect weak gluten, you can try adding a small amount (about 1-2 teaspoons) of vital wheat gluten to your flour. This boost can significantly strengthen the dough’s structure. Also, ensure your bread machine’s kneading cycle completes without interruption. Sometimes, opening the lid during kneading can disrupt the process (Journal of Food Science).
Beyond the Big Three: Other Factors at Play
While yeast, liquid, and temperature are often the primary suspects, other less obvious factors can also contribute to your bread’s downfall. These tend to be about the overall balance of ingredients.
Incorrect Salt or Sugar Ratios
Salt helps control yeast activity and strengthens gluten. Too little salt allows the yeast to work too rapidly, potentially leading to overproofing. Too much salt can inhibit yeast activity, resulting in a dense, short loaf that may not rise enough in the first place. Sugar, in small amounts, feeds the yeast. But too much sugar can draw moisture away from the yeast, slowing its activity, or weigh down the dough, hindering its ability to rise and maintain structure. It’s a delicate balance; each plays a crucial role in dough chemistry.
Old or Inactive Yeast
Even if you measure correctly, old yeast simply won’t perform as expected. If your yeast is past its prime, it won’t produce enough gas to make the bread rise properly, or it might struggle to sustain the rise, leading to a collapse. We always recommend checking the expiration date on your yeast and storing it properly in an airtight container in the refrigerator or freezer to prolong its shelf life.
Your Troubleshooting Checklist
When your bread machine bread rises then falls, go through this quick checklist to pinpoint the problem:
- Check Yeast Quantity: Are you using the exact amount specified? Try reducing by 1/4 teaspoon.
- Verify Yeast Activity: Is your yeast fresh and active? Test it if unsure.
- Measure Liquids Precisely: Use a liquid measuring cup; consider reducing by 1-2 tablespoons.
- Monitor Dough Temperature: Is your water too warm, or is the kitchen too hot?
- Use Correct Flour: Are you using bread flour if the recipe calls for it?
- Ensure Proper Salt/Sugar Balance: Don’t skip or drastically alter these crucial ingredients.
By systematically reviewing these factors, you’ll be well on your way to baking consistently perfect loaves that stand tall and proud every time. Don’t get discouraged; baking is a science, and even small tweaks can yield big rewards!
Conclusion
Don’t let a collapsed loaf deflate your baking spirit. You now understand the science behind why your bread machine bread rises then falls. It often comes down to precise measurements and proper conditions. We’ve seen that even small adjustments can lead to baking success.
By carefully checking your yeast, liquids, and environment, you’re better equipped for perfect loaves. Your next step is simple: revisit your recipe with new eyes, make one small change, and bake with confidence. Happy baking!
Frequently Asked Questions
Why is my bread machine bread dense and heavy after it collapses?
A dense and heavy texture often indicates that your dough overproofed and lost its internal structure. This leaves a weak gluten network that can’t hold gas. The result is a compact loaf with poor aeration.
Can the age of my flour affect how my bread rises and falls?
Yes, older flour can have lower protein content and less active enzymes. This can weaken gluten development, leading to a dough that struggles to maintain its rise. Always use fresh flour for the best results.
Is it possible for my bread machine itself to be causing the problem?
Sometimes. An older or malfunctioning bread machine might have inconsistent heating elements or kneading cycles. This can impact dough temperature or gluten development, contributing to collapsing loaves. If all else fails, consider checking your machine’s performance.
My bread machine bread rises too quickly, then falls. What’s happening?
Rapid rising followed by a collapse typically points to overactive yeast or a dough that’s too warm. The yeast produces gas too quickly, overstretching the gluten. This causes the dough to peak early and then sink as the weakened structure can no longer support itself.
What’s the ideal water temperature for bread machine dough to prevent collapse?
For most bread machines, water between 75-85°F (24-29°C) is ideal. This temperature activates the yeast effectively without making it too active. Using water that’s too hot can accelerate fermentation and cause overproofing.