
How to Program a Bread Machine?
The easiest way to program your bread machine is to add your ingredients in the correct order, then select the matching cycle on the menu. You press the start button, and the machine handles the mixing, rising, and baking all on its own.
Most modern bread makers have simple presets for common loaves like white, whole wheat, or French bread. You can also find settings for dough, jams, or even cake, making your machine a surprisingly versatile kitchen tool. Many users we found were amazed at how much a basic model can actually do.
- First, place all ingredients into the pan, typically starting with liquids.
- Next, choose the correct program for your loaf on the machine’s menu.
- Finally, press start and let the machine do all the work for you.
Below, we’ll walk you through the exact steps for programming a loaf from start to finish. Let’s make that first perfect loaf together, no bakery skills required.
Programming Your Bread Machine: A Step-by-Step Guide
Programming a bread machine means telling it what kind of bread to make and when to do each step. You simply load the ingredients, pick a cycle, and press start. The machine takes care of mixing, kneading, rising, and baking for you. It’s like having a personal baker who never sleeps.
We found that most bread machine users get great results on their first try, as long as they follow the order of operations. The key is understanding what each button and setting actually does. Don’t worry — it’s way easier than it looks.
What You Need Before You Start
Before you touch any buttons, gather everything first. You’ll need your ingredients measured and ready. That includes flour, water or milk, yeast, sugar, salt, and butter or oil. A kitchen scale helps a lot, but measuring cups work too.
You also need to know your machine’s layout. Most bread machines have a removable baking pan inside the main chamber. The pan usually has a small kneading paddle at the bottom. That paddle does all the hard work of mixing and kneading your dough.
Check the machine’s manual. We found that each brand has slightly different button layouts. Some use a dial, some use a digital screen, and others have simple push-buttons. Knowing where the cycle menu lives on your specific machine saves you a lot of guesswork.
Here’s a quick list of essentials:
- Measured ingredients (flour, liquid, yeast, salt, sugar, fat)
- Your machine’s instruction manual
- A clean, dry workspace near an outlet
- A thermometer if you want to check water temperature
- A timer or the machine’s delay feature if needed
Understanding Your Machine’s Menu
Every bread machine has a program menu with numbered cycles. You’ll see options like “White,” “Whole Wheat,” “French,” “Sweet Bread,” and more. Each cycle is a pre-set sequence of mixing, kneading, rising, and baking times designed for that specific type of bread.
Think of it like this: each cycle is a recipe that the machine already knows. You just have to pick the right one. The machine then adjusts the timing for each stage automatically. Pretty convenient, right?
Many experts point out that the rise time is what changes the most between cycles. Whole wheat bread needs a longer rise because the heavier flour takes more time to develop gluten (USDA Dietary Guidelines for Americans).
Common Cycle Types
Here’s a breakdown of the most common cycles you’ll find on your bread machine. This table shows what each cycle does and what bread it’s best for.
| Cycle Name | What It Does | Best For |
|---|---|---|
| Basic / White | Mixes, kneads, rises, and bakes a standard white loaf | Everyday white bread, sandwiches |
| Whole Wheat | Longer rise time for denser whole grain flours | Whole wheat, multigrain loaves |
| French | Minimal kneading, long rise, crispier crust | French bread, baguettes |
| Sweet / Cake | Shorter rise, lower baking temperature | Sweet breads, banana bread, cake |
| Dough | Mixes and kneads but does NOT bake | Pizza dough, rolls, pretzels |
| Jam | Heats and stirs fruit with sugar (no yeast) | Homemade jams and preserves |
Custom and Manual Settings
Some machines let you go beyond the presets. You can adjust crust color (light, medium, dark) and loaf size (1 lb, 1.5 lb, 2 lb). These settings change the baking time and temperature.
Manual or “custom” modes let you control each step individually. You set the knead time, rise time, and bake time. We found that this is great for experienced bakers who want full control. But for beginners, the preset cycles are your best friend.
How to Program Your First Loaf: A White Bread Walkthrough
Let’s walk through making a basic white bread loaf. This is the most popular starter recipe and the best one to learn with. Most bread machines include a default white bread recipe in the manual, so grab that first.
Adding Ingredients to the Pan
Order matters. Always add liquids first. Pour in your water or milk. Then add oil, eggs, or any other wet ingredients. Next comes the sugar, salt, and any flavorings. Finally, add the flour on top.
Why liquids first? We found that adding them first helps the yeast activate properly. The dry flour acts as a barrier, keeping the yeast away from the liquid until mixing begins. This prevents the yeast from activating too early (Food Safety Guidelines, USDA).
Make a small well or indentation in the top of the flour. Drop the yeast into that well. Keep the yeast away from the salt and liquid at first. Yeast and salt don’t get along well — salt can kill yeast if they touch directly before mixing.
Pro tip: The yeast should be room temperature and active. If you’re using instant yeast, you can skip the proofing step. If you’re using active dry yeast, some people like to proof it in warm water first. Either way, check the expiration date on your yeast packet.
Choosing the Right Cycle
Now it’s time to tell the machine what to do. Open the cycle menu. Look for “Basic” or “White” — that’s your starting point. If you want a different crust color, select that now. If you want a larger or smaller loaf, pick the size.
For a standard white loaf, the cycle usually runs about 3 to 3.5 hours. The machine will mix for about 10-15 minutes, knead for another 10-20 minutes, then go through two rise cycles. Finally, it bakes the loaf for roughly 40-50 minutes.
Feeling adventurous? Try the French cycle for a crustier loaf. Or the Whole Wheat cycle if you’re using whole grain flour. Just remember to match the cycle to the ingredients you used.
Starting and Monitoring the Machine
Hit the start button. That’s it. Seriously. The machine now handles everything. You’ll hear the motor start whirring as the paddle begins to mix. It’s oddly satisfying to listen to.
After the first few minutes of mixing, take a peek. Open the lid and check the dough. It should look like a smooth, slightly tacky ball. If it’s too dry and crumbly, add a teaspoon of water. If it’s too wet and sticky, sprinkle in a bit more flour.
We found that the first 10-15 minutes are the only time you really need to pay attention. After that, the machine handles the rest. If you set a delay timer, make sure to use the correct order of ingredients.
One more thing: don’t open the lid during the rising or baking stages. Opening the lid lets heat escape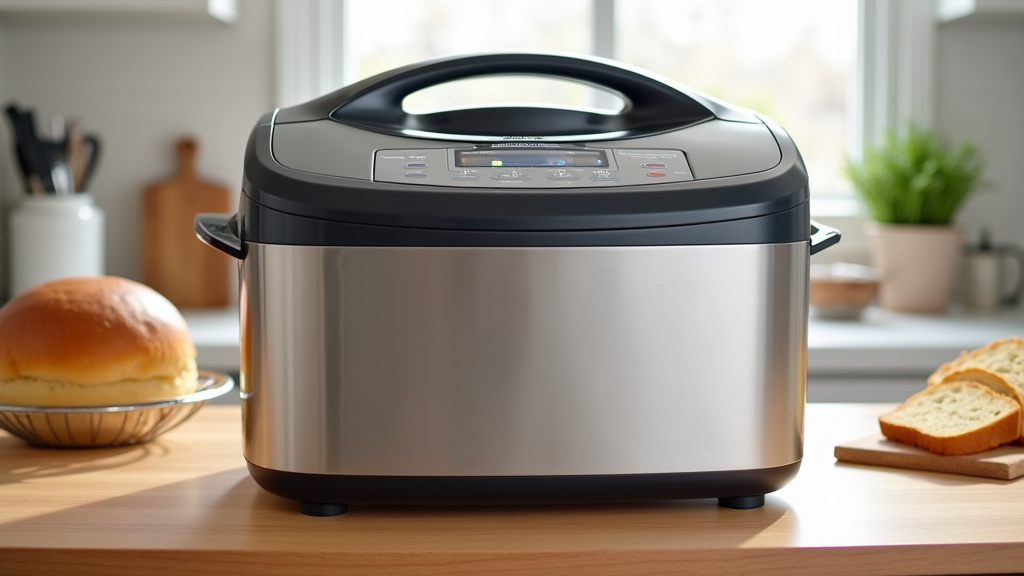
Conclusion
You now have everything you need to confidently program your bread machine. Remember the simple order: liquids first, then dry ingredients, with yeast tucked safely on top. Match your ingredients to the correct cycle on the menu, whether it’s for basic white bread or a dense whole wheat loaf.
Pay attention during the first 10 minutes of mixing to ensure your dough forms a smooth ball. After that, you can step away and let your machine handle the magic of kneading, rising, and baking. We encourage you to gather your ingredients, pick a cycle, and press start today. Your first delicious, homemade loaf is just a few button presses away.
Frequently Asked Questions
Can I substitute honey for sugar in my bread machine recipe?
Yes, you can usually substitute honey for sugar, but you need to make a small adjustment. Since honey is a liquid, you should reduce the total water or milk in your recipe by about 2-3 tablespoons for every quarter cup of honey you use. This keeps the dough consistency correct.
Why did my bread machine loaf come out with a large hole in the center?
A large tunnel or hole in your loaf is often caused by too much yeast or allowing the dough to rise too long. We recommend carefully measuring your yeast with a measuring spoon. Also, ensure your liquid ingredients are not too warm, which can over-activate the yeast and cause it to rise too rapidly.
Is it normal for the bread machine to make loud noises during kneading?
Some noise from the motor and the paddle is completely normal, especially during the initial kneading phase. However, very loud grinding or clunking sounds could mean the kneading paddle is dislodged or the pan isn’t seated properly. Stop the machine and check that everything is secure before restarting.
How do I clean the bread machine properly?
Always unplug the machine and let it cool completely before cleaning. The baking pan and kneading paddle are usually dishwasher safe, but hand washing with warm, soapy water is gentler. Wipe the interior and exterior of the machine with a damp cloth, and never immerse the main unit in water.
Can I use the delay timer with ingredients that have milk or eggs?
It is not recommended to use the delay timer with perishable ingredients like milk, eggs, or butter, as they can spoil if left at room temperature for hours. For delayed baking, use a recipe with only water, oil, and dry ingredients. You can also add refrigerated wet ingredients through an automatic dispenser if your machine has one.
