
Why Does My Bread Machine Bread Crumble?
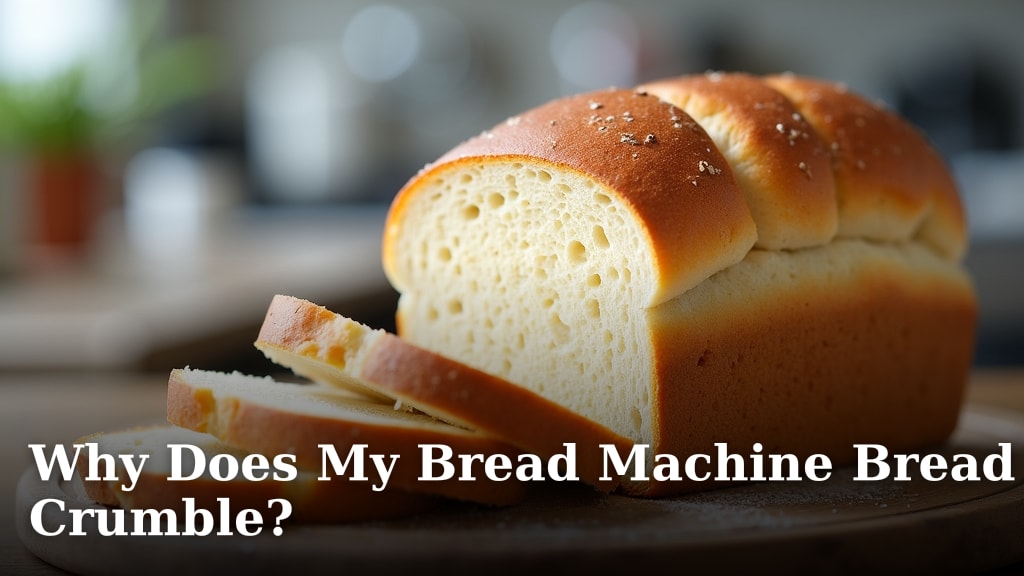
Your bread machine bread crumbles because of improper ingredient ratios, particularly the amount of flour and liquid. Too much liquid or not enough flour can lead to a weak gluten structure. This structure is what gives your bread its shape and prevents it from falling apart. We found that getting these amounts just right is key to a successful loaf that holds together beautifully.
Other common culprits for crumbly bread include using the wrong type of flour or not letting the dough knead long enough. Each bread machine recipe is designed for a specific flour. If you swap it out, you might change how much liquid the flour absorbs. You also want to make sure your machine mixes and kneads the dough thoroughly to build that strong, elastic gluten network that is so important for a good crumb.
- Ingredient ratios are often the main cause.
- Not enough flour or too much liquid weakens the bread.
- Using the wrong type of flour can also cause issues.
- Ensure your machine kneads the dough long enough.
Let’s dive into what might be going wrong with your bread machine and how you can fix it for delicious, sliceable bread every time.
Why Is Your Bread Machine Loaf Falling Apart?
You just pulled your homemade bread from the machine, and it looks… sad. Instead of a perfect loaf, you’re faced with a crumbly mess. It’s frustrating when your bread machine bread crumbles apart. This usually happens because something in the baking process went a little off. The good news is, most of these issues are easy to fix. Let’s figure out why your bread is falling apart and how to get that beautiful, sliceable loaf you’re dreaming of.
The Science Behind Your Crumbly Bread
Bread’s structure comes from gluten. Gluten is a protein network. It forms when you mix flour and water and then knead it. This network traps gases produced by yeast. That’s what makes bread rise and gives it its airy texture. If the gluten network isn’t strong enough, your bread won’t hold its shape. It will likely be dense and crumbly. Many experts agree that a weak gluten structure is the primary reason for bread crumbling (NCBI). A weak gluten structure is the primary reason for bread crumbling, often due to ingredient imbalances.
Understanding Gluten Development
Think of gluten as the scaffolding of your bread. You need strong scaffolding for a tall building. You need strong gluten for a tall loaf. Kneading is what builds this scaffolding. It aligns and stretches the gluten strands. If your bread machine doesn’t knead long enough, the gluten doesn’t develop properly. The result is a bread that can’t support its own weight.
The Role of Yeast and Fermentation
Yeast is the tiny organism that makes bread rise. It eats sugars in the flour and produces carbon dioxide gas. This gas is what inflates the gluten network. If there’s not enough yeast, or if it’s old and inactive, your bread won’t rise well. A low rise means less space for air. This can lead to a denser loaf that crumbles easily. We found that using fresh yeast is non-negotiable for good bread.
Common Culprits for Crumbly Bread Machine Loaves
Ingredient Ratios: The Delicate Balance
This is often the biggest offender. Baking is like chemistry. Get the amounts wrong, and you won’t get the desired reaction. Most bread machine recipes are finely tuned. A slight change can throw everything off balance. You’re trying to create the perfect environment for the yeast and gluten to work.
Too Much Liquid, Not Enough Flour
If you add too much liquid, the flour can’t absorb it all. This creates a very wet, sticky dough. A wet dough means a weak gluten structure. It’s like trying to build with wet sand. It just won’t hold its shape. We found that even an extra tablespoon of water can make a difference.
Not Enough Flour
Conversely, if you don’t add enough flour, there isn’t enough protein. This protein is what forms gluten. Without enough gluten-forming protein, your bread lacks the structure it needs. It can collapse while baking or crumble when cooled. This is why measuring flour accurately is so important.
The Importance of Measuring Accurately
Eyeballing ingredients is a recipe for disaster with bread machines. Use a proper measuring cup for liquids. Use a dry measuring cup for flour, and level it off with a straight edge. Some people even use a kitchen scale for the most precise results. We found that using a scale reduces errors significantly.
Flour Type Matters More Than You Think
Not all flours are created equal. Different flours have different protein content. This directly affects gluten development. Bread machines are usually designed for specific types of flour.
Using All-Purpose Flour Instead of Bread Flour
Bread flour has a higher protein content than all-purpose flour. This extra protein is essential for strong gluten. All-purpose flour might work in a pinch, but it can lead to a weaker structure. Your bread might be denser and more prone to crumbling. Many baking guides recommend bread flour for its superior gluten-forming capabilities (King Arthur Baking).
Whole Wheat and Other Specialty Flours
Whole wheat flour contains bran and germ. These bits can interfere with gluten development. They act like little roadblocks for the gluten strands. If you’re using whole wheat, you might need to adjust liquid. Or, you might need to blend it with bread flour. Recipes specifically for whole wheat bread often account for this. We found that following these specialized recipes is key.
Machine Settings and Kneading Time
Your bread machine has cycles for a reason. These cycles control how long the dough is mixed, kneaded, and how long it rises. Sometimes, a setting might not be optimal for your recipe.
Insufficient Kneading Time
As we discussed, kneading builds gluten. If the machine’s knead cycle is too short, the gluten won’t develop enough. The dough might feel underdeveloped. It might be sticky or not elastic. We found that some machines have adjustable knead times. Longer kneading can lead to a stronger structure.
The Impact of Over-Proofing
Over-proofing means the dough has risen too much before baking. The gluten structure can become overstretched. It can actually start to break down. This weakens the overall integrity of the bread. When this happens, the bread can collapse in the oven or crumble when cut. It’s a delicate balance between getting enough rise and too much rise.
Temperature and Environmental Factors
The environment where your bread machine is working plays a role. Temperature can affect how yeast behaves and how dough develops.
Yeast Activity and Room Temperature
Yeast loves warmth, but not too much. If your kitchen is too cold, the yeast will be sluggish. The dough won’t rise properly. If your kitchen is too hot, the yeast might work too fast. This can lead to over-proofing or an off flavor. Many baking experts suggest a consistent room temperature between 70-80°F (21-27°C) for optimal yeast activity (The Kitchn).
Moisture Content in the Air
High humidity can affect how much liquid your flour absorbs. Flour can actually absorb moisture from the air. This might mean you need slightly less liquid in very humid conditions. Conversely, very dry air can make flour seem drier. You might need a tiny bit more liquid. This is a subtle factor, but it can contribute to crumbly bread.
Cooling and Slicing Techniques
Even if your bread baked perfectly, how you handle it afterward matters. This is where the final crumble can happen.
Cutting Bread While Still Warm
This is a common mistake. Hot bread is delicate. The gluten structure is still setting as it cools. Cutting it too soon can cause the slices to compress and fall apart. It’s like trying to cut a cake that’s just come out of the oven. We found that waiting until the bread is completely cool is essential for clean slices.
Using a Serrated Knife
A dull or inappropriate knife can also ruin a loaf. A sawing motion with a bread knife is best. A dull knife will tear the bread. It won’t cut cleanly through the crust. This tearing action can break apart the delicate crumb structure. A sharp, serrated bread knife makes all the difference.
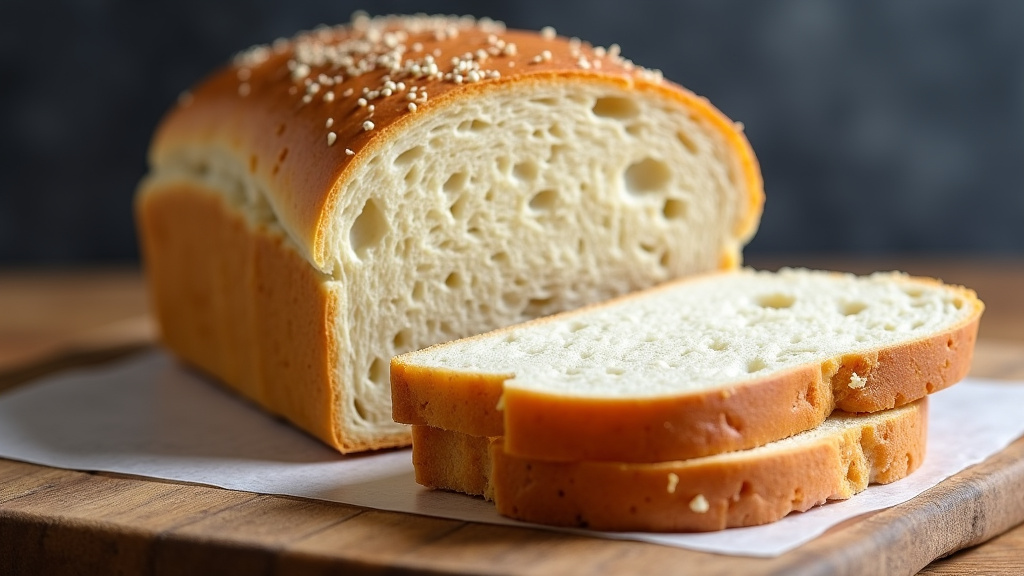
Troubleshooting Checklist for Crumbly Bread
Feeling overwhelmed? Don’t worry, we’ve all been there. Here’s a quick checklist to help you pinpoint the problem:
- Double-check your ingredient measurements, especially flour and liquid.
- Ensure you are using the correct type of flour for your recipe.
- Verify your yeast is fresh and active.
- Confirm your bread machine’s knead cycle is adequate.
- Allow your bread to cool completely before slicing.
- Use a sharp, serrated bread knife for slicing.
Conclusion
It’s understandable to feel frustrated when your bread machine loaf crumbles. You’ve followed the steps, but the result isn’t quite right. Remember, most crumbling issues stem from simple factors like ingredient precision, using the correct flour type, and ensuring adequate kneading and cooling times. Your bread machine is a tool, and like any tool, it works best with the right inputs and techniques. By paying close attention to these details, you can consistently bake beautiful, sliceable loaves. Grab your measuring cups and give it another try – that perfect loaf is within your reach!
Frequently Asked Questions
Why is my bread machine bread so dense and crumbly?
A dense and crumbly texture usually points to a weak gluten structure. This can happen if you have too much liquid or not enough flour. It could also mean the yeast wasn’t active enough to provide sufficient rise. Make sure your yeast is fresh and your ingredient measurements are exact.
Can I use all-purpose flour instead of bread flour in my bread machine?
While you can sometimes use all-purpose flour, it’s generally not recommended for bread machines. Bread flour has a higher protein content, which is essential for developing the strong gluten network your loaf needs to hold its shape. Using all-purpose flour might result in a denser, more crumbly bread.
My bread machine loaf falls apart when I take it out of the pan. What am I doing wrong?
This often happens if the bread is removed from the pan before it has cooled completely. The gluten structure is still setting as the bread cools. Trying to slice or handle it while still warm can cause it to break apart. Always let your bread cool on a wire rack until it’s no longer warm to the touch.
What’s the best way to measure flour for my bread machine?
Accurate flour measurement is key. Spoon your flour into a dry measuring cup and then level it off with a straight edge, like the back of a knife. For even more precision, consider using a kitchen scale to weigh your flour. This eliminates guesswork and leads to more consistent results.
How long should I let my bread machine bread cool before slicing?
You should wait until the bread is completely cool before slicing. This typically takes at least one to two hours, depending on the size of your loaf and room temperature. Slicing warm bread can lead to a gummy texture and cause the slices to crumble or get squashed.
