
How Do You Know When Bread Machine Bread Is Done?
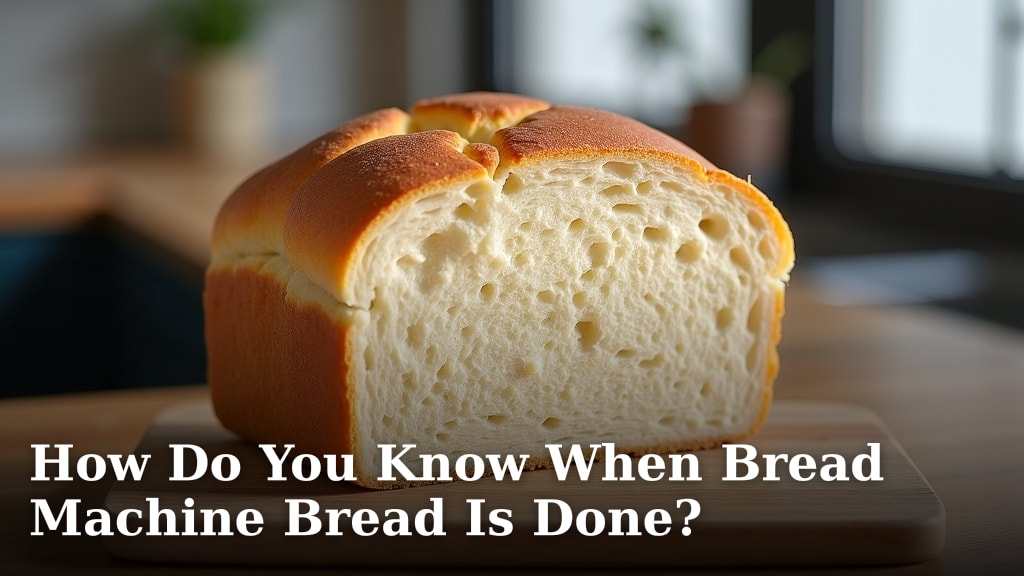
You know your bread machine bread is done when it’s golden brown and sounds hollow when tapped. This usually happens after the programmed baking cycle is complete. Checking the crust color and listening for that tell-tale hollow sound are the best ways to confirm it’s perfectly baked.
While your bread machine does most of the work, a little confirmation goes a long way. Sometimes the machine’s timer isn’t a perfect indicator. Understanding how to check ensures you don’t end up with undercooked dough or an overbaked brick. We found that a quick visual and auditory check prevents disappointment every time.
- Check the crust color.
- Tap the loaf for a hollow sound.
- Trust your senses over the timer alone.
- A finished loaf should be firm to the touch.
Let’s walk through the simple steps to ensure your next loaf is baked to perfection, right out of the machine.
When is Your Bread Machine Loaf Ready?
You’ve added the ingredients, pressed the buttons, and now your kitchen smells amazing. But how do you know for sure that your bread machine bread is perfectly baked? It’s not just about waiting for the timer to ding. You’ll want to confirm your loaf is done by checking its crust and its sound.
The Golden Brown Rule: Crust Color as Your Guide
One of the most reliable indicators of doneness is the color of your bread’s crust. Most bread machines aim for a beautiful golden brown, whether you selected a light, medium, or dark crust setting. This color indicates that the Maillard reaction has occurred properly, giving your bread its delicious flavor and appealing appearance.
What to Look For
When you open the lid at the end of the cycle, take a good look at the top and sides of your loaf. You’re looking for a consistent shade of golden brown. If the top looks pale and doughy, it likely needs more time. If it’s very dark, almost black, it might be overbaked. Most machines have crust settings, but they aren’t always perfect.
Adjusting for Crust Color
If your bread machine has finished its cycle but the crust looks too light, don’t panic! Many machines have a “bake-only” or “crust” setting. You can often set this for an additional 10-20 minutes. This allows the bread to bake longer without going through another mixing or kneading cycle. Always keep an eye on it during this extra time to prevent burning.
What About Different Flours?
It’s worth noting that different types of flour can affect crust color. Whole wheat or darker flours might naturally produce a darker crust. White flour loaves typically have a lighter golden hue. If you’re trying a new recipe with a different flour, compare its color to a loaf you’ve made before with a known outcome.
The Hollow Sound Test: Tapping for Readiness
Besides visual cues, there’s an auditory test that many bakers swear by. This is the classic “hollow sound” test. It’s similar to how you might check if a watermelon is ripe!
How to Perform the Tap Test
Carefully remove the bread pan from your bread machine. You might want to wear oven mitts, as the pan and bread will be hot. Gently invert the bread pan over a cooling rack. The loaf should slide out easily. Once the loaf is out, give the bottom of the bread a light tap with your knuckle. If it sounds hollow, it’s a good sign that the moisture has cooked out and the bread is done.
Interpreting the Sound
A hollow sound means the inside of the bread is cooked through. If the tap sounds dull or thuddy, there’s still moisture inside. This suggests the bread is underbaked and may be gummy in the center. This test is particularly helpful for denser loaves or when you’re unsure about the crust color.
When the Tap Test Might Be Tricky
Sometimes, very light bread or bread with a very crisp crust might sound hollow even if it’s slightly underbaked. Similarly, a bread with a very soft crust might not produce a clear hollow sound. It’s best used in conjunction with other indicators. We found that combining the tap test with a visual check of the crust is most effective.
Internal Temperature: The Most Accurate Measurement
While color and sound are great indicators, the most precise way to know if your bread is done is by measuring its internal temperature. This method takes the guesswork out of baking.
What Temperature is Ideal?
For most standard white or whole wheat breads baked in a machine, the ideal internal temperature is between 190°F and 200°F (88°C to 93°C). For enriched doughs, like brioche or challah, which contain more fat and sugar, the target temperature can be slightly higher, around 200°F to 210°F (93°C to 99°C).
Using an Instant-Read Thermometer
You’ll need an instant-read thermometer or a digital meat thermometer for this. Insert the probe into the thickest part of the loaf, avoiding any air pockets or the bottom of the pan. Wait for the reading to stabilize. If it’s within the target range, your bread is perfectly baked. For the most accurate results, consider using an instant-read thermometer.
When to Check Temperature
You can start checking the temperature a few minutes before your bread machine’s cycle is scheduled to end. This gives you time to add a few extra minutes of baking if needed, without overshooting the mark. This is a game-changer for achieving consistent results.
Don’t Forget the Texture!
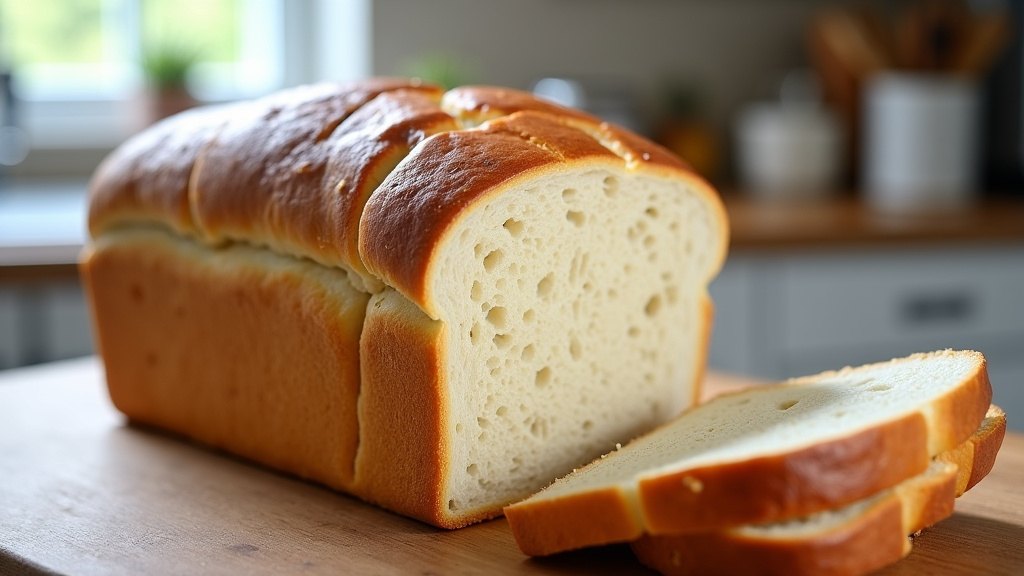
Once your bread is out of the machine and cool enough to handle, give it a gentle squeeze. A properly baked loaf will feel firm and spring back when lightly pressed. If it feels soft and spongy, it might indicate it’s still a bit undercooked inside.
Common Pitfalls and How to Avoid Them
Even with the best intentions, sometimes bread machine bread doesn’t turn out perfectly. Understanding common issues can help you achieve your best loaf yet.
The Timer Isn’t Always Your Best Friend
Bread machine timers are set based on average recipes and conditions. However, ambient room temperature, the exact ingredients you use, and even the altitude of your home can affect baking time. We’ve found that trusting the timer implicitly can sometimes lead to underbaked or overbaked results.
Underbaking: The Gummy Center Problem
This is what happens when the bread is removed too early or the machine’s bake cycle wasn’t long enough. The outside may look okay, but the inside is dense and sticky. Always perform the tap test and check the internal temperature if you suspect underbaking.
Overbaking: The Dry, Dense Loaf
Conversely, overbaking can result in a dry, crumbly loaf with a very hard crust. This often happens if you add too much extra time or if the machine’s bake setting is too high for your recipe. Using the internal temperature check helps prevent this.
Recipe Variations Matter
Recipes that are higher in fat, sugar, or eggs (enriched doughs) often bake differently. They tend to brown faster but may need more time internally to cook through. Recipes with a lot of whole grains can also be denser and require careful monitoring.
Your Bread-Baking Checklist for Doneness
Here’s a quick rundown to ensure your next loaf is perfectly baked:
- Open the lid at the end of the cycle and check the crust color.
- Gently tap the bottom of the loaf for a hollow sound.
- Use an instant-read thermometer to check the internal temperature (190-200°F for most).
- Gently squeeze the loaf to see if it feels firm and springs back.
- If unsure, err on the side of a few extra minutes of baking.
- Trust your senses – if something looks or feels off, investigate!
Conclusion
You’ve mastered the art of checking your bread machine loaf! Remember, a perfectly baked loaf isn’t just about the timer. Your senses are your best guide. Look for that golden brown crust, listen for the hollow sound when you tap it, and feel for that firmness. If you’re ever in doubt, an internal temperature check between 190-200°F is your fail-safe. Don’t be afraid to use your machine’s bake-only setting for a little extra time if needed. Now, go ahead and bake your next perfect loaf with confidence!
Frequently Asked Questions
Can I tell if my bread machine bread is done just by looking at the crust?
The crust color is a very strong indicator. You’re looking for a consistent golden brown shade across the top and sides. If it looks pale, it likely needs more baking time. If it’s very dark, it might be overbaked.
What does a “hollow sound” actually mean for my bread?
A hollow sound when tapping the bottom of the loaf suggests that the moisture inside has fully cooked out. It’s a sign that the bread is properly baked through. A dull sound means there’s still moisture, indicating it’s likely underbaked.
Is checking the internal temperature really necessary?
While crust color and sound are good cues, checking the internal temperature with a thermometer is the most accurate method. It removes guesswork and ensures the bread is cooked to the correct temperature, preventing underbaking or overbaking.
My bread machine has a “bake-only” function. When should I use it?
You should use the “bake-only” function if your bread machine finishes its cycle but the crust isn’t as brown as you’d like, or if you suspect the inside isn’t fully cooked. It allows you to add extra baking time without re-kneading or re-rising the dough.
What should I do if my bread machine bread comes out looking underbaked?
If your loaf appears underbaked, you can often use your bread machine’s “bake-only” or “crust” setting for an additional 10-20 minutes. Keep a close eye on it during this extra time to prevent the crust from burning.
