
How Do You Get a Crispier Crust from a Bread Machine?
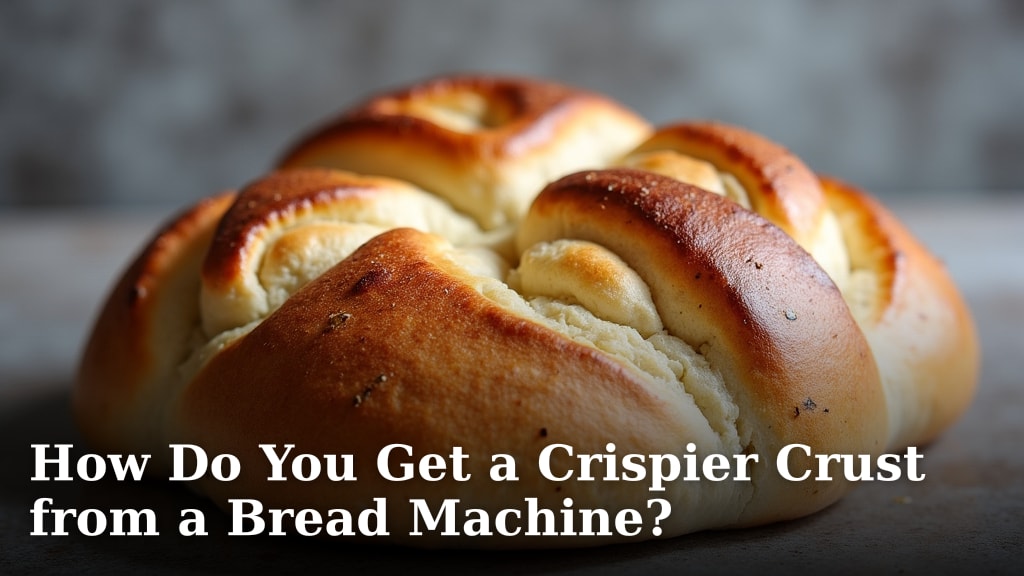
Getting a crispier crust from your bread machine is totally possible! You can achieve a satisfying crunch by making a few smart adjustments to your ingredients and baking settings. The key is often to increase the oven’s baking time or temperature at the end.
Many home bakers struggle with a soft crust from their bread maker. We found that while the machine excels at kneading and rising, the final bake sometimes needs a little extra help. Think of it as giving your loaf a final blast of heat for that perfect finish, ensuring a golden-brown exterior.
TL;DR:
- Add a bit more flour to your dough.
- Use a higher baking temperature.
- Extend the baking time post-cycle.
- Try a different bread pan.
- Let the bread cool completely.
Ready to transform your bread machine’s output? Let’s walk through exactly how to get that wonderfully crispy crust you’ve been dreaming of.
Achieving a Perfect, Crispy Bread Crust with Your Machine
Getting that satisfying crunch on your homemade bread is a common goal for bread machine users. While your machine is fantastic at the initial steps, sometimes the final bake needs a little tweak. You can absolutely achieve a golden-brown and crispy crust without giving up on your bread maker. Let’s look at how to make those simple adjustments.
Understanding the Bread Machine Bake Cycle
Your bread machine is designed to be an all-in-one baking solution. It handles kneading, rising, and the initial baking phase. However, the baking element is often enclosed within the machine. This can lead to a more even, but sometimes less crispy, crust compared to a conventional oven.
Why Bread Machines Can Produce Softer Crusts
Many bread machines use a heating element that bakes the bread from the sides and bottom. This provides consistent heat. Unfortunately, it can also trap steam. This steam is the enemy of a crispy crust. It keeps the exterior moist and prevents it from browning and hardening properly.
You might notice your bread crust is often pale or slightly doughy. This is especially true for the top of the loaf. We found that the enclosed environment is the main culprit. The machine does its best, but sometimes it needs a little extra help to get that perfect texture.
Ingredient Tweaks for a Crispier Crust
Before you even think about settings, a few ingredient changes can make a big difference. These are simple swaps that won’t mess with the overall flavor. They are just designed to help the crust develop better.
The Role of Flour and Liquid Ratios
Getting the flour-to-liquid ratio just right is key. Too much liquid can lead to a softer, denser loaf with a less crispy crust. Too little flour can result in a sticky dough that doesn’t bake up firm.
We’ve found that adding a tablespoon or two more flour can help. This absorbs excess moisture. It makes the dough a bit firmer. This firmer dough will bake up with a better crust. Always measure your flour carefully. Spoon it into the cup, then level it off.
Adding Fats for Texture
Fats like oil or butter can affect crust crispiness. While they add tenderness and flavor, too much can hinder the crust from becoming truly crisp. You might consider slightly reducing the fat in your recipe.
For some recipes, a small amount of fat is essential for texture. We found that sticking to the recipe’s fat recommendation is usually best. However, if you’re experimenting, know that less fat can sometimes mean a crispier crust.
Mastering Your Bread Machine Settings
Once your ingredients are ready, it’s time to look at the machine’s settings. These are often the most direct way to influence the final crust texture. Don’t be afraid to experiment with them.
Choosing the Right Crust Color Setting
Most bread machines offer a crust color option: light, medium, and dark. For a crispier crust, you’ll want to select the darkest setting your machine offers. Even if you don’t like a very dark crust, this setting often uses higher temperatures or longer bake times internally.
You can always monitor the bread as it bakes. If it’s getting too dark for your liking, you can try to pause the machine briefly. However, for maximum crispiness, start with the dark setting and see how it turns out. We found that this simple setting change can dramatically improve crust texture.
Considering a “Bake Only” Cycle
Some advanced bread machines have a “bake only” or “manual” cycle. If yours does, this is a game-changer for crust crispiness. You can use the machine for kneading and rising, then remove the dough and bake it in a conventional oven.
This gives you complete control over the baking process. You can use higher temperatures and get direct heat from all sides. This mimics what a baker would do. It’s one of the most reliable ways to ensure a truly crispy crust (Cleveland Clinic).
The Power of the Conventional Oven Finish
This is where you can really take control. Even if you bake the bread entirely in your machine, finishing it in a conventional oven can add that extra crisp factor. It’s like giving your loaf a spa treatment for a perfect finish.
Adding Extra Baking Time
One of the most effective methods is simply adding extra baking time. Once the bread machine cycle is complete, don’t remove the bread immediately. Leave it in the machine on the “warm” setting for an extra 10-15 minutes. This can help dry out the crust a bit more.
For an even crisper crust, remove the loaf from the machine and place it directly on the oven rack. Bake it in a preheated conventional oven at 350°F (175°C) for an additional 10-15 minutes. Keep an eye on it to prevent burning.
Increasing Oven Temperature for a Final Blast
A common trick is to increase the heat at the end of baking. If you’re using the “bake only” method, preheat your conventional oven to a higher temperature, around 400°F (200°C). Place the bread in this hot oven for the last 10-15 minutes of baking.
This high heat helps to quickly evaporate moisture from the crust. It also encourages browning and crisping. Many bakers swear by this method for achieving that perfect crunch. Research suggests higher temperatures help create a more robust crust structure (NCBI).
Pan and Cooling Techniques for Crispiness
Sometimes the vessel your bread bakes in, and how you treat it afterward, impacts the crust. These are often overlooked steps that can make a surprising difference.
Experimenting with Different Bread Pans
The type of pan your bread machine uses can influence the crust. Darker pans absorb more heat, which can lead to a crispier bottom crust. If your machine came with a light-colored pan, consider looking for a darker, non-stick pan as a replacement. Consider using a darker baking pan, as this can help absorb more heat for a crispier crust.
Some people even find success by using a different type of pan altogether. If you remove the dough from the machine’s pan after the rising cycle, you can bake it in a standard loaf pan or even a cast-iron skillet. These materials distribute heat differently and can contribute to a crispier crust.
The Importance of Proper Cooling
This might sound counterintuitive, but letting your bread cool properly is vital for crust crispiness. When bread comes out of the machine, the crust is still quite soft. It needs time to cool and harden.
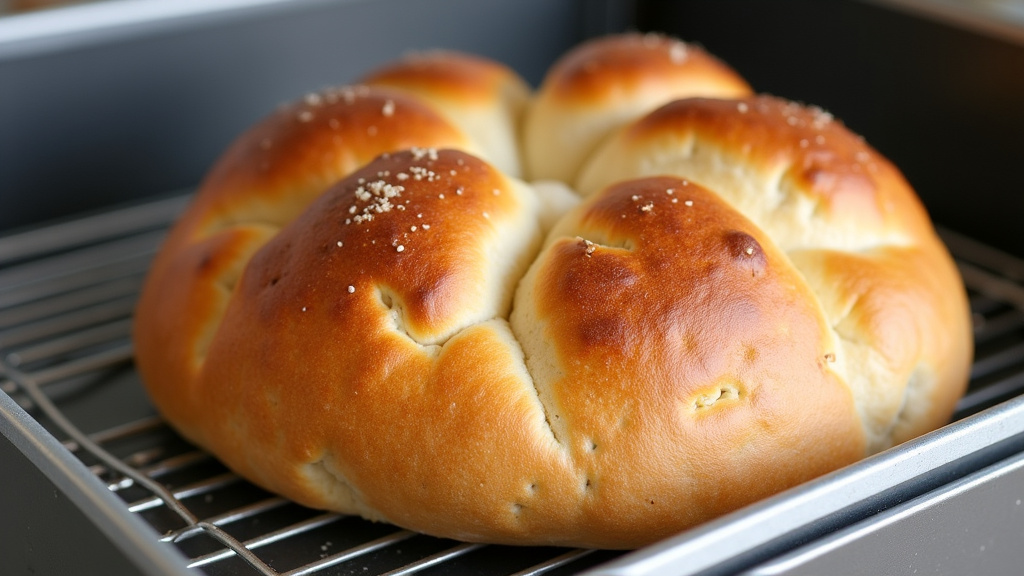
We found that leaving the bread to cool completely on a wire rack is essential. A wire rack allows air to circulate all around the loaf. This helps steam escape from the crust. If you cool it on a solid surface, moisture can get trapped underneath, making the crust soggy.
Troubleshooting Common Crust Issues
Even with these tips, you might encounter a few stubborn crust problems. Let’s address them quickly.
When the Top Crust Remains Pale
If the top of your loaf is consistently pale and soft, try using a higher baking temperature in a conventional oven finish. You can also try placing a baking sheet on the rack above the bread machine. This will reflect more heat onto the top of the loaf during the machine’s bake cycle.
When the Crust is Too Hard or Burnt
If you’re finding your crust is too hard or burning, scale back on the extra baking time or temperature. Also, ensure you’re using the “dark” crust setting as a starting point, not necessarily the endpoint if it becomes too dark.
Your Crispy Crust Checklist
Here’s a quick rundown of what to try for that perfect crust:
- Add a tablespoon or two of extra flour to your recipe.
- Select the darkest crust color setting on your machine.
- Remove the bread after the cycle and bake in a conventional oven for 10-15 minutes at 350°F (175°C).
- Consider using a darker baking pan if possible.
- Always cool your bread completely on a wire rack.
- If possible, use a “bake only” cycle and finish in a hot conventional oven.
Conclusion
You’ve learned that achieving a crispier crust from your bread machine is well within your reach! It’s all about understanding how your machine bakes and making a few strategic adjustments. By tweaking your ingredients, mastering your machine’s settings, and giving your loaf a final blast of heat, you can say goodbye to soft crusts forever. Don’t be afraid to experiment with these techniques to find your perfect loaf. Your next delicious, crunchy bread is just a bake cycle away!
Frequently Asked Questions
Can I just bake my bread machine bread longer in the machine?
Some bread machines have a “keep warm” function that can add a little extra crispiness. However, for a truly crisp crust, we found that removing the bread and using a conventional oven is more effective. This provides more direct heat.
Will using a darker bread pan really make a difference?
Yes, a darker bread pan can help. Darker materials absorb more heat. This can lead to better browning and crisping of the bottom crust. If your machine came with a light pan, a darker one might be worth trying.
How much extra flour should I add for a crispier crust?
We recommend starting with one to two extra tablespoons of flour. This helps absorb excess moisture in the dough. Too much flour can make the bread dense, so add it gradually and observe your dough.
Is it safe to remove the bread from the machine mid-cycle?
Yes, it’s generally safe to pause your bread machine. If you’re using a “bake only” cycle or planning to finish it in the oven, you can remove the dough after the rising and kneading are complete. Just be sure to follow your machine’s instructions.
What if my bread machine doesn’t have a “bake only” setting?
Don’t worry if your machine lacks a “bake only” option! You can still achieve a crispy crust. Simply remove the bread immediately after the machine’s cycle finishes. Then, place it directly on an oven rack in a preheated conventional oven for an extra 10-15 minutes.
