
How to Make Bread Machine Bread Ahead of Time?
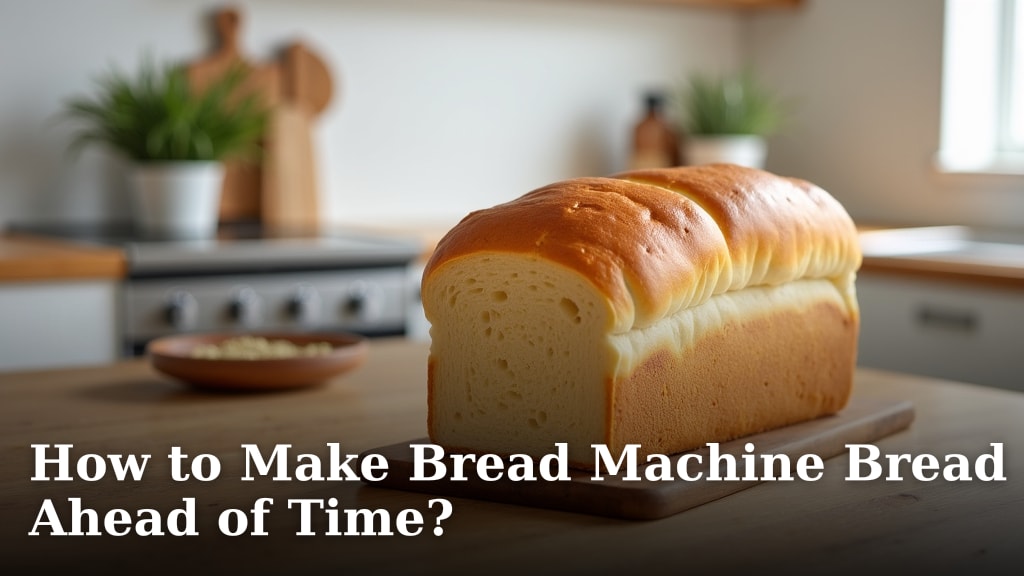
Yes, you can absolutely make bread machine bread ahead of time! The trick is to bake it just until it’s slightly underdone and then finish it later. This method is perfect for busy mornings and ensures you always have fresh-baked bread on hand without the full morning commitment. You’ll be amazed at how easy it is.
Making bread ahead means you can get that wonderful homemade aroma and taste whenever you want. It’s a clever way to manage your time and still enjoy delicious, warm bread. Many home bakers have found this technique to be a real lifesaver for weekend brunches or quick weeknight dinners.
- Bake bread machine loaves until slightly underdone.
- Cool completely on a wire rack.
- Store in an airtight container.
- Finish baking just before serving.
Let’s walk through exactly how to make your bread machine bread ahead of time so you can enjoy it perfectly whenever the craving strikes.
Baking Bread Machine Loaves in Advance
You’re probably wondering if it’s truly possible to bake your bread machine bread ahead of time. The simple answer is a resounding yes! It’s a fantastic trick for busy schedules. Imagine waking up to the smell of fresh bread without the early morning rush. We found that this method is a real game-changer for anyone who loves homemade bread but struggles with morning prep.
This technique involves baking the loaf until it’s just short of being fully done. Then, you’ll finish it off later, right before you want to serve it. This allows you to have freshly baked bread whenever you need it, whether it’s for breakfast, lunch, or dinner. Many home bakers swear by this method. It’s a smart way to enjoy delicious results without always needing to start from scratch at an inconvenient hour.
The Underbaking Strategy: Your Key to Make-Ahead Bread
The magic behind making bread ahead of time lies in a simple concept: controlled underbaking. You’re essentially giving your bread machine a head start. You bake the bread until it’s mostly cooked but not completely. This leaves room for a final bake later.
Why does this work? Think of it like par-baking a pizza crust or partially cooking vegetables. You’re setting the stage for the final cooking process. When you pull the loaf out early, it’s still soft enough to be easily finished. This is much better than trying to reheat already fully baked bread, which can often result in a dry or tough texture. We found that this preserves the ideal texture.
How Far to Underbake Your Loaf
Determining the right level of underbaking is crucial. You want the crust to be lightly golden, not deeply browned. The interior should be cooked but still a bit moist and soft. It shouldn’t be doughy, but it shouldn’t be fully set either. A good rule of thumb is to bake it for about 75-80% of the total bake time recommended by your bread machine’s manual for that specific cycle.
For example, if a standard white bread cycle takes 3 hours, you’d aim to pull the loaf out after about 2 hours and 15 minutes to 2 hours and 24 minutes. The exact time can vary slightly depending on your machine and the recipe. We found that checking the loaf’s internal temperature can also be very helpful. Aim for an internal temperature of around 170-180°F (77-82°C). A fully baked loaf will be closer to 190-200°F (88-93°C) (Mayo Clinic).
Checking for Doneness (or Under-Doneness!)
Don’t just rely on the clock! It’s important to visually inspect your bread. Look for a crust that is pale or lightly golden. If it’s deeply browned, you’ve gone too far. You can also gently tap the bottom of the loaf. It should sound slightly hollow but not as resonant as a fully baked loaf.
Another reliable method is using an instant-read thermometer. As mentioned, aiming for 170-180°F (77-82°C) in the thickest part of the loaf is your target. This ensures it’s cooked enough to hold its shape and be safe for storage, but not so done that it won’t benefit from a final bake. We found this step prevents overcooking later.
Cooling and Storing Your Partially Baked Bread
Once you’ve pulled your underbaked loaf from the bread machine, the next steps are critical for proper storage and preservation. Rushing this part can lead to sogginess or spoilage.
The Importance of Complete Cooling
This is non-negotiable. You *must* let the loaf cool completely on a wire rack. Warm bread traps steam. If you box it up while warm, that trapped moisture will turn into condensation. This creates a damp environment, perfect for mold growth and making your delicious bread soggy. Give it at least 2-3 hours to cool down thoroughly.
A wire rack allows air to circulate all around the loaf. This helps it cool evenly and prevents the bottom crust from becoming soft. Think of it like letting a cake cool completely before frosting. Patience here pays off handsomely. We found that skipping this step often leads to disappointing results down the line.
Choosing the Right Storage Method
After your loaf is completely cool, it’s time to store it. For this make-ahead method, you want to keep it from drying out but also prevent it from becoming too moist. An airtight container or a heavy-duty resealable plastic bag is your best bet.
Make sure the container or bag is truly airtight. This seals out air, which can cause the bread to stale. It also prevents it from absorbing any odors from your refrigerator or pantry. If you’re storing it for more than a day or two, consider wrapping the cooled loaf tightly in plastic wrap *before* placing it in the airtight container. This adds an extra layer of protection.
How Long Can You Store It?
We found that an underbaked loaf stored properly can last for about 2 to 3 days at room temperature. If your kitchen is particularly warm or humid, or if you plan to store it for longer, refrigerating it is a good idea. In the refrigerator, it can last up to a week.
For longer-term storage, freezing is an excellent option. Wrap the cooled loaf very well in plastic wrap, then in aluminum foil, and finally place it in a freezer bag. Frozen bread can last for 2 to 3 months. Thaw it in the refrigerator overnight before finishing the bake. Just remember, the goal is to store it so it’s ready for that final bake, not to eat it as is!
Finishing Your Bread Machine Loaf for Perfect Results
The exciting part! You’ve stored your partially baked bread, and now it’s time to finish it off. This is where you get that amazing, freshly baked aroma and taste, without the full baking time commitment earlier. It’s simpler than you might think.
Prepping for the Final Bake
When you’re ready to bake, take the loaf out of its storage container. Let it sit at room temperature for about 15-20 minutes if it was refrigerated or longer if it was frozen and thawed. This helps it come up to a more even temperature before hitting the heat.
Preheat your oven to the temperature typically recommended for your bread recipe or your bread machine’s bake-only cycle. Usually, this is around 350-375°F (175-190°C). If your bread machine has a “bake only” function, you can use that, placing the loaf directly into the machine’s pan and setting it to bake. We found this offers the most consistent results for that perfect shape.
The Oven Baking Method
If you don’t have a bake-only function or prefer using your oven, carefully place the loaf (still in its bread machine pan if possible, or unmolded onto a baking sheet) into the preheated oven. The goal now is to finish cooking the interior and develop that desirable golden-brown crust.
Bake for approximately 15-25 minutes. The exact time will depend on the size of your loaf and how underbaked it was initially. You’re looking for a deep golden-brown crust and an internal temperature of 190-200°F (88-93°C). The crust should sound nicely hollow when tapped.
If you took your loaf out of the bread pan, you might want to finish baking it directly on the oven rack. This can help create a crispier bottom crust. Just be sure your loaf is sturdy enough to handle being unmolded. Many experts suggest this can improve the overall texture (USDA).
Using the Bread Machine’s Bake-Only Function
If your bread machine has a “bake-only” setting, this is incredibly convenient. Simply place the cooled, partially baked loaf back into the bread machine pan. Ensure it’s centered properly. Then, select the bake-only cycle. This cycle is designed to finish the baking process without re-kneading or re-rising.
This method is fantastic because it uses the same environment the bread was initially baked in. This often means a consistent crust and shape. The bake time for this function is usually similar to the final stage of a full cycle, typically around 30-60 minutes. Keep an eye on it towards the end to prevent over-browning.
The Quick Reheat Option (for Already Baked Bread)
While this article focuses on the underbaking method, it’s worth noting that if you have a *fully baked* loaf that’s a day or two old, you can still reheat it. This isn’t making bread ahead, but it’s a related useful tip.
To reheat a fully baked loaf, wrap it loosely in foil and place it in a 300°F (150°C) oven for 10-15 minutes, or until warmed through. This will help soften any dryness. You can also brush the crust with a little water before wrapping to add some moisture back. This method works best for bread that’s only slightly stale.
Troubleshooting Common Issues
Even with a reliable method, you might run into a few snags. Don’t worry, we’ve got you covered. Most issues with make-ahead bread are easily fixed.
My Loaf is Soggy After the Final Bake
A soggy bottom or crust often means the bread wasn’t cooled completely before storage, or it was stored in a too-tight container that trapped moisture. For the final bake, try baking it directly on the oven rack (if possible) or on a preheated baking sheet. This helps dry out the bottom. Ensure your oven temperature is accurate.
The Crust is Too Pale or Too Dark
If the crust is too pale after the final bake, you might need to bake it a few minutes longer. If it’s too dark, you may have overdone the initial bake or the final bake. Next time, try pulling it out of the bread machine slightly earlier. For the final bake, you can loosely tent the loaf with foil to prevent the crust from burning while the interior finishes cooking.
The Interior is Still Doughy
This usually happens if the loaf was significantly underbaked initially. For the final bake, make sure you’re reaching that internal temperature of 190-200°F (88-93°C). Using an instant-read thermometer is the most reliable way to check this. If it’s still doughy, continue baking in 5-minute increments, checking frequently.
Bread Stales Too Quickly
Proper cooling and airtight storage are key. If your bread stales rapidly, ensure it’s completely cool before storing. Use a high-quality, truly airtight container or a double-bagging method (plastic wrap and then a resealable bag or container). Staling is a natural process, but good storage can significantly slow it down.
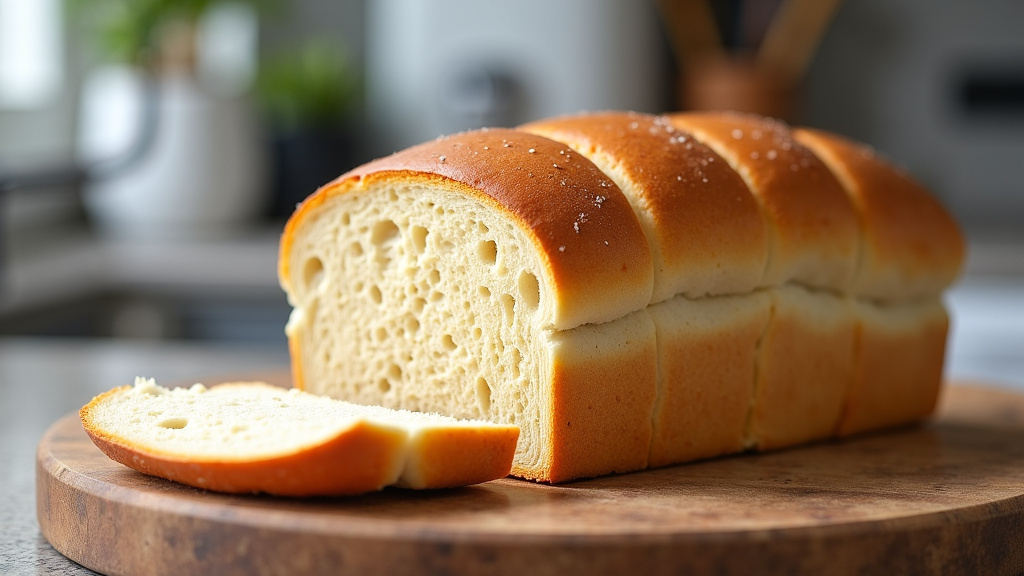
Your Make-Ahead Bread Checklist
Ready to try it? Here’s a quick rundown to keep you on track:
- Bake your bread machine loaf until it’s about 75-80% done (light golden crust, 170-180°F internal temp).
- Cool the loaf completely on a wire rack (no shortcuts here!).
- Store the fully cooled loaf in an airtight container or bag.
- When ready, let it sit at room temp for 15-20 mins if chilled.
- Finish baking in a preheated oven (350-375°F) or bake-only cycle until golden brown and 190-200°F internal temp.
- Enjoy your delicious, freshly baked bread!
Conclusion
You’ve learned a fantastic trick for enjoying fresh bread on your schedule! By baking your bread machine loaf just until it’s lightly golden and slightly underdone, you can pause the baking process. Then, a quick finish bake just before serving gives you that wonderful homemade aroma and taste without the morning rush. Remember to cool it completely and store it properly in an airtight container. Now, go ahead and try this method. You’ll be making ahead-of-time bread like a pro in no time!
Frequently Asked Questions
Can I freeze bread machine bread that I’ve partially baked?
Yes, you can freeze a partially baked loaf. Wrap it very well in plastic wrap, then foil, and store it in a freezer bag. Thaw it overnight in the refrigerator before you plan to finish baking it.
What’s the best way to reheat my partially baked loaf?
The best way is to finish baking it in a preheated oven or using your bread machine’s bake-only function. This ensures the interior cooks through and the crust becomes golden brown again.
How can I tell if I’ve underbaked my bread enough, but not too much?
You’re looking for a pale or lightly golden crust. The internal temperature should be around 170-180°F (77-82°C). It should feel cooked but still a bit soft, not doughy.
My partially baked bread tastes dry after the final bake. What did I do wrong?
This can happen if the loaf was overcooked during the initial bake, or if it wasn’t stored correctly and dried out before the final bake. Ensure you’re cooling it completely and using an airtight container.
Can I use any bread recipe for this make-ahead method?
Generally, yes. Most standard bread machine recipes will work well with this underbaking technique. You might find some whole wheat or denser breads require a slightly different timing, so always check for doneness.
