
How to Bake Bread Machine Dough in the Oven?
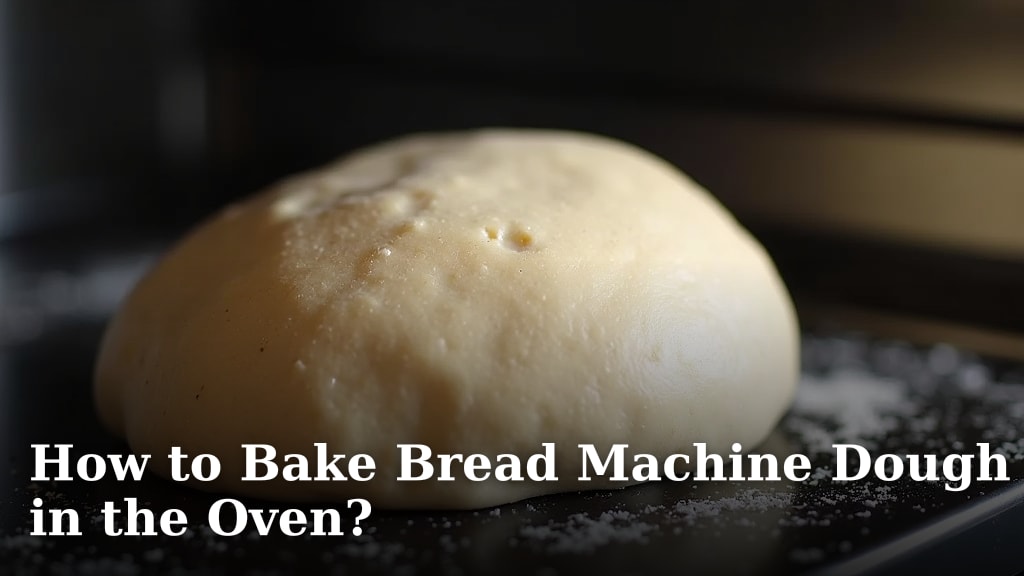
Yes, you can absolutely bake bread machine dough in your oven! It’s a fantastic way to get a beautifully baked loaf with a crustier texture than your bread maker can achieve. You’ll simply take the dough once the machine has finished its kneading and rising cycles, shape it, and then bake it in your conventional oven for superior results.
Many home bakers wonder if this is possible, and we found that it’s a simple and effective technique. It lets you combine the convenience of a bread machine for dough preparation with the artisanal touch of oven baking. This method is perfect for achieving that perfectly golden-brown crust you might be missing.
- Bread machine dough bakes wonderfully in a regular oven.
- It offers a crustier texture than machine-baked bread.
- Use your machine for kneading and rising, then bake in the oven.
- It’s an easy way to upgrade your homemade bread.
Let’s walk through exactly how to take your bread machine dough from the pan to a perfectly baked loaf in your oven.
Baking Your Bread Machine Dough in a Conventional Oven
So, you’ve mastered the kneading and rising cycles of your bread machine, and now you’re ready for the grand finale: a perfectly baked loaf in your oven. It’s a fantastic way to get a crustier exterior and a more artisanal crumb than your machine might deliver on its own. We found this technique to be surprisingly simple, combining the best of both worlds.
Many home bakers wonder if this transition is even possible. The good news is, it absolutely is! You’re essentially using your bread maker as a super-efficient dough preparer. Think of it as a hands-off sous chef for your baking. We’ll guide you through every step to ensure your oven-baked bread machine dough turns out wonderfully.
Preparing the Dough for Oven Baking
Once your bread machine has completed its final rise and is ready to bake, it’s time to intervene. Don’t let it start its baking cycle inside the machine if you’re aiming for that perfect oven crust. You’ll want to stop the machine just before it begins its baking phase.
Removing the Dough from the Pan
Carefully open the lid of your bread machine after the last rise. The dough should look puffy and have filled out the pan nicely. Be gentle, as you don’t want to deflate all that hard work the machine has done.
Most bread machine pans have a kneading paddle at the bottom. You’ll need to remove this. Many paddles are designed to be easily pulled out. Some might be a little stuck. We found that gently wiggling it or using a non-metal spatula can help loosen it without damaging the dough.
Once the paddle is out, you can ease the dough out of the pan. It might stick a little to the sides. Lightly greasing the pan beforehand can make this process much smoother. If it’s still a bit stubborn, a gentle tap on the sides of the pan usually does the trick. Your dough should now be free and ready for shaping.
Shaping Your Oven-Ready Dough
Now that your dough is free from its machine home, it’s time to give it a beautiful shape for the oven. This is where you can get creative! The dough will be soft and pliable, so it’s easy to work with.
Choosing Your Loaf Shape
You have a few popular options. You can shape it into a classic round loaf (boule) or an oval loaf (batard). If you plan to bake it in a loaf pan, you can simply shape it to fit. A free-form loaf baked directly on a baking sheet or in a Dutch oven is also a wonderful choice, offering maximum crust development.
The Shaping Technique
Start by gently degassing the dough. You can do this by pressing down on it lightly with your fingertips. Then, fold the edges towards the center, much like folding an envelope. Turn it over so the seams are on the bottom. Cup your hands around the dough and gently pull it towards you on a lightly floured surface, rotating it as you pull. This creates surface tension, which helps your loaf hold its shape and rise nicely in the oven.
Don’t overwork the dough at this stage. You’re just giving it a gentle shape and building a little tension. If you’re using a loaf pan, grease it well and place your shaped dough inside. If you’re baking free-form, place it on parchment paper on a baking sheet or directly into a floured proofing basket (banneton).
The Second Rise (Proofing)
After shaping, your dough needs another period of rising. This is called proofing. It allows the yeast to produce more gas, making the bread light and airy. Since the machine handled the first rise, this second rise is crucial for oven baking.
Find a warm, draft-free spot for your shaped dough. Covering it loosely with plastic wrap or a clean kitchen towel will prevent it from drying out. We found that a slightly warm oven (turned off, with the light on) can be an ideal environment for proofing.
The proofing time can vary depending on the room temperature and the dough’s ingredients. Typically, it takes about 30 to 60 minutes. You’ll know it’s ready when the dough has increased in size by about 50-75% and looks noticeably puffy. A gentle poke with a floured finger should leave a slight indentation that slowly springs back.
Preheating Your Oven for Success
While your dough is proofing, it’s time to get your oven to the right temperature. Proper preheating is key for a good oven spring – that rapid expansion of the dough when it first hits the heat.
Optimal Oven Temperatures
For most bread machine doughs baked in the oven, a temperature between 375°F and 425°F (190°C to 220°C) is recommended. The exact temperature can depend on the type of bread you’re making and your oven’s characteristics. Many experts suggest starting at a higher temperature and then lowering it during the baking process.
If you’re using a Dutch oven, you’ll want to preheat that in the oven as well. This is a fantastic way to create a steamy environment that promotes excellent crust development and oven spring. Research and found that preheating a Dutch oven for at least 30 minutes ensures it’s piping hot.
Preparing for Steam (Optional but Recommended)
Steam is your friend when it comes to achieving a beautiful, crispy crust. It keeps the surface of the dough moist for longer, allowing it to expand fully before the crust sets. A simple way to create steam is to place a shallow pan (like a metal broiler pan or an old cake pan) on the bottom rack of your oven while it preheats. You’ll add water to this pan right before you put your bread in.
Alternatively, some bakers like to use an ice cube tray filled with ice cubes and toss them into the hot steam pan just as the bread goes in. The melting ice creates a burst of steam. Another popular method is spraying the oven walls with water right after placing the bread inside. Be cautious when doing this, as the oven will be very hot.
Baking Your Bread Machine Dough
Everything is ready! Your dough has had its final rise, and your oven is hot and steamy. It’s time to bake your beautiful loaf.
The Baking Process
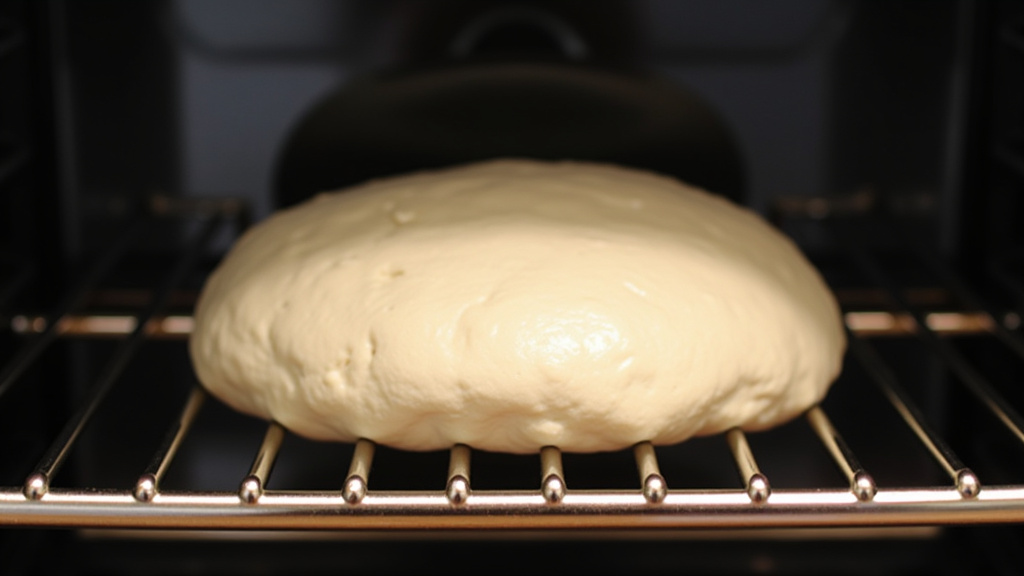
Carefully transfer your shaped dough into the preheated oven. If using a Dutch oven, carefully remove the hot lid and place your dough inside, then put the lid back on. If baking on a baking sheet, slide it onto the center rack. If you’re using the steam pan method, quickly pour about a cup of hot water into the preheated steam pan and immediately close the oven door.
Baking times will vary depending on the size and shape of your loaf and your oven. For a standard loaf, expect it to take anywhere from 25 to 45 minutes. Start checking for doneness around the 20-minute mark.
Achieving the Perfect Crust and Doneness
The crust should be a deep golden brown. A great indicator of doneness is the internal temperature of the bread. We found that using an instant-read thermometer is the most reliable method. Most white and whole wheat breads are done when they reach an internal temperature of 190°F to 200°F (88°C to 93°C). Many guidelines suggest this internal temperature (National Center for Home Food Preservation). Our guide to the best instant-read thermometer can help you ensure your bread is perfectly baked.
Another classic test is to tap the bottom of the loaf. If it sounds hollow, it’s likely baked through. You might also notice the crust beginning to pull away slightly from the sides of the pan.
Adjusting Temperature and Time
If you started at a higher temperature (e.g., 425°F), you’ll likely want to reduce it to around 375°F (190°C) after the first 15-20 minutes of baking. This helps prevent the crust from burning before the inside is fully cooked. If your crust is browning too quickly, you can loosely tent the loaf with aluminum foil.
Remember that ovens can vary. It’s always a good idea to get to know your own oven. What takes 30 minutes in one might take 35 in another. Keep an eye on your loaf, and you’ll quickly get a feel for it.
Cooling Your Oven-Baked Masterpiece
This is perhaps the hardest part: waiting! Once your bread is out of the oven, resist the urge to slice into it immediately.
Transfer the loaf to a wire cooling rack. This allows air to circulate all around the bread, preventing the bottom crust from becoming soggy. The bread continues to cook and set as it cools. Slicing too early can result in a gummy texture. Transfer the loaf to a wire cooling rack to allow air circulation.
Give your bread at least 1 hour to cool completely. You’ll hear it crackling as it cools – a beautiful sound for any baker! Once cooled, you can finally slice and enjoy the fruits of your labor. You’ve successfully taken bread machine dough and transformed it into a crusty, delicious loaf with your own oven.
Quick Checklist for Oven Baking Bread Machine Dough
- Remove kneading paddle from dough.
- Gently shape your dough for its final form.
- Allow dough to proof for 30-60 minutes.
- Preheat oven to 375-425°F (190-220°C).
- Consider using steam for a crispier crust.
- Bake until internal temperature reaches 190-200°F (88-93°C).
- Cool completely on a wire rack before slicing.
Conclusion
You’ve successfully transformed your bread machine dough into a delicious, oven-baked loaf! By using your machine for the initial preparation and then transferring the dough to your oven, you achieve a superior crust and texture. Remember to focus on proper shaping, a good second rise, and a well-preheated oven with a steamy environment for the best results. Your next step is to try a different bread recipe using this method. Get ready to impress yourself and others with your artisanal-looking and tasting bread!
Frequently Asked Questions
Can I skip the second rise after taking the dough out of the bread machine?
No, you shouldn’t skip the second rise (proofing). The dough needs this additional time to develop more air pockets and achieve a light, airy crumb. Skipping it will result in a dense loaf that hasn’t fully developed its texture.
What if my bread machine dough is too sticky to handle?
If your dough is too sticky, lightly flour your hands and your work surface. You can also use a bench scraper to help manage it. Avoid adding too much extra flour, as this can make your final bread dry and tough.
How do I know if my bread machine dough is ready for the oven after the second rise?
The dough should look visibly puffy and have increased in size by about 50-75%. A gentle poke with a floured finger should leave a slight indentation that slowly springs back. If it springs back immediately, it needs more time; if it stays indented, it may have over-proofed.
Why is steam important when baking bread machine dough in the oven?
Steam helps create a beautiful, crispy crust and allows for better oven spring. It keeps the surface of the dough moist, giving it more time to expand before the crust sets and hardens.
Can I bake bread machine dough in a loaf pan instead of free-form?
Absolutely! If you prefer a classic sandwich loaf shape, you can shape your dough to fit a greased loaf pan. Just be sure to adjust your baking time as needed, as pan loaves may bake slightly faster than free-form ones.
