
Why Does My Bread Machine Bread Stick to the Pan?
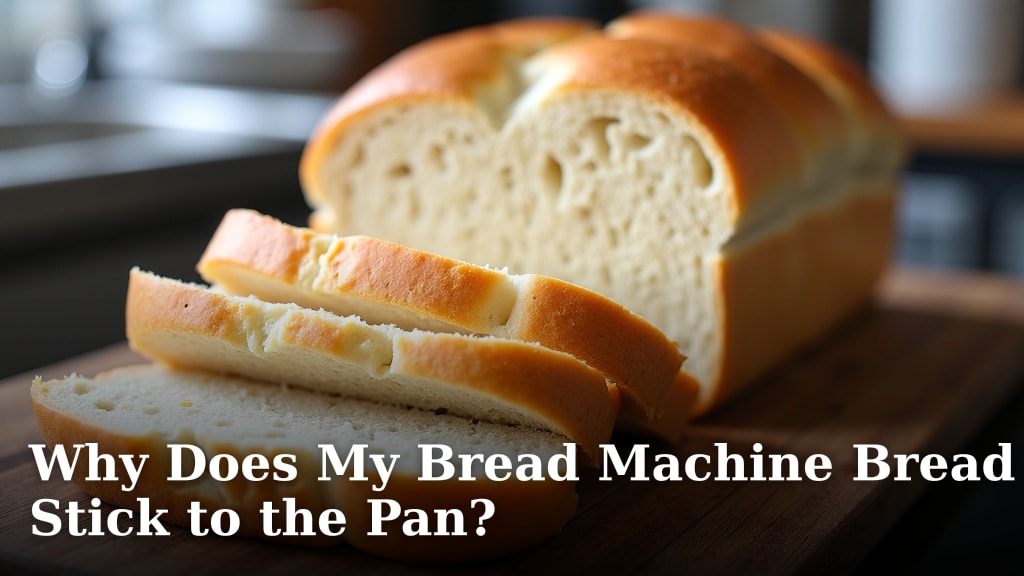
Your bread machine bread sticking to the pan likely happens because the yeast wasn’t active enough or there wasn’t enough fat in the recipe. These two factors are key for a good release. We found that a few simple adjustments can prevent this frustrating problem.
It’s disappointing when your homemade bread becomes a permanent fixture in your bread machine pan. This often comes down to a few common baking errors. Getting the balance of ingredients right and ensuring your machine is clean are crucial steps.
- Not enough fat (oil or butter) in the recipe.
- Yeast isn’t fresh or active enough.
- Over-mixing or under-mixing the dough.
- Pan not properly greased or cleaned.
- Incorrect liquid to flour ratio.
Let’s walk through why your bread might be sticking and what you can do to get that perfect loaf sliding out every time.
Troubleshooting Bread Machine Loaves That Stick
It’s a common and frustrating problem: you’ve baked a delicious loaf of bread in your machine, only to find it stubbornly stuck to the pan. This usually means something went awry during the baking process. Thankfully, most sticking issues are fixable with a few adjustments.
The Role of Fat in Preventing Sticking
Fat is your best friend when it comes to ensuring your bread releases cleanly. Think of it as a lubricant for your dough. It coats the flour particles and prevents them from directly adhering to the pan’s surface. Without enough fat, the dough can essentially glue itself to the metal.
Not Enough Oil or Butter
Many recipes call for a specific amount of oil or butter. If you’ve skimped on this, or if the recipe itself is low on fat, you’re setting yourself up for trouble. We found that even a tablespoon too little can make a difference. Always measure your fats carefully.
Choosing the Right Fat
Most common cooking oils like vegetable, canola, or olive oil work well. Melted butter also does a good job. Some people even use shortening. The type of fat isn’t usually the main culprit, but ensure it’s in its liquid or softened state when added to the machine.
Yeast: The Little Engine That Could (Or Couldn’t)
Active yeast is essential for bread to rise properly. But it also plays a subtle role in texture and, surprisingly, release. If your yeast isn’t active, your bread might be denser and more prone to sticking.
Is Your Yeast Past Its Prime?
Yeast has a shelf life. If your yeast is old, it might not have enough oomph to leaven your bread adequately. This results in a dense, heavy loaf that’s more likely to cling to the pan. Always check the expiration date on your yeast packet.
Testing Your Yeast’s Activity
Before you start your bread machine cycle, you can give your yeast a little wake-up call. Mix your yeast with a bit of the recipe’s warm liquid (around 105-115°F or 40-46°C) and a pinch of sugar. Let it sit for 5-10 minutes. If it gets foamy and bubbly, your yeast is good to go. If nothing happens, it’s time for a fresh packet (National Institutes of Health).
Liquid and Flour: The Balancing Act
The ratio of liquid to flour is perhaps the most delicate part of bread making. Too much or too little of either can lead to dough that’s either too sticky or too dry, both of which can cause sticking problems.
Too Much Liquid
If your dough is overly wet, it can become gummy and sticky. This excess moisture can seep into every nook and cranny of the pan, making release difficult. Your bread might also have a very open crumb structure.
Not Enough Liquid
Conversely, if the dough is too dry, it may not develop properly. A dry dough can bake up dense and hard. It might not expand enough to pull away from the pan sides as it cools, leading to sticking.
Measuring Accurately is Key
Many experts recommend using the “spoon and level” method for flour. Spoon flour into your measuring cup until it’s overflowing, then level it off with a straight edge. Scooping directly from the bag can pack too much flour in, altering the ratio (King Arthur Baking).
Dough Consistency and Mixing Time
The way your dough mixes and develops is a direct result of your ingredients and the machine’s action. Both over-mixing and under-mixing can create issues.
Under-Mixed Dough
If your machine didn’t mix the dough long enough, or if you stopped it too soon, the ingredients won’t be fully incorporated. This can lead to pockets of unmixed flour or a dough that’s too shaggy. Such a dough won’t develop the gluten structure needed for a good rise and clean release.
Over-Mixed Dough
While less common in bread machines, it’s possible to overwork the dough. Over-mixing can break down gluten strands, resulting in a tough loaf. A tough loaf may not shrink away from the pan as it cools, potentially causing it to stick.
Checking Dough Consistency
Most bread machines have a brief kneading cycle early on. You can often pause your machine during this phase to feel the dough. It should be smooth, elastic, and form a ball. It shouldn’t be overly sticky or fall apart. If it’s too dry, add a tablespoon of liquid; if too wet, add a tablespoon of flour.
Pan Preparation: Grease and Cleanliness
This might seem obvious, but it’s often the simplest oversight that causes the most grief. Your bread machine pan needs proper care.
Always Grease the Pan
Even if your pan has a non-stick coating, it’s wise to give it a light coating of oil or cooking spray before adding ingredients. This is especially important for the paddle and the corners. This step is a lifesaver for preventing sticking.
Cleaning After Each Use
Baked-on bits of bread can create rough spots on your pan. These act like tiny anchors for your next loaf. Wash your pan thoroughly with warm, soapy water after each use. Ensure all residue is removed. A soft sponge or cloth is best to avoid scratching the non-stick surface.
The Bread Paddle Problem
The bread paddle is notorious for getting stuck in the loaf. Make sure it’s properly attached to its spindle before baking. After baking, if it’s stuck in the bread, try to gently wiggle it out before removing the loaf. Sometimes, a bit of warm water can help loosen it if it’s firmly lodged.
Cooling and Removal Technique
What you do immediately after baking can also impact whether your bread sticks.
Let It Cool Slightly
As bread bakes, it expands. As it cools, it shrinks slightly. This shrinking action helps it pull away from the pan walls. If you try to remove the bread too soon, it might still be expanded and bind to the pan. Waiting too long, however, can let moisture build up and make it stick.
The Inversion Trick
Once the bread has cooled for about 10-15 minutes, it’s usually time for removal. Turn the bread machine pan upside down over a wire cooling rack. Give the pan a gentle shake. The loaf should slide out. If it’s resistant, try gently tapping the sides or bottom of the pan.
Here’s a quick checklist to help you avoid the sticking blues:
- Double-check yeast expiration date and test its activity.
- Accurately measure all liquid and dry ingredients.
- Ensure your recipe includes adequate fat (oil/butter).
- Lightly grease the bread pan before adding ingredients.
- Wash the pan thoroughly after each use.
- Allow bread to cool for 10-15 minutes before inverting.
Conclusion
Sticking bread machine loaves are frustrating, but usually easy to fix. Remember to give your yeast a quick check before you start. Always measure your ingredients, especially flour and fat, with care. Proper pan preparation, including a light grease and thorough cleaning, is your secret weapon. You’ve got this!
By paying attention to these simple steps, you’ll soon enjoy perfectly released loaves every time. So, grab your ingredients and give it another go!
Frequently Asked Questions
Why did my bread stick even after I greased the pan?
Even with greasing, sticking can happen if your yeast isn’t active, leading to a dense loaf that doesn’t shrink properly. Also, ensure you’ve used enough fat in your recipe. Sometimes, old residue on the pan can also cause issues, so a deep clean is essential.
Is there a best type of oil to use for greasing the bread machine pan?
Most common cooking oils like vegetable, canola, or even olive oil work well for greasing. Cooking spray is also a convenient option. The main goal is to create a thin, even barrier to prevent the dough from directly touching the pan surface.
My bread paddle is always stuck in the loaf, what can I do?
Before baking, ensure the paddle is securely attached to its spindle. After baking, try to gently wiggle the paddle while the loaf is still warm. Sometimes, a few drops of warm water around the paddle can help loosen it if it’s really stuck.
Can the type of flour affect whether my bread sticks?
While less common, very absorbent flours might require a tiny bit more liquid. If your dough is too dry and crumbly, it might not develop properly and could stick. Always measure your flour accurately using the spoon-and-level method.
What’s the ideal time to remove bread from the machine after baking?
You want to let the bread cool in the pan for about 10-15 minutes. This allows the loaf to shrink slightly, which helps it release from the sides. Removing it too soon might mean it’s still expanded and clings to the pan.
