How To Make Herb Bread In A Bread Maker?
To make delicious herb bread in a bread maker, you typically add liquids first, then dry ingredients, and finally your fresh or dried herbs before selecting the basic or whole wheat cycle.
The bread maker handles all the kneading, rising, and baking, making homemade herb bread incredibly simple and rewarding.
- You can enjoy fresh, fragrant herb bread with minimal effort using your bread maker.
- Simply combine liquids, dry ingredients, and your chosen herbs in the machine.
- Select the basic or whole wheat setting, and let your bread maker do the hard work.
- This guide shares essential tips for perfect results and delicious variations.
- Get ready for a wonderful aroma and amazing taste with every homemade slice.
How To Make Herb Bread In A Bread Maker?
Making herb bread in a bread maker is a straightforward process that combines simple ingredients with the convenience of automation. It lets you create a fragrant, flavorful loaf with minimal hands-on time. We found that the key lies in the correct layering of ingredients and selecting the right bread maker setting for your desired outcome.
Why Make Your Own Herb Bread?
Imagine the smell of fresh herbs filling your kitchen. That’s what homemade herb bread offers! It’s not just about the aroma; you control the ingredients. You can avoid preservatives and adjust the flavors exactly how you like them. Plus, it’s a fantastic way to impress friends and family with a seemingly complex, but truly simple, creation.
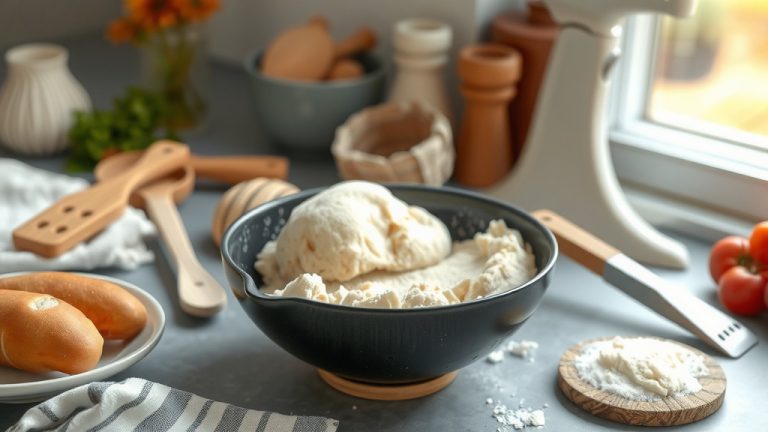
Essential Ingredients You’ll Need
Creating a delicious loaf starts with good quality ingredients. You probably have most of these in your pantry already. Gathering them before you begin makes the baking process much smoother and more enjoyable.
The Power of Flour
For most herb bread recipes, all-purpose or bread flour works best. Bread flour has a higher protein content. This helps develop gluten, which gives your bread a good structure and chew. Many experts say that using fresh flour makes a noticeable difference in texture and rise.
Yeast: The Magic Riser
Yeast is what makes your bread light and airy. Active dry yeast or instant yeast are both suitable. Instant yeast is often preferred for bread makers because you can mix it directly with dry ingredients. Make sure your yeast isn’t expired; old yeast means a flat loaf!
Water, Salt, and Sugar
Water activates the yeast and brings everything together. Use lukewarm water for best results. Salt adds flavor and controls yeast activity. Sugar feeds the yeast, helping it to activate and rise. A little oil, like olive oil, can also add moisture and a soft texture.
Choosing the Perfect Herbs
This is where your creativity shines! The herbs you choose will define your bread’s character. Do you prefer a subtle hint or a bold flavor? There are many wonderful options to consider. We often find that simple choices yield the best results.
Fresh Herbs vs. Dried Herbs
Fresh herbs offer a brighter, more vibrant flavor and aroma. However, dried herbs are more concentrated, so you’ll need less. A good rule of thumb is to use one-third the amount of dried herbs compared to fresh. For example, if a recipe calls for 3 tablespoons of fresh rosemary, use 1 tablespoon of dried. Fresh herbs usually go in during the “mix-in” beep of your bread maker.
Classic Herb Combinations
Some herbs just go together perfectly. Rosemary and thyme offer an earthy, robust flavor. Basil and oregano bring a taste of Italy. For a delicate touch, consider dill or chives. Experimenting with different blends is part of the fun! Many culinary resources suggest pairing herbs based on their intensity (Mayo Clinic).
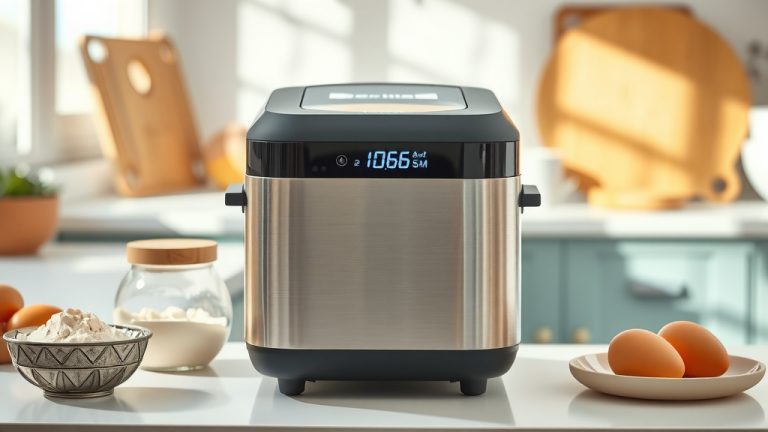
Getting Started: Your Bread Maker Guide
Your bread maker is designed to simplify the baking process. Familiarize yourself with its settings. Most machines have a “basic,” “white,” or “whole wheat” cycle. These cycles handle all the kneading, rising, and baking steps automatically. Reading your machine’s manual is a great first step, as specific models can vary.
Step-by-Step: Mixing and Baking
This is the core of how to make herb bread in a bread maker. Follow these steps carefully for a great outcome. Remember, consistency is important in baking, so take your time with each stage.
Adding Ingredients Correctly
Most bread makers recommend adding liquids first, then dry ingredients, and finally the yeast on top. Keep the salt and yeast separate initially, as salt can inhibit yeast activity. Your herbs can go in with the dry ingredients or be added at the “mix-in” beep if your machine has one. This layering method helps prevent yeast from activating too soon.
Selecting Your Bread Maker Setting
For most herb bread recipes, the “basic” or “white bread” setting works well. If you’re using whole wheat flour, choose the “whole wheat” setting. You can also select your preferred crust color (light, medium, dark) if your machine offers this option. This choice impacts the final texture and appearance of your loaf.
The Waiting Game
Once you’ve added everything and selected your settings, close the lid and press start. Your bread maker will take care of the rest! It will mix, knead, rise, and bake your bread. Avoid opening the lid during the rising and baking cycles, as changes in temperature can affect the loaf’s rise. Patience is truly a virtue here.
Tips for a Flawless Loaf
Even with a bread maker, a few simple tips can make a big difference. These small adjustments can elevate your herb bread from good to truly amazing. We found these suggestions helpful for consistent, high-quality results.
Measuring Precisely
Baking is a science. Use proper measuring cups and spoons, leveling off dry ingredients. Too much or too little of any ingredient can throw off the balance. Many experts emphasize that accurate measurements are crucial for bread making success (NIH).
Temperature Matters
Ensure your water is lukewarm (around 105-115°F or 40-46°C). Water that’s too hot can kill the yeast, and water that’s too cold won’t activate it. The ambient room temperature also affects rising, so keep your kitchen comfortable, not chilly. This optimal temperature range helps the yeast thrive.
Don’t Peek Too Soon!
Resist the urge to open the bread maker lid during the rise or bake cycles. Releasing the heat and humidity can cause your loaf to collapse. Trust the machine; it knows what it’s doing! A sudden temperature drop often harms the delicate structure of rising dough.
Troubleshooting Common Issues
Sometimes, things don’t go perfectly, and that’s okay! Understanding common problems can help you fix them next time. Don’t get discouraged; learning from mistakes is part of the baking journey. We found that most issues have simple solutions.
Loaf Didn’t Rise?
This is often due to expired yeast or water that was too hot or too cold. Check your yeast’s expiration date. Also, make sure the salt didn’t come into direct contact with the yeast before mixing. Sometimes, too much flour can also weigh down the dough.
Crust Too Hard?
A hard crust might mean your bread maker’s crust setting was too dark, or there wasn’t enough moisture. Try selecting a lighter crust setting next time. You can also lightly brush the baked loaf with butter or water after it cools to soften the crust. Adding a little extra oil or fat to the dough can also help.
Spice Up Your Loaf: Add-Ins
Beyond herbs, you can get creative with other additions! Think about what flavors you enjoy. Additions like grated cheese, garlic powder, or finely chopped sun-dried tomatoes can transform your herb bread. Add these at the “mix-in” beep, usually after the first kneading cycle.
Storing Your Delicious Herb Bread
Once your herb bread is baked and cooled, you’ll want to keep it fresh. Store it at room temperature in an airtight container or bread bag for 2-3 days. For longer storage, slice the bread and freeze it. Thaw slices as needed. This approach helps maintain flavor and texture over time.
Quick Checklist for Success
- Gather all ingredients before starting.
- Measure precisely, especially flour and yeast.
- Use lukewarm water for yeast activation.
- Add ingredients in the recommended order (liquids first).
- Select the correct bread maker cycle and crust setting.
- Avoid opening the lid during rising and baking.
- Allow bread to cool completely before slicing.
Herb Pairing Suggestions
To help you choose, here are some popular herb pairings and their suggested uses. This table can guide your next herb bread experiment. We found that certain combinations just naturally enhance each other, creating wonderful depth of flavor.
| Herb Combination | Flavor Profile | Best With |
|---|---|---|
| Rosemary & Thyme | Earthy, Piney, Robust | Soups, Roasted Meats, Savory Spreads |
| Basil & Oregano | Italian, Aromatic, Sweet-Peppery | Pasta Dishes, Pizza, Tomato-based meals |
| Dill & Chives | Fresh, Slightly Pungent, Onion-like | Fish, Cream Cheese, Salads |
| Parsley & Sage | Mild, Green, Slightly Peppery | Poultry, Stuffing, Vegetable Dishes |
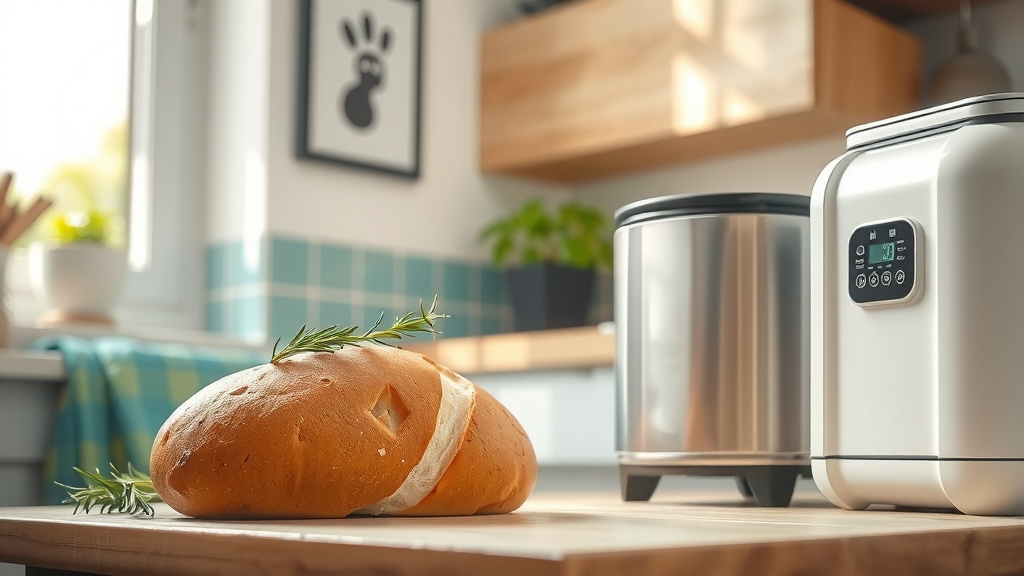
Conclusion
Making herb bread in your bread maker is a truly rewarding experience, allowing you to enjoy fresh, flavorful loaves with minimal effort. By following these simple steps and tips, you can consistently achieve delicious results. Remember to measure accurately, choose your herbs wisely, and let your bread maker do its wonderful work. Soon, you’ll be enjoying the comforting aroma and taste of homemade herb bread, perfect for any meal or snack. Happy baking!
Can I use frozen herbs in my bread maker?
Yes, you can use frozen herbs, but often they can release more moisture than fresh herbs. It’s best to thaw them and pat them very dry before adding them to your dough. This helps maintain the dough’s correct consistency and prevents it from becoming too wet. Adjusting your liquid slightly, if needed, can help.
What is the best type of bread maker for herb bread?
Any standard bread maker with a basic or white bread cycle will work well for herb bread. Models with an “add-in” beep are convenient for fresh herbs or other ingredients. We found that consistency in temperature control is more important than specific brand for good results.
How can I make my herb bread crustier?
To achieve a crustier herb bread, select the “dark” crust setting on your bread maker, if available. Some people also lightly spray the bread with water before it starts baking, or even during the final baking stage, but this might require opening the lid briefly. Allowing the bread to cool on a wire rack also helps create a firmer crust.
Can I add cheese to my herb bread recipe?
Absolutely! Adding cheese like cheddar, Parmesan, or mozzarella can enhance your herb bread. Grated cheese should typically be added at the “mix-in” beep of your bread maker, along with the herbs. This prevents it from melting and sticking to the pan too early in the cycle, ensuring it disperses evenly throughout the dough.
Why did my herb bread collapse in the middle?
A collapsed loaf often indicates too much yeast, too much liquid, or not enough flour. It can also happen if the dough over-proofs (rises too long). Double-check your measurements carefully. Ensuring your yeast is fresh and your water temperature is correct can help prevent this issue.