
How To Tell If Bread Maker Dough Is Kneaded Enough?
To tell if bread maker dough is kneaded enough, you’ll look for a smooth, elastic texture that passes the “windowpane test.” The dough should stretch thin without tearing easily.
An under-kneaded dough will feel rough and sticky, while over-kneaded dough might lose its elasticity and become tough.
TL;DR: Here’s what you need to know about bread maker dough and kneading:
- Check for a **smooth, elastic feel**; it’s a good sign of proper kneading.
- The **windowpane test** is your best friend for determining readiness.
- Too sticky or crumbly means it’s **not kneaded enough**.
- Dough that tears easily or is too tough may be **over-kneaded**.
- Most bread makers handle kneading well, but a **quick check** helps for best results.
You’ve invested in a bread maker, expecting perfect loaves every time, right? It’s a fantastic tool that takes the hard work out of baking. But sometimes, you might peek in and wonder, “Is this dough actually ready?” Understanding how to tell if bread maker dough is kneaded enough is a small but mighty step to baking success. It’s like knowing when your pasta is al dente – a game-changer!
How To Tell If Bread Maker Dough Is Kneaded Enough?
You can tell bread maker dough is kneaded enough when it becomes smooth, elastic, and passes the windowpane test, indicating strong gluten development.
The Magic of Kneading: Why It Matters
Kneading isn’t just an action; it’s a science. It develops the **gluten strands** in your dough. Gluten is what gives bread its structure, chewiness, and ability to hold those lovely air pockets. Without proper kneading, your bread can end up dense and crumbly. Think of it as building the skeleton of your bread.
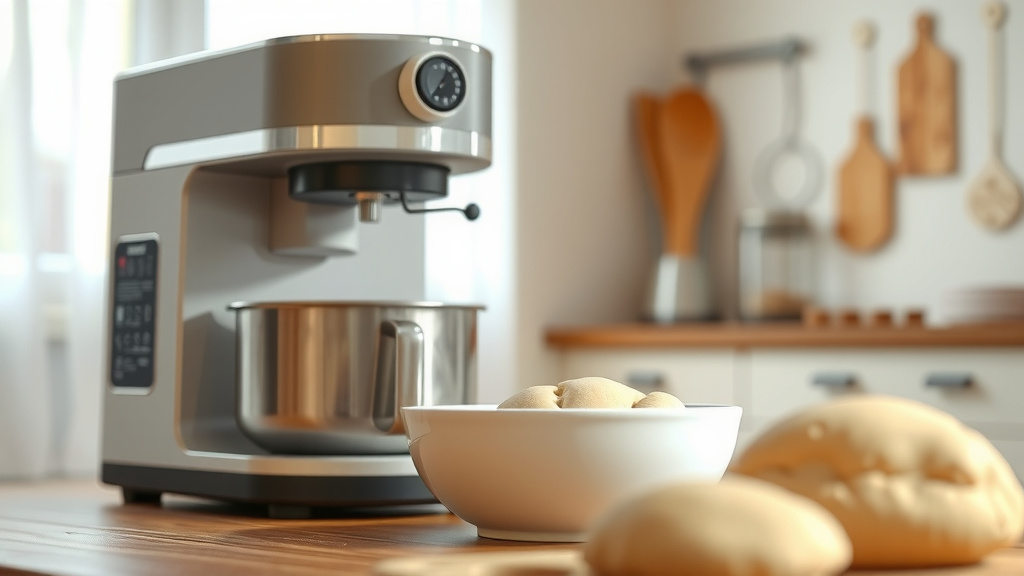
What Happens Inside Your Bread Maker?
Your bread maker has a built-in paddle that **mixes and kneads** the dough. It follows a pre-programmed cycle, usually quite effectively. However, factors like humidity, flour type, or even slight ingredient measurement differences can affect the dough’s consistency. So, a visual check is always smart, even with modern machines.
The Windowpane Test: Your Best Friend
This is the gold standard for checking dough, whether by hand or machine. It’s surprisingly simple, and you’ll feel like a pro doing it. It’s all about seeing if the **gluten is developed** enough.
Performing the Windowpane Test
Here’s how you do it:
- Take a small piece of dough, about the size of a golf ball, from your bread maker.
- Gently stretch it out with your fingers, pulling from the center outwards.
- Try to stretch it until it’s thin enough to see light through it, like a **miniature windowpane**.
- If it stretches without tearing and forms a translucent film, your dough is likely kneaded enough!
If it tears easily before becoming transparent, it probably needs a little more kneading. We found that most experts agree this test is a reliable indicator of gluten development (King Arthur Baking).
Beyond the Windowpane: Other Key Indicators
While the windowpane test is fantastic, it’s not the only way to gauge your dough’s readiness. Your senses are powerful tools!
Look for Smoothness and Elasticity
Properly kneaded dough will look **smooth and uniform**. It won’t have a shaggy or lumpy appearance. When you gently poke it with a finger, it should spring back slowly. This elasticity is a direct result of well-developed gluten.
Listen to Your Dough
During the kneading cycle, the dough should make a rhythmic, almost slapping sound against the sides of the pan. If it’s too wet, it might just slosh. If it’s too dry, it could sound like it’s struggling to move, almost like a scraping sound.
What if Your Dough Isn’t Kneaded Enough?
Don’t panic! It’s a common issue, especially if you’re new to bread making or using a new recipe. The good news is, it’s often fixable. Under-kneaded dough might feel:
- **Sticky or gooey**: It clings to your hands excessively.
- **Rough or shaggy**: It lacks that smooth, uniform surface.
- **Crumbly**: It breaks apart rather than holding its shape.
Fixing Under-Kneaded Dough
If your bread maker has a “dough” cycle, you can often run it for an **extra 5-10 minutes**. Some machines even have a specific “knead” setting. If you’re really in a pinch, you can carefully remove the dough and knead it by hand on a lightly floured surface for a few minutes until it feels right. Many research suggests that a little extra kneading is better than too little (Food Science of Baking).
Can You Over-Knead Dough in a Bread Maker?
It’s less common to over-knead dough in a bread maker than by hand, as machines typically have preset cycles. However, it can happen, especially if you run multiple kneading cycles unnecessarily. Over-kneaded dough might:
- Become **very stiff and difficult to work with**.
- Feel **tight and tear easily** when stretched, rather than stretching smoothly.
- Lose its elasticity and become less responsive.
What Over-Kneading Means for Your Bread
If dough is severely over-kneaded, the gluten strands can actually break down. This can result in a bread that is tough, less airy, and may not rise as well. It’s a bit like pulling a rubber band too far until it snaps; it loses its spring.
Factors Affecting Dough Consistency
Several things can influence how your dough feels in the bread maker. Being aware of these helps you adjust if needed.
Here’s a quick overview of how different factors play a role:
| Factor | Impact on Dough |
|---|---|
| Flour Type | High protein (bread flour) needs more kneading; low protein (cake flour) needs less. |
| Humidity | High humidity means flour absorbs less water, dough might be stickier. |
| Liquid Amount | Too much liquid makes dough soupy; too little makes it crumbly. |
| Yeast Activity | Active yeast helps dough rise, but doesn’t directly affect kneading readiness. |
A Quick Checklist for Perfectly Kneaded Dough
Before moving on to the rising stage, give your dough a final assessment. It takes just a moment and can make all the difference.
- Is the dough **smooth to the touch**?
- Does it feel **elastic and springy**?
- Does it pass the **windowpane test**?
- Is it **not excessively sticky** or crumbly?
- Did you observe a **rhythmic kneading sound** during the cycle?
If you answered yes to these, you’re in great shape! This means the bread maker has done its job effectively. It means your dough is ready to rise, resulting in a **beautiful, airy loaf**.
Conclusion
Knowing how to tell if bread maker dough is kneaded enough brings a real sense of accomplishment to your baking. While your bread machine handles most of the work, a quick check ensures you’re setting yourself up for success. By understanding the windowpane test and looking for smooth, elastic dough, you’re on your way to consistently baking delicious, perfectly textured bread. Enjoy the process and the wonderful aroma of fresh bread filling your kitchen!
What if my dough is too sticky in the bread maker?
If your dough is too sticky, it likely needs more flour. Add a teaspoon of flour at a time during the kneading cycle, letting it incorporate fully before adding more. Do this until the dough forms a ball and pulls away cleanly from the sides of the pan. High humidity can also contribute to stickiness.
How do I adjust kneading time on my bread maker?
Many bread makers have a “Dough” cycle that handles kneading and the first rise. If you feel it needs more kneading, you can sometimes run the “Dough” cycle for a second, shorter period (like an extra 5-10 minutes) or use a “Knead Only” setting if your machine offers it. Always check your specific bread maker’s manual for custom cycle options.
Can I add ingredients during the kneading cycle?
Yes, most bread makers are designed for you to add ingredients like nuts, seeds, or dried fruit during a specific “add-in” beep during the kneading cycle. If you’re adjusting flour or liquid for dough consistency, it’s best to do it during the active kneading stage, a little at a time, to allow it to be fully incorporated.
Why does my bread collapse after rising?
Bread collapsing after rising can be due to several reasons, including too much yeast, too much liquid, or over-proofing (the dough rises too long and exhausts the yeast). While not directly related to kneading, under-kneading can also contribute as it leads to a weak gluten structure unable to hold the rise.
Does the type of flour affect kneading?
Absolutely! Different flours have different protein levels, which directly impacts gluten development. Bread flour, with its higher protein content, requires more kneading to develop strong gluten. All-purpose flour needs less, and softer flours like cake flour even less. Always use the flour type specified in your recipe for best results in your bread maker.


