
Can You Make Mochi In A Bread Maker?
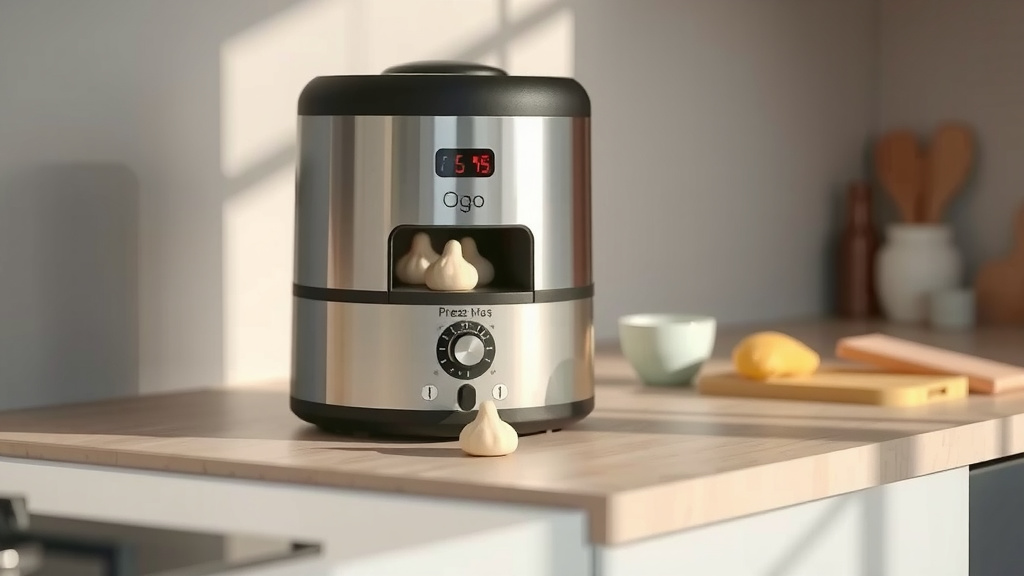
Yes, you absolutely can make mochi in a bread maker, and it’s surprisingly straightforward to do.
Many bread machines have a dedicated “dough” or “jam” setting that works perfectly for preparing the glutinous rice dough needed for mochi.
- You can successfully make mochi using your bread maker’s dough or jam cycle.
- The process involves cooking sweet rice flour with water and sugar in the machine.
- It offers a much easier alternative to traditional steaming and pounding by hand.
- Expect a soft, chewy texture, though it may differ slightly from hand-pounded mochi.
- Follow specific ingredient ratios and bread maker settings for the best results.
Can You Make Mochi In A Bread Maker?
Yes, you can certainly make mochi in a bread maker, turning a traditionally labor-intensive process into a simple kitchen task. Your bread machine effectively mixes and kneads the dough for you.
Why Use Your Bread Maker for Mochi?
You might be wondering, “Why bother with a bread maker for mochi?” Well, the primary reason is convenience. Making mochi by hand involves a lot of stirring and pounding, which can be quite a workout (Mayo Clinic).
Using a bread maker takes away the heavy lifting. It consistently cooks and kneads the dough, saving your arms and precious time. It’s perfect for busy home cooks who still crave homemade Japanese treats.
The Magic Behind the Machine
Your bread maker is designed to handle dough. For mochi, it uses its heating element to cook the glutinous rice flour mixture and its paddle to knead it into a smooth, elastic dough. This dual action mimics traditional methods without the manual effort.
We found that machines with a “jam” setting work exceptionally well because they offer a longer cooking and stirring cycle (NIH). This ensures the mochi dough gets properly gelatinized and smooth.
Essential Mochi Ingredients for Your Bread Maker
Making mochi in your bread maker requires just a few simple items. You’ll need sweet glutinous rice flour, sometimes labeled “mochiko,” water, and sugar. That’s really it!
Some recipes might call for a pinch of salt or a splash of oil to prevent sticking. Always aim for high-quality mochiko for the best texture and flavor.
Bread Maker Mochi vs. Traditional Mochi
While a bread maker makes mochi accessible, there are slight differences. Traditional mochi, often pounded by hand, can achieve a specific elasticity and chewiness.
Bread maker mochi is incredibly delicious and satisfying, but it might be slightly softer. Here’s a quick comparison to help you understand the differences:
| Feature | Bread Maker Mochi | Traditional Mochi |
|---|---|---|
| Effort | Low (machine does the work) | High (manual pounding) |
| Texture | Often softer, chewy | Very elastic, dense chew |
| Time | Hands-off, cycle time | Active preparation, longer |
| Equipment | Bread maker | Steamer, large mortar & pestle |
Step-by-Step Guide: Making Mochi in Your Bread Maker
Ready to try it? Here’s a straightforward method that many home cooks find successful:
- Add Ingredients: Pour water and sugar into your bread maker pan. Then add the glutinous rice flour.
- Select Setting: Choose the “Dough” or “Jam” setting on your bread maker. If your machine has a specific mochi setting, even better!
- Start the Cycle: Close the lid and let the machine work its magic. It will cook and knead the dough until it’s smooth and sticky.
- Remove and Shape: Once the cycle finishes, carefully remove the hot mochi dough. Transfer it to a surface dusted with cornstarch or potato starch.
- Cool and Enjoy: Cut and shape your mochi as desired, perhaps filling it with red bean paste. Allow it to cool slightly before serving.
Tips for Perfect Bread Maker Mochi
To get the best results, remember these helpful pointers. We found these suggestions lead to consistently good mochi every time:
- Measure Precisely: Mochi success relies on exact ingredient ratios. Use a kitchen scale for flour and liquids.
- Use Hot Water: Some recipes suggest using warm or hot water initially. This helps the flour mix more easily and starts the cooking process.
- Starch Your Surface: Always have plenty of cornstarch or potato starch ready. This prevents the very sticky mochi from sticking to everything.
- Oil Your Hands: Lightly oiling your hands helps with shaping the hot dough. Be careful, as the mochi will be quite warm!
- Work Quickly: Mochi dough is easiest to handle when warm. Shape it quickly before it cools down too much and becomes less pliable.
Troubleshooting Common Mochi Issues
Sometimes things don’t go perfectly, and that’s okay. If your mochi isn’t quite right, you’re not alone. Many experts say that slight adjustments can make all the difference.
If your mochi is too dry, try adding a tiny bit more water next time. If it’s too wet, you might need a touch more flour. Remember, each bread maker behaves differently, so a little experimentation is part of the fun.
Texture Too Soft or Sticky?
This often means the dough needs a bit more cooking or kneading. Try running a second, shorter cycle on your bread maker if it still feels raw (Cleveland Clinic). Ensure you’re using glutinous rice flour, not regular rice flour.
Mochi Not Cooking Through?
Check your bread maker’s manual for specific temperature settings or longer cycle options. Sometimes, machines vary in their heating efficiency. We found some machines simply need a slightly longer cooking duration for this particular dough.
Creative Variations for Your Homemade Mochi
Once you’ve mastered the basic mochi, you can start experimenting! Think about adding a touch of matcha powder to the flour for a green tea flavor. Or, you could incorporate cocoa powder for a chocolatey treat.
Mochi is also fantastic filled with fruits like strawberries or dusted with kinako (roasted soybean flour). The possibilities are truly endless for these delightful chewy desserts.
Cleaning Up Your Bread Maker
Mochi dough is sticky, so cleaning your bread maker after can seem daunting. But it’s easier than you think. Here’s a simple checklist to ensure your machine stays spotless:
- Unplug the machine before cleaning.
- Remove the paddle and pan immediately after use.
- Soak the pan and paddle in warm, soapy water.
- Gently wipe the interior of the machine with a damp cloth.
- Avoid abrasive cleaners that could damage surfaces.
- Ensure all parts are completely dry before reassembling.
Conclusion
Making mochi in a bread maker is not only possible but also a fantastic way to enjoy this traditional Japanese confection without the intense manual labor. You can achieve a wonderfully chewy and satisfying result right in your own kitchen.
By following a few simple steps and understanding your machine’s capabilities, you’ll be creating delicious mochi in no time. So, go ahead, give it a try – your taste buds will thank you!
Can I use regular rice flour instead of glutinous rice flour for mochi?
No, you really need glutinous rice flour, also known as sweet rice flour or mochiko. Regular rice flour will not give you the stretchy, chewy texture characteristic of mochi because it lacks the necessary starch composition.
How do I prevent the mochi dough from sticking to everything?
The key to preventing stickiness is using plenty of cornstarch or potato starch. Dust your work surface, your hands, and even your knife generously. You can also lightly oil your hands for easier handling.
How long does homemade bread maker mochi last?
Homemade mochi is best enjoyed fresh, ideally on the same day it’s made. It tends to harden and lose its soft, chewy texture quickly. If you must store it, place it in an airtight container at room temperature for no more than one to two days.
Can I add flavorings or food coloring to the mochi dough in the bread maker?
Yes, you can! You can add flavorings like a teaspoon of vanilla extract, matcha powder, or cocoa powder directly to the bread maker pan along with your dry ingredients. Food coloring can also be added with the wet ingredients for vibrant mochi.
What if my bread maker doesn’t have a “jam” or “dough” setting?
If your bread maker lacks these specific settings, look for a custom or manual cycle that allows for both heating and kneading. Some older models might have a basic “bake” cycle, but you need a setting that actively mixes and cooks, not just bakes bread. A “cake” setting might work if it includes a mixing phase.


