
How To Make Garlic Bread Dough In A Bread Maker?
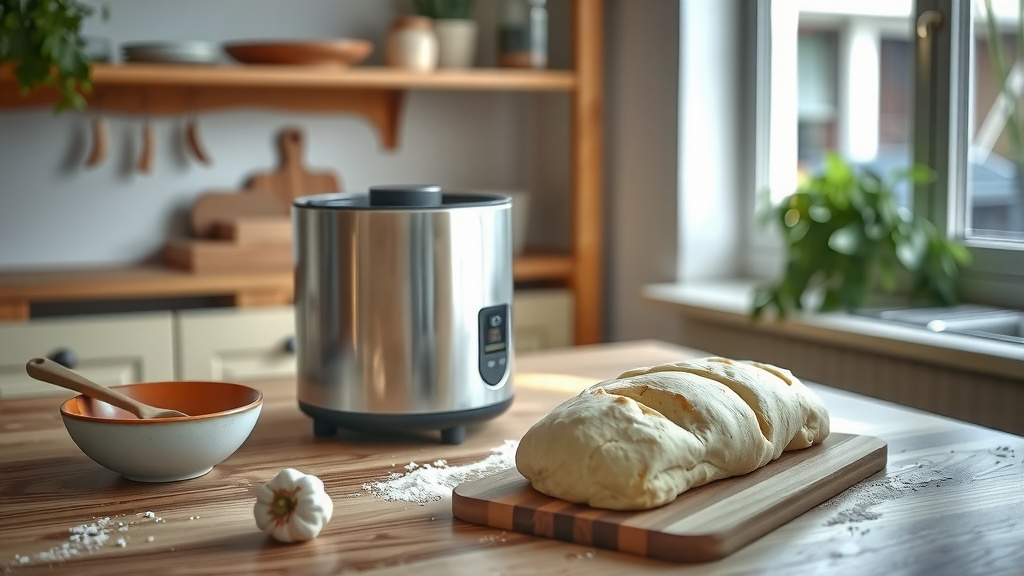
To make garlic bread dough in a bread maker, you simply add your ingredients to the machine, select the “Dough” cycle, and let it mix, knead, and proof the dough for you.
The bread maker handles all the hard work, leaving you with a perfectly risen, ready-to-bake garlic bread base, saving you time and effort.
Here’s a quick summary of what you’ll learn about making garlic bread dough in your bread machine:
- You will gather simple baking ingredients and fresh garlic.
- You will add them in order to your bread maker pan.
- You will set the machine to its “Dough” cycle.
- The bread maker will complete the mixing, kneading, and rising steps.
- You will then be ready to shape and bake your delicious garlic bread.
How To Make Garlic Bread Dough In A Bread Maker?
Making garlic bread dough in a bread maker is surprisingly simple. You just combine all the necessary ingredients in the bread machine pan, select the designated “Dough” cycle, and let the machine do its magic.
This process takes away the manual effort of kneading and waiting for the dough to rise, making fresh garlic bread a breeze. We found that a bread maker consistently produces a well-kneaded dough without the mess.
Why Use a Bread Maker for Garlic Bread Dough?
A bread maker really simplifies the process of making dough. It precisely mixes, kneads, and proofs the dough at ideal temperatures.
This means you get a consistent texture every time without much supervision. Many experts agree that bread makers remove the guesswork from dough preparation (King Arthur Baking).
Gather Your Ingredients: The Heart of Your Dough
Before you begin, gather all your ingredients. Having everything ready saves time and ensures you don’t miss anything. Think of it like a chef’s “mise en place.”
A typical recipe involves flour, water, yeast, salt, sugar, olive oil, and of course, plenty of fresh garlic. Some people like to add a touch of dried herbs too.
Essential Ingredients List
Here’s a basic rundown of what you’ll need. We found these proportions work well for most standard bread makers.
| Ingredient | Approximate Measurement |
|---|---|
| Warm Water (105-115°F) | 1 cup (240ml) |
| Olive Oil | 2 tablespoons |
| Minced Garlic | 3-4 cloves (or more for extra flavor!) |
| All-Purpose Flour | 3 cups (360g) |
| Sugar | 1 tablespoon |
| Salt | 1 teaspoon |
| Active Dry Yeast | 2 teaspoons |
Adding Ingredients to Your Bread Maker
The order in which you add ingredients matters a lot for yeast activation. Most bread makers suggest adding liquids first, then dry ingredients, with yeast going in last.
Always consult your bread maker’s manual for its specific loading order. This helps prevent the yeast from activating too early with salt or sugar, which can hinder its performance.
Step-by-Step Loading
- Pour the warm water and olive oil into the bread maker pan first.
- Add the minced garlic next, spreading it evenly.
- Carefully add the flour, creating a mound over the liquids.
- Make small indentations on opposite sides of the flour mound. Place the salt in one and the sugar in the other.
- Create a small well in the center of the flour mound (away from the salt/sugar) and add the active dry yeast.
Choosing the Right Cycle
Most bread makers come with a dedicated “Dough” cycle. This cycle is programmed to mix, knead, and allow the dough to rise once.
It usually lasts between 1 hour 30 minutes to 2 hours, depending on your machine. This cycle does not bake the dough, it simply prepares it for shaping and baking later.
Starting the Dough Cycle
Once all ingredients are in and your machine is plugged in, select the “Dough” cycle. Press “Start.”
The machine will begin mixing the ingredients into a shaggy dough, then move into a more rigorous kneading phase. It’s truly amazing to watch the machine transform raw ingredients into a smooth, elastic dough.
Monitoring Your Dough During Kneading
During the first 5-10 minutes of kneading, it’s a good idea to peek at your dough. Is it forming a smooth, elastic ball?
If it looks too dry and crumbly, add a teaspoon of warm water at a time. If it’s too sticky and sloppy, add a teaspoon of flour. We found that small adjustments early on prevent bigger issues later.
After the Dough Cycle: What Next?
Once the “Dough” cycle finishes, your bread maker will usually beep. Open the lid, and you’ll find a beautifully risen, soft ball of dough.
It should be roughly double in size, soft to the touch, and ready for its transformation into garlic bread. Research shows that proper proofing is essential for light and airy bread (American Bakers Association).
Dough Handling Checklist
- Gently remove the dough from the bread maker pan.
- Place it on a lightly floured surface.
- Punch it down gently to release excess air.
- Shape the dough into your desired garlic bread form (loaf, rolls, sticks).
- Brush with melted garlic butter before baking for maximum flavor infusion.
- Bake in a preheated oven according to your recipe’s instructions (often around 375°F/190°C).
- Enjoy the aroma as it bakes and the delicious results!
Tips for Perfect Garlic Bread Dough
Achieving consistently perfect dough involves a few tricks. Always measure your ingredients accurately, especially the flour and water.
Using a kitchen scale for flour is often recommended for the most precise results. Water temperature also makes a big difference for yeast activity (NIH).
Flavor Enhancements for Your Dough
Want to take your garlic bread up a notch? Consider adding some finely chopped fresh parsley to the dough along with the garlic.
A sprinkle of parmesan cheese mixed into the dough can also add a delightful savory kick. Don’t be afraid to experiment with herbs like oregano or basil.
Conclusion
Making garlic bread dough in your bread maker is a truly satisfying experience. It takes the hard work out of baking, letting you enjoy the process and the incredible aroma of fresh bread.
With just a few simple steps and a bit of patience, you can have delicious, homemade garlic bread ready to complement any meal. So, why not give it a try tonight? Your taste buds will certainly thank you!
Can I use pre-minced garlic from a jar?
While fresh garlic offers the best flavor, you can certainly use pre-minced garlic from a jar. Just be aware that jarred garlic sometimes has a stronger or slightly different flavor profile. Adjust the amount to your taste, perhaps starting with a little less than the fresh garlic measurement.
What if my dough is too sticky or too dry after kneading?
If your dough is too sticky, add flour one tablespoon at a time until it forms a smooth, elastic ball. If it’s too dry, add warm water one teaspoon at a time. Make these adjustments within the first 10 minutes of the kneading cycle for the best outcome.
Can I freeze the garlic bread dough after the bread maker finishes?
Yes, you absolutely can! After the dough cycle, punch the dough down gently, shape it into a disk or log, wrap it tightly in plastic wrap, then place it in a freezer-safe bag. It can be frozen for up to 1-2 months. Thaw it overnight in the refrigerator, then let it rise at room temperature before shaping and baking.
What’s the best way to serve homemade garlic bread?
Garlic bread is incredibly versatile! It pairs wonderfully with pasta dishes, soups, or salads. Many people enjoy it simply as a snack with a little extra melted butter or a sprinkle of cheese on top. It’s also fantastic alongside grilled meats or roasted vegetables.
My bread maker doesn’t have a “Dough” cycle. What should I do?
If your bread maker lacks a specific “Dough” cycle, look for a “Knead” or “Manual” setting, or even a basic “White Bread” cycle that stops before baking. You’ll need to monitor the time and remove the dough once it has completed its initial kneading and first rise, typically around 1.5 to 2 hours.
