
How to Make Gluten Free Bread in a Bread Machine?
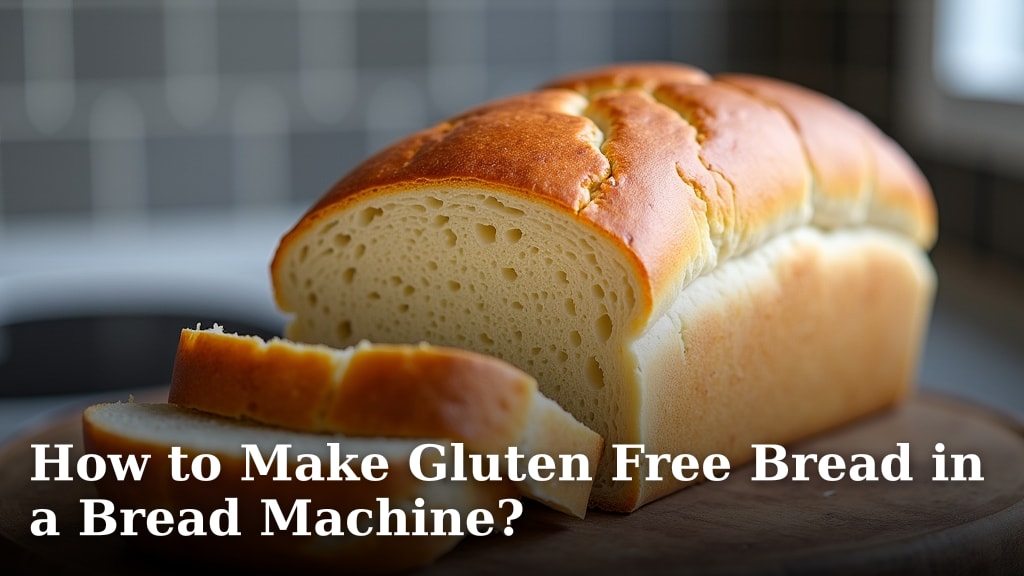
To make gluten-free bread in a bread machine, you simply add your ingredients in the correct order, select the gluten-free cycle, and let the machine do the work. The specialized cycle handles the unique properties of gluten-free flours, giving you a delicious loaf with minimal effort.
Many people find that a bread machine takes the guesswork out of baking gluten-free, which can sometimes be tricky. It provides the consistent temperature and kneading necessary for a successful rise. You can enjoy fresh, homemade bread without all the fuss.
- It’s easier than you think.
- A bread machine does most of the work.
- Special cycles help gluten-free flours rise.
- Fresh gluten-free bread is possible at home.
Let’s walk through exactly how to make gluten-free bread in a bread machine, step by step, so you can enjoy warm, delicious bread right from your kitchen.
Mastering Gluten-Free Bread with Your Bread Machine
Making gluten-free bread in a bread machine is far simpler than you might imagine. It’s less about complex techniques and more about understanding the unique needs of gluten-free ingredients. Your bread machine simplifies this process, providing consistent conditions crucial for a good rise.
You’re about to discover how easy it is to bake delicious, safe bread right at home. Forget the crumbling, dense loaves of the past. With the right approach, your bread machine can become your best friend in the kitchen.
Understanding Gluten-Free Flours
Gluten is a protein found in wheat, barley, and rye. It gives traditional bread its elasticity and structure. Without it, gluten-free dough behaves very differently. That’s why you can’t just swap regular flour for a single gluten-free alternative.
A successful gluten-free loaf uses a blend of different flours. Each flour brings a unique quality to the mix. It’s like building a strong team, where each player has a special skill. For example, some add structure, while others offer tenderness or flavor.
Common Gluten-Free Flour Types
When you’re looking at gluten-free flours, you’ll find a wide variety. Knowing their general characteristics helps you understand why they’re used in blends. Here are some you’ll frequently encounter:
- Rice Flour (Brown and White): Provides structure and a neutral flavor. Brown rice flour offers a bit more nutrition and chew.
- Tapioca Starch/Flour: Contributes to elasticity and a chewy texture. It also helps with browning.
- Potato Starch: Adds lightness and a soft crumb.
- Sorghum Flour: Offers a slightly sweet, nutty flavor and a tender crumb.
- Millet Flour: Has a mild flavor and helps with browning and nutrition.
- Xanthan Gum (not a flour, but vital): Acts as a binder, mimicking gluten’s stretchy properties. Many gluten-free recipes call for it.
Many commercially available gluten-free bread flour blends already contain a mix of these. These blends often include xanthan gum, taking some guesswork out of your baking. Always check the label to see what’s included.
Essential Ingredients for Your Gluten-Free Bread Machine Loaf
Beyond the flour, a few other ingredients are critical for success. Each one plays a specific role in creating that perfect loaf. Think of them as the supporting cast, making the star (your flour blend) shine.
Key Components and Their Functions
You’ll notice most gluten-free bread recipes call for similar core ingredients. Let’s break down why each one is important for your bread machine masterpiece.
Yeast, Water, and Sugar: The Power Trio
Yeast is a living organism that makes your bread rise. It feeds on sugar and produces carbon dioxide gas. This gas gets trapped in the dough, causing it to expand. Warm water activates the yeast.
- Active Dry or Instant Yeast: Most recipes specify one or the other. Instant yeast can often be added directly to dry ingredients. Active dry yeast sometimes needs to be “proofed” in warm water first. Check your recipe instructions carefully.
- Warm Water (or other liquid): The temperature is important. Water that’s too hot will kill the yeast; too cold, and it won’t activate. Around 105-115°F (40-46°C) is generally ideal.
- Sugar: This is food for the yeast. A small amount helps kickstart the fermentation process. It also contributes to browning and flavor.
Other Important Additions
Don’t forget these supporting actors. They add flavor, moisture, and help with structure.
- Salt: Essential for flavor. It also helps control yeast activity. Don’t skip it, even if you’re trying to reduce sodium. Using too little salt can lead to over-proofing and flavorless bread.
- Oil or Fat: Vegetable oil, olive oil, or melted butter adds moisture, tenderness, and helps keep the bread fresh longer. It also contributes to a softer crumb.
- Eggs (or egg replacer): Eggs provide structure, lift, and richness. They act as a binder, helping to hold the gluten-free flours together. If you’re vegan, you can use an egg replacer or a “flax egg” (ground flaxseed mixed with water).
- Vinegar (or Lemon Juice): A small amount of acid can improve the rise and texture of gluten-free bread. It reacts with baking soda in some gluten-free blends, providing an extra lift.
Preparing Your Ingredients: The Layering Method
One of the biggest secrets to successful bread machine gluten-free baking is the order you add ingredients. It’s not like traditional bread making, where you might mix everything together at once. With gluten-free, layering is key.
Why Ingredient Order Matters
The layering method helps protect the yeast and ensures proper hydration of the flours. Gluten-free flours absorb liquids differently and often need more time to hydrate. By separating the wet and dry ingredients initially, you give them the best chance to combine correctly later.
This method prevents certain ingredients, like yeast and salt, from coming into direct contact for too long. Direct contact can inhibit yeast activity. Think of it like building a sturdy sandcastle – you layer the sand and water carefully, not just dump them together.
Standard Ingredient Layering for Bread Machines
Follow this general order for best results. Always consult your specific recipe for precise instructions, as some recipes may vary slightly (Cleveland Clinic).
- Liquids First: Pour your warm water, oil, and any other liquid ingredients (like eggs or vinegar) into the bread machine pan.
- Sugar and Salt: Add the sugar next, followed by the salt. Try to keep the salt somewhat separated from where the yeast will be later.
- Dry Ingredients: Gently spoon your gluten-free flour blend over the liquids. Make sure it forms a nice layer on top, blanketing the wet ingredients below.
- Yeast Last: Make a small indentation or “well” in the center of the dry ingredients. Sprinkle the yeast into this well. This keeps the yeast dry until the machine starts mixing.
This layered approach gives the yeast a safe, dry start. It prevents premature activation or inhibition before the mixing cycle begins. We found that this small step makes a noticeable difference in the final rise.
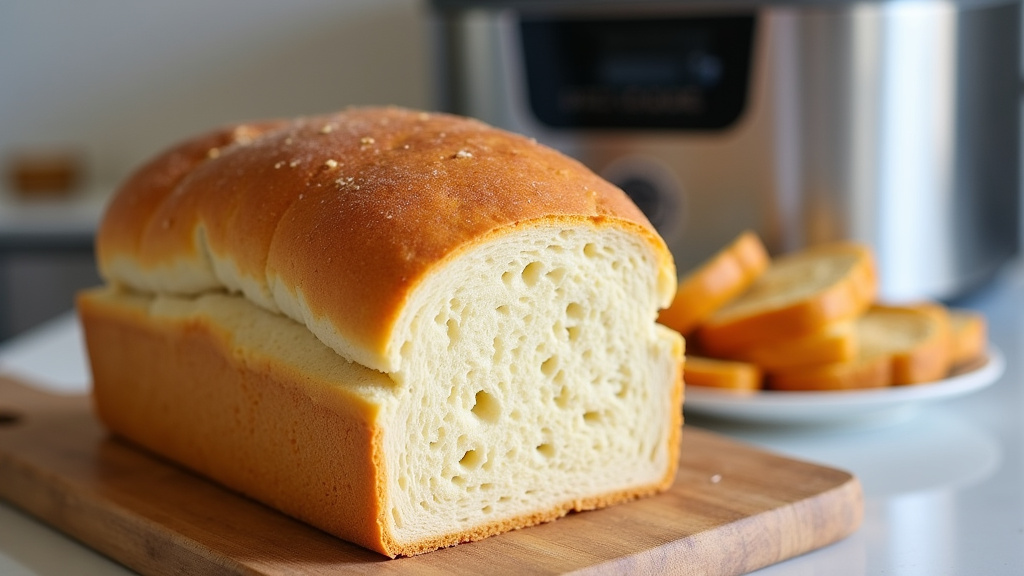
Selecting the Right Bread Machine Cycle
Your bread machine is a smart appliance, especially when it comes to gluten-free baking. It has specialized cycles designed for the unique needs of these flours. Choosing the correct cycle is just as important as the ingredients themselves.
The “Gluten-Free” Cycle Explained
Most modern bread machines come with a dedicated “Gluten-Free” setting. This isn’t just a fancy label; it’s a precisely programmed cycle tailored for gluten-free dough. What does it do differently?
- Less Kneading: Gluten-free flours don’t need extensive kneading like wheat doughs. Over-kneading can actually make gluten-free bread dense. The gluten-free cycle typically has a shorter, gentler kneading phase.
- Longer Rise Times: Gluten-free dough often needs more time to rise. The specialized cycle allows for longer proofing periods, giving the yeast ample time to work its magic.
- Different Baking Temperatures: Some machines adjust baking temperatures for gluten-free loaves, which can be more delicate.
If your bread machine doesn’t have a specific “Gluten-Free” setting, look for a “Rapid Bake” or “Express” setting. Sometimes these can produce acceptable results, but the specialized gluten-free cycle is always your best bet.
Tips for Gluten-Free Bread Machine Success
Now that you know the basics, let’s talk about some insider tips. These small adjustments can elevate your gluten-free bread from “good” to “amazing.”
Achieving the Perfect Loaf
You’re aiming for a loaf that’s light, airy, and delicious. What extra steps can you take to get there?
- Measure Precisely: Baking is a science, especially with gluten-free ingredients. Use a kitchen scale for flour, if possible, for the most accurate measurements. Volume measurements can lead to inconsistencies.
- Room Temperature Ingredients: Ensure eggs and liquids are at room temperature. This helps the ingredients incorporate better and promotes optimal yeast activity.
- Avoid Opening the Lid: During the rising and baking cycles, resist the urge to peek! Opening the lid can cause a temperature drop, which can make your bread collapse, especially during the crucial first rise.
- Listen to Your Machine: Pay attention during the initial mixing. If the dough seems too dry and crumbly, add a teaspoon of water at a time until it forms a cohesive ball (like thick cake batter, not a traditional dough). If it’s too wet, add a teaspoon of flour.
- Cool Completely: As tempting as it is, let the bread cool completely on a wire rack before slicing. Slicing too soon can make it gummy or dense. Patience is a virtue here!
Troubleshooting Common Gluten-Free Issues
Even with the right methods, you might encounter a few hiccups. Don’t get discouraged! Many issues are easily fixed. We found that almost every problem has a simple solution.
| Problem | Possible Cause | Solution |
|---|---|---|
| Dense, heavy bread | Too much flour; too little liquid; old yeast; not enough rise time. | Ensure accurate measurements (weigh flour); check yeast expiration; try adding a touch more liquid next time. |
| Crumbly texture | Not enough binder (xanthan gum/eggs); not enough moisture. | Verify recipe calls for xanthan gum (or add 1/2 tsp per cup of flour); increase liquid slightly. |
| Collapsed top | Too much liquid; too much yeast; over-proofing. | Reduce liquid slightly; ensure yeast is stored properly; don’t open the lid during rising.
ConclusionYou now have all the tools and knowledge to bake fantastic gluten-free bread in your bread machine. It truly simplifies a process that can often feel daunting. By understanding your ingredients, following the layering method, and utilizing the correct machine cycle, you’re set for success. Remember that precision and patience are your best allies. Don’t be afraid to experiment slightly with moisture levels to find what works best for your specific flours. Go ahead, bake that first perfect loaf. We know you’ll love the taste of fresh, homemade bread straight from your kitchen. Frequently Asked QuestionsDo I need a special bread machine for gluten-free bread?While most modern bread machines have a dedicated “Gluten-Free” cycle, you don’t necessarily need a special machine. If yours lacks this setting, you can sometimes use a “Rapid Bake” or “Express” cycle, but results may vary. The specialized cycle is designed for optimal gluten-free results. Can I use any gluten-free flour blend, or do I need a specific one?You can use commercially available gluten-free bread flour blends, which usually contain a mix of flours and xanthan gum. You can also create your own blend from individual gluten-free flours. Always ensure your chosen blend is suitable for bread and includes a binder if it’s not already present. What if my gluten-free bread falls apart or crumbles easily?A crumbly texture often indicates a lack of binder or insufficient moisture. Check if your flour blend contains xanthan gum (or add it if not). You might also need to slightly increase the liquid in your recipe, as gluten-free flours absorb differently. Ensuring proper cooling before slicing also helps. Why is my gluten-free bread machine loaf so dense?Density can result from several factors, including too much flour, too little liquid, old or inactive yeast, or insufficient rise time. Ensure you’re measuring your ingredients precisely, especially flour, and that your yeast is fresh. The “Gluten-Free” cycle helps provide adequate rise time. How should I store homemade gluten-free bread?Once completely cooled, store your gluten-free bread in an airtight container or bag at room temperature for 2-3 days. For longer storage, slice the cooled loaf and freeze the slices. This helps maintain freshness and makes it easy to toast individual portions as needed. |
