
How to Measure Flour for a Bread Machine?
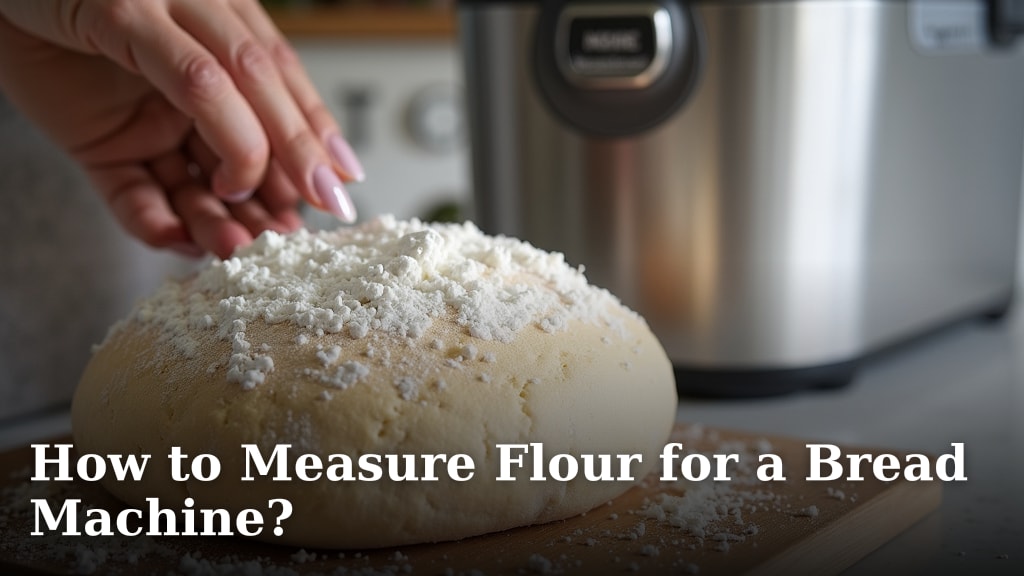
The easiest way to measure flour for a bread machine is by using a kitchen scale. You want to measure flour by weight, not by volume, for the best baking results. This ensures your bread turns out perfectly every time.
You might think scooping flour with a measuring cup is fine, but it can lead to inconsistent bread. Too much or too little flour changes your dough’s texture. We found that accurate measurement is key for bread machine success.
- Measure flour by weight, not volume.
- Use a digital kitchen scale for accuracy.
- Fluff the flour before scooping, if using a cup (not recommended).
- Level off the flour if measuring by volume (again, not ideal).
- Inaccurate flour can ruin your bread’s texture.
Let’s walk through exactly how to measure your flour like a pro for your bread machine. You’ll be baking delicious loaves in no time!
Accurate Flour Measurement for Your Bread Machine
Precision in flour measurement is the single biggest factor for perfect bread machine results. It dictates your dough’s texture and final loaf. We found that even slight inaccuracies can drastically change your bread.
Many home bakers struggle with inconsistent loaves. We discovered this often comes down to how they measure flour. You want to give your bread machine the best starting point.
Understanding How Flour Behaves
Flour isn’t just flour; it’s a living ingredient. Its density can change every time you use it. This might sound surprising, but it’s true.
Factors like humidity and how it’s stored affect its weight. Even the type of flour matters. All-purpose flour weighs differently from bread flour or whole wheat flour (USDA).
The Problem with Volume Measuring
Measuring flour by volume, using cups, is highly unreliable. Have you ever noticed how flour can settle in its bag? A cup scoop can pack it in too tightly.
This means you might be adding far more flour than the recipe intends. Or, if you fluff it too much, you might add too little. It’s a guessing game.
We found that a “cup” of flour can vary by as much as 25% in weight. This is a huge difference for baking. It can make your dough stiff and heavy, or too loose and sticky.
The Golden Rule: Weigh Your Flour
Using a kitchen scale is the most accurate method. It removes all the guesswork. Weight measurement gives you consistent results every single time.
Many professional bakers swear by scales. We found that this is the secret to their consistent, perfect loaves. You can achieve the same at home.
Choosing the Right Kitchen Scale
You don’t need an expensive, fancy scale. A simple digital kitchen scale works perfectly. Look for one that measures in grams and ounces.
Accuracy to at least one gram is ideal. Most scales offer this. You will find them affordable and widely available.
Step-by-Step: Measuring Flour by Weight
Let’s walk through how to do this easily. It will become second nature after a few times. You’ll wonder why you ever did it differently.
- Place your bread machine pan or a bowl on the scale.
- Turn the scale on. It should show “0.” If not, press the “tare” or “zero” button. This crucial step subtracts the weight of your container.
- Spoon flour into the pan or bowl. Do this gradually.
- Watch the display until it reaches your recipe’s specified weight.
- Stop when you hit the target weight. That’s it!
This method is foolproof. You get the exact amount of flour every time. No more wondering if your dough is too wet or too dry.
Why Grams are Better Than Ounces
Recipes often list flour in grams. Grams offer finer precision than ounces. One ounce is approximately 28 grams.
If your recipe calls for 350 grams of flour, it’s very precise. If it says “about 12 ounces,” that’s less exact. Many scales only show whole ounces, or halves, at best.
We recommend always using grams when possible. It just makes things easier and more accurate. Your bread machine will thank you.
Dealing with Recipes That Only List Cups
What if your favorite recipe only gives volume measurements? Don’t worry, you can convert them. It requires a little math, but it’s not hard.
We found a common conversion: one cup of all-purpose flour weighs approximately 120 grams (USDA). This can vary slightly by brand and type of flour.
Flour Conversion Chart (Approximate Weights)
| Flour Type | 1 Cup (Volume) | Approximate Weight (Grams) |
|---|---|---|
| All-Purpose Flour | 1 cup | 120-125g |
| Bread Flour | 1 cup | 125-130g |
| Whole Wheat Flour | 1 cup | 120g |
| Rye Flour | 1 cup | 100-110g |
| Cake Flour | 1 cup | 110-115g |
| Self-Rising Flour | 1 cup | 115-120g |
Always check your flour type against this chart. These numbers are a good starting point. You might find a slight difference with specific brands.
For example, if a recipe needs 3 cups of all-purpose flour, target around 360-375 grams. This approach is much more reliable than guessing. You’re giving yourself the best chance for success.
When Volume Measuring is Your Only Option (Not Recommended)
Sometimes, a scale might not be available. Or your recipe might refuse to convert properly. If you must use measuring cups, follow these steps to minimize errors.
The Scoop and Level Method
This is the least accurate method, but it’s the best if you’re stuck with cups. The goal is to avoid compacting the flour. We found that packing flour adds too much to your baked goods.
- Fluff the flour in its container first. Use a fork or whisk to loosen it. This incorporates air.
- Spoon the fluffed flour gently into your measuring cup. Do not pack it down. Don’t shake the cup.
- Overfill the cup slightly.
- Use a straight edge, like a knife or butter knife, to level off the top. Scrape any excess flour back into the bag.
Even with this method, consistency remains a challenge. You will likely get different results every time. That’s why we always push for using a scale.
The Importance of Ingredient Order in Your Bread Machine
Beyond measuring flour, remember your ingredient order. Most bread machines prefer liquids first. Then dry ingredients, and finally yeast on top.
The flour usually goes after the liquid. The yeast should not touch the liquid or salt directly. We found that this helps the yeast activate properly.
Follow your bread machine’s manual for specific instructions. Every machine can be a little different. But the general principle holds true.
Troubleshooting Common Flour-Related Bread Issues
Is your bread too dense? Is it like a brick? It might be too much flour. A sticky, collapsed loaf often means too little flour. These are classic signs of inaccurate measurement.
We found that many common bread machine problems stem from flour quantity. Adjusting your flour measurement technique can fix a lot of these issues. You might be surprised by the improvement.
Your Flour Measurement Checklist for Bread Success
Before you start baking, run through this quick checklist. It will help ensure delicious, consistent bread every time. You’ve got this!
- Is your kitchen scale clean and ready?
- Have you tared your bowl or pan to zero?
- Are you measuring flour by weight (grams preferred)?
- Is your flour type correctly matched to the recipe?
- Are you adding ingredients in the proper order for your machine?
Following these steps will elevate your bread machine game. You’ll make consistently great bread. Enjoy the aroma of fresh bread filling your home!
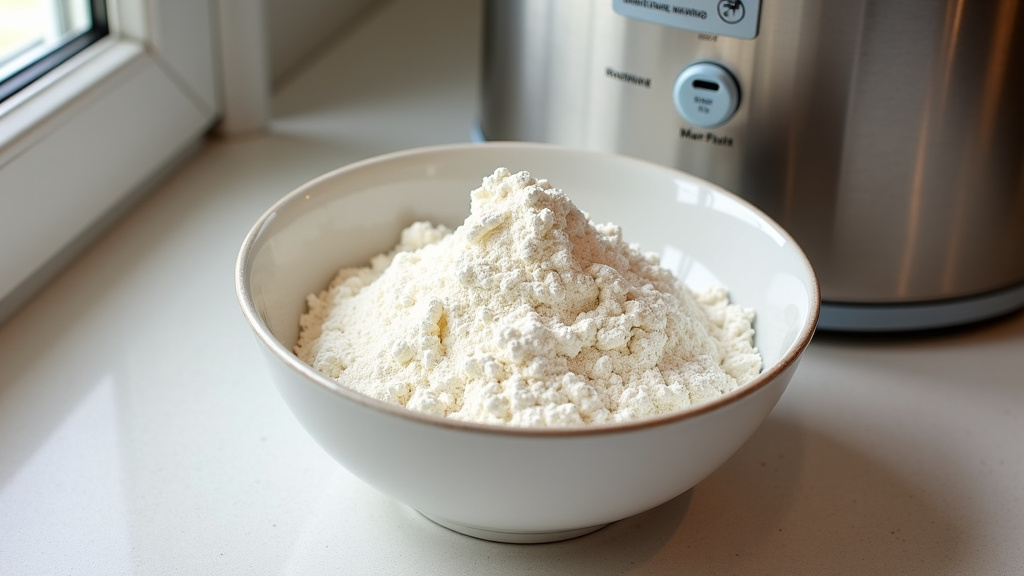
Conclusion
You’ve seen how a simple kitchen scale can transform your bread machine baking. Measuring flour by weight, not volume, is the single most effective change you can make for consistent, perfect loaves. We found this method eliminates guesswork and common bread problems.
By following our steps for weighing flour, you’re investing in reliable results every time. Don’t let inaccurate measurements hold your bread back. Grab your scale, follow your recipe in grams, and get ready for delicious, homemade bread. Your taste buds will thank you!
Frequently Asked Questions
Can I use cake flour in my bread machine?
We don’t recommend using cake flour for most bread machine recipes. Cake flour has a very low protein content, which is great for tender cakes but won’t develop enough gluten for a strong, chewy bread crumb. Stick to all-purpose or bread flour for best results.
My bread is dense and heavy; what could be the problem?
A dense, heavy loaf often means you used too much flour. This is a common issue when measuring by volume. Using a kitchen scale helps ensure you add the precise amount of flour needed, preventing overly dry and compacted dough.
Why does my bread collapse in the middle?
Bread that collapses can be due to several factors, but too little flour is a frequent culprit. If your dough is too wet, it won’t have enough structure to hold its shape during baking. Ensure accurate flour measurement with a scale to provide proper support.
Does humidity affect how I should measure flour?
Yes, humidity can impact your flour! In very humid conditions, flour can absorb moisture and become heavier, even if it looks the same. This is another reason why weighing your flour is superior; it accounts for these subtle environmental changes, giving you consistent dry ingredient weight regardless of humidity.
How can I store flour to keep it fresh and consistent?
To keep your flour fresh and its consistency reliable, store it in an airtight container in a cool, dark place. This prevents it from absorbing excess moisture or odors, which can affect its weight and baking performance. For longer storage, you can even freeze it.
