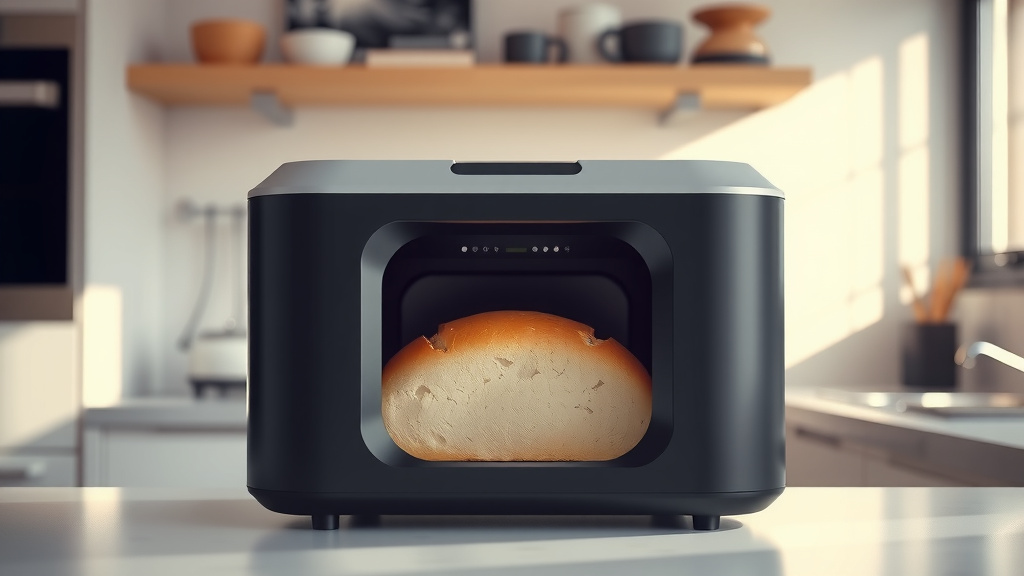
How to Use a Rosewill Bread Maker
To use a Rosewill bread maker, add ingredients in the order your recipe gives, select the right cycle and loaf settings, then start the machine. Check the dough during kneading and cool the finished loaf before slicing.
On this page (11 sections)
- What should you do before using a Rosewill bread maker?
- In what order should you add ingredients?
- How do you choose the right Rosewill cycle?
- How should you set loaf size and crust shade?
- What should you check during kneading?
- Which products can help with bread-machine use?
- When should you use the dough cycle?
- How do you use delay start safely?
- How do you remove and cool the finished loaf?
- How do you clean a Rosewill bread maker?
- How to use a Rosewill bread maker successfully
To use a Rosewill bread maker, measure the ingredients, load them in the correct order, select a cycle, and let the machine mix, knead, rise, and bake. Check the dough early in the kneading stage, then remove the loaf carefully and cool it before cutting.
The exact button names vary by Rosewill model. For model-specific steps from another brand, see West Bend bread maker guide.
Your manual takes priority for ingredient order, loaf size, crust shade, delay-start limits, and any special cycles.
If this is your first bread machine, our guide to How To Use A Bread Maker For The First Time? covers the basic setup and first loaf.
What should you do before using a Rosewill bread maker?
Place the machine on a level, heat-safe surface and remove all packaging from the pan and kneading area. Keep space around the vents, and make sure the bread pan locks into position before adding ingredients.
Read the recipe and measure everything before pressing Start. Flour packed into a measuring cup can change the dough balance, so use the measuring method your recipe specifies.
Check that the knead blade is attached to the pan shaft. If it is missing, the machine may not mix the dough correctly.
For a simple first recipe, choose a basic white loaf with familiar ingredients. What Is The Easiest Bread To Make In A Bread Maker? explains why simple dough is useful for learning the machine.
In what order should you add ingredients?
Add ingredients in the order given by your Rosewill recipe or manual. Many bread-machine recipes place liquids in the pan first, then flour and other dry ingredients, with yeast added last in a small well.
The order helps keep the yeast away from liquid during a delayed start. It also gives the paddle access to the ingredients once mixing begins.
A common loading pattern is:
- Add water, milk, oil, eggs, or other liquid ingredients.
- Add flour so it covers much of the liquid.
- Add sugar, salt, dry milk, seeds, or other dry ingredients.
- Make a small depression in the flour.
- Add the yeast to that dry space.
Do not assume every Rosewill model or recipe uses the same order. Black and Decker bread maker instructions also follow their own model guidance.
Follow the instructions that came with your machine when they differ.
How do you choose the right Rosewill cycle?
Choose the cycle that matches the flour, recipe, and intended result. A basic cycle suits a standard yeast loaf, while a dough cycle lets you shape and bake the dough in another pan.
Use a whole-wheat cycle when the recipe calls for a large share of whole-wheat flour. Use a sweet cycle only when the recipe is designed for added sugar or richer ingredients.
A dough cycle is useful for rolls, pizza dough, or shaped loaves. The bread maker handles mixing and kneading, then you remove the dough for shaping and a separate bake.
A gluten-free cycle needs a recipe written for gluten-free bread. Gluten-free dough behaves differently from wheat dough, so changing only the flour may not produce a good loaf.
If you are comparing controls across brands, How Does A Bread Maker Work? explains what the mixing, kneading, rising, and baking stages do. For a model-specific walkthrough, see KBS bread maker guide.
How should you set loaf size and crust shade?
Match the loaf size to the recipe and select a crust shade based on how dark you want the outside. A larger setting does not fix a recipe written for a smaller pan.
Use a light crust setting for a softer, paler crust and a dark setting for deeper browning. Medium is a useful starting point when you do not know how the recipe behaves in your machine.
Keep the lid closed during baking. Heat escapes quickly, and opening the machine late in the cycle can affect browning and the loaf's final shape.
Do not fill the pan beyond the limit in the manual. Dough expands during rising, and an overfilled pan can push dough into the lid or baking area.
What should you check during kneading?
Check the dough once during early kneading if your manual allows it. The dough should gather into a soft, smooth ball rather than stay as dry flour or spread like batter.
If the dough looks dry, add liquid a small amount at a time. If it looks loose and pasty, add flour gradually.
Give each addition time to mix before deciding whether more is needed.
Keep your fingers away from the moving knead blade. Use a silicone spatula or another tool only if the manual permits it and the machine is stopped.
After the early kneading stage, leave the lid closed. Repeated checks can disturb rising and reduce the heat needed for baking.
Which products can help with bread-machine use?
The West Bend Hi-Rise Bread Maker Machine Programmable suits readers who want a programmable bread maker with a 3-pound capacity, 12 programs, 3 loaf sizes, 3 crust colors, and a horizontal pan with dual knead blades. It includes a non-stick bread pan, 2 knead blades, a measuring cup, measuring spoon, knead blade removal tool, and care instructions.
The title's horizontal pan and 2 knead blades point to a traditionally shaped loaf and thorough dough mixing. Its programs include basic, wheat, French, sweet, dough, and gluten-free options, while the manual includes recipes for bread, bagel dough, pasta dough, low-carb bread, and gluten-free bread.
The bella 4 Slice Slim Toaster helps after baking when you want to toast slices from a homemade loaf. Its 10-inch long slots, 6 shade settings, reheat and cancel buttons, high-lift lever, removable crumb tray, and anti-jam and automatic shut-off features suit bread, sourdough, bagels, baguettes, and thick toast.
Its 6.14-inch profile can suit a crowded counter, while the long slots let you toast 2 slices side by side or use longer artisan slices. It is a toaster rather than a bread maker, so it does not mix, knead, rise, or bake dough.
The Amazon Basics Programmable Bread Maker suits readers who want a 2-pound non-stick bread maker with 14 settings, 3 crust colors, an LCD display, and a 550-watt automatic cycle. Its settings cover breads, doughs, gluten-free options, jams, and ExpressBake.
The ExpressBake setting is designed to bake bread in less than 90 minutes. Choose this type of machine when a smaller loaf and more preset options matter more than the 3-pound capacity of the West Bend model.
When should you use the dough cycle?
Use the dough cycle when you want the machine to mix and knead but prefer to shape or bake the dough yourself. This works well for rolls, pizza, buns, and loaves that need a different shape.
Remove the dough when the cycle ends, then shape it on a lightly floured surface. Let it rise as the recipe directs before baking it in a suitable pan or on a tray.
Do not use the dough cycle when you want the bread maker to finish the loaf automatically. Choose a complete bread cycle for mixing, rising, and baking in the machine.
For another brand's control layout, see how to use cuisinart bread maker. The basic ideas are similar, but the cycle names and button order can differ.
How do you use delay start safely?
Use delay start only with ingredients that can safely wait for the full delay period. Follow the Rosewill manual's maximum delay time and avoid ingredients that spoil when left warm for hours.
Measure the ingredients carefully before setting the timer. Keep the yeast dry and separate from liquid until the machine starts mixing.
Do not use delayed start with ingredients your recipe says must stay refrigerated. When in doubt, bake immediately or choose a recipe written for delayed bread-machine timing.
How do you remove and cool the finished loaf?
Remove the bread pan with oven mitts, turn out the loaf, and cool it on a rack before slicing. The pan and bread will be hot when the bake cycle ends.
Unplug the machine before removing the pan. Shake the loaf out gently, and use the manual's method if the knead blade remains inside the bread.
Let steam escape while the loaf cools. Cutting too early can compress the crumb and make the slices gummy.
Use the knead blade removal tool when your machine includes one. Do not scrape a non-stick pan with a metal utensil.
How do you clean a Rosewill bread maker?
Unplug the machine and let the pan cool before cleaning it. Wipe the outside with a damp cloth and clean the pan and knead blade according to the manual.
Keep water away from the machine's control panel, cord, and electrical housing. Do not soak parts unless the manual says they are safe to soak.
Remove dried dough after it softens rather than forcing it from the pan. Dry all removable parts before storing them.
For regular use, How Often Should You Use A Bread Maker? can help you plan baking around cleaning, cooling, and storage.
How to use a Rosewill bread maker successfully
The best method for using a Rosewill bread maker is to start with a simple recipe, measure accurately, load ingredients in the instructed order, and check the dough only during early kneading. Choose cycles and crust settings that match the recipe instead of changing several settings at once.
Choose the West Bend model if you want a 3-pound machine with 12 programs and 3 loaf sizes. Choose the Amazon Basics model if a 2-pound machine with 14 settings and ExpressBake suits your routine.
Add the bella toaster when you want to toast cooled homemade bread in long slots.
For another comparison of bread-machine controls, see zojirushi bread maker how to. Keep your Rosewill manual nearby because model-specific buttons, limits, and cleaning instructions take priority.
Frequently asked questions
What order should ingredients go into a Rosewill bread maker?
Follow your Rosewill recipe or manual first. A common bread-machine order starts with liquids, followed by flour, sugar, salt, dry milk, and yeast kept separate until mixing begins.
Measure carefully, keep yeast dry, and avoid letting it touch salt before the cycle starts.
Which setting should I use on a Rosewill bread maker?
Use the basic or white-bread cycle for a standard loaf, whole-wheat for recipes with substantial whole-wheat flour, dough for rolls or shaped loaves, and a gluten-free cycle only when your model and recipe support it. Choose the loaf size and crust shade your recipe recommends.
Can I open a Rosewill bread maker while it is running?
You can usually check the dough during the early kneading stage, but avoid opening the lid during rising and baking unless the manual allows it. A short check helps you judge moisture, while repeated lid openings can reduce heat and disturb the loaf.
How do I remove bread from a Rosewill bread maker?
Unplug the machine, use oven mitts to remove the hot bread pan, and let the loaf cool before slicing. If the loaf sticks, follow the manual's instructions and use the supplied knead blade removal tool when available.
Never reach into the pan while it is hot.