
Can You Use a Bread Machine for Gluten Free Sourdough?
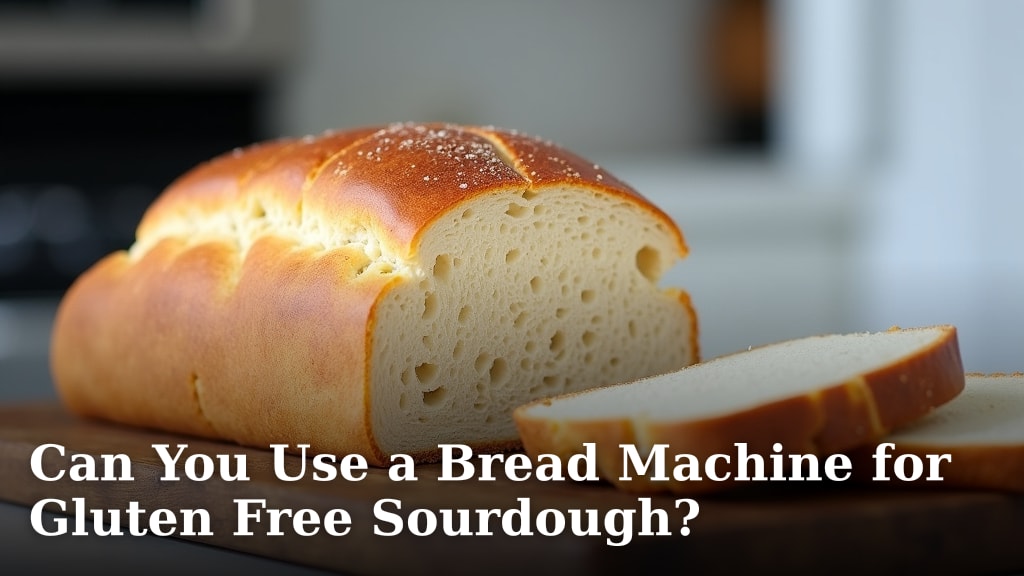
Yes, you absolutely can use a bread machine for gluten-free sourdough, but it comes with a few considerations. We found that bread machines can simplify the kneading and proofing process. This makes baking gluten-free sourdough much easier for you.
Baking gluten-free sourdough can be a bit tricky because of the different dough structure. A bread machine helps manage the delicate gluten-free dough consistently. You’ll still need to understand your starter and adjust recipes for the best results.
- Bread machines can handle gluten-free sourdough.
- They simplify kneading and proofing steps.
- Gluten-free dough needs careful handling.
- You might need to adjust recipes for your machine.
Ready to bake some delicious gluten-free sourdough with your bread machine? Let’s walk through everything you need to know to make this a success in your kitchen.
Baking Gluten-Free Sourdough in Your Bread Machine: What to Expect
You can certainly use your bread machine to make delicious gluten-free sourdough. It’s a great tool for simplifying a process that can sometimes feel overwhelming. You’ll find it handles a lot of the hands-on work for you, like kneading and maintaining a consistent temperature.
The key difference for gluten-free sourdough in a bread machine compared to traditional bread is how the dough behaves. Gluten-free dough often has a stickier, more batter-like consistency. Your bread machine is designed to manage this kind of dough effectively.
Understanding Gluten-Free Sourdough Dough
Gluten-free sourdough is a different beast from regular wheat sourdough. Without gluten, the dough doesn’t develop the same elastic structure. This means it won’t stretch and form like traditional dough. We found this is where many bakers face challenges.
Instead, gluten-free flours rely on different starches and gums to create structure. You’ll often see ingredients like xanthan gum or psyllium husk in recipes. These help trap gas from the starter, giving your bread lift and a good texture.
The Role of Your Sourdough Starter
Your sourdough starter is the heart of your bread. For gluten-free sourdough, you’ll need a gluten-free starter. This means feeding it with gluten-free flours like brown rice flour or sorghum flour. A healthy, active starter is crucial for good rise and flavor.
We found that a robust starter gives the best results. It should be bubbly and double in size within a few hours of feeding. If your starter isn’t strong, your bread machine won’t be able to magically fix it.
Benefits of Using a Bread Machine for Gluten-Free Sourdough
Using a bread machine offers several clear advantages for gluten-free sourdough. It can make the process much more approachable, especially if you’re new to sourdough baking.
- Hands-Free Kneading: Gluten-free dough is often too sticky to knead by hand easily. The bread machine does all the mixing for you.
- Consistent Proofing Temperature: Many bread machines have a “dough” or “gluten-free” cycle that maintains a warm, stable temperature. This is ideal for fermentation and proofing, which can be sensitive to temperature changes (USDA).
- Reduced Active Time: You just add ingredients, press a button, and let the machine do its work. This frees you up for other tasks.
- Less Mess: All the mixing happens in one pan, reducing cleanup compared to traditional baking methods.
The “Set It and Forget It” Advantage
Think of your bread machine as your personal baking assistant. Once you load the ingredients, it takes over. This “set it and forget it” aspect is particularly helpful for gluten-free sourdough, which sometimes needs longer proofing times.
You don’t need to constantly monitor the dough. The machine keeps it warm and happy. We found this reduces a lot of the anxiety associated with baking sourdough from scratch.
Choosing the Right Bread Machine and Settings
Not all bread machines are created equal, but most modern machines will have suitable settings. You’ll want to look for specific cycles that cater to gluten-free baking or dough preparation.
If your machine has a “gluten-free” setting, that’s often your best bet. These cycles typically have a shorter kneading time and a longer rise time, which is perfect for gluten-free dough.
Key Bread Machine Features to Look For
When selecting a machine, or using the one you have, consider these features:
- “Gluten-Free” Cycle: This setting is optimized for the unique needs of gluten-free flours. It helps prevent over-kneading, which can make gluten-free bread dense.
- “Dough” Cycle: If you don’t have a gluten-free setting, the dough cycle is a great alternative. It handles mixing and the first rise, then you can shape and bake the bread in your oven.
- Timer/Delay Start: This lets you add ingredients the night before and wake up to freshly proofed dough, or even a baked loaf.
- Paddle Design: Some machines have collapsible paddles, which can prevent a large hole at the bottom of your loaf. This is a nice bonus.
Optimizing Your Bread Machine Settings
Once you have your machine, you’ll need to choose the right cycle. We found that experimenting is key here, as each machine can behave a little differently.
Start with the “gluten-free” cycle if available. If not, the “dough” cycle followed by oven baking gives you more control. Some people even use a “quick bread” cycle for a shorter bake, but this is less common for sourdough.
Essential Ingredients for Gluten-Free Sourdough
The quality of your ingredients directly impacts your final loaf. For gluten-free sourdough, this is especially true. You’re building structure and flavor from the ground up.
We found that using a good blend of gluten-free flours gives the best results. Don’t just rely on one type of flour if you can help it.
Building Your Gluten-Free Flour Blend
A successful gluten-free sourdough often uses a mix of flours. This blend creates a balanced texture and flavor profile. You’re aiming for a combination of starches and protein-rich flours.
- Starchy Flours: Think tapioca starch, potato starch, or cornstarch. These add softness and chewiness.
- Whole Grain Flours: Brown rice flour, sorghum flour, or millet flour provide structure, flavor, and nutrients. They are also what you’ll feed your starter.
- Protein-Rich Flours: Almond flour or oat flour (certified gluten-free) can add a bit more structure and flavor, but use them sparingly.
Hydration Levels and Additives
Gluten-free doughs typically require more hydration than wheat doughs. Don’t be surprised if your recipe calls for a lot of liquid. The dough will likely be very wet, almost like a thick batter.
You’ll also commonly see ingredients like psyllium husk powder or xanthan gum. These are critical for elasticity and preventing your bread from crumbling. Psyllium husk, in particular, helps mimic the elasticity of gluten (National Institutes of Health).
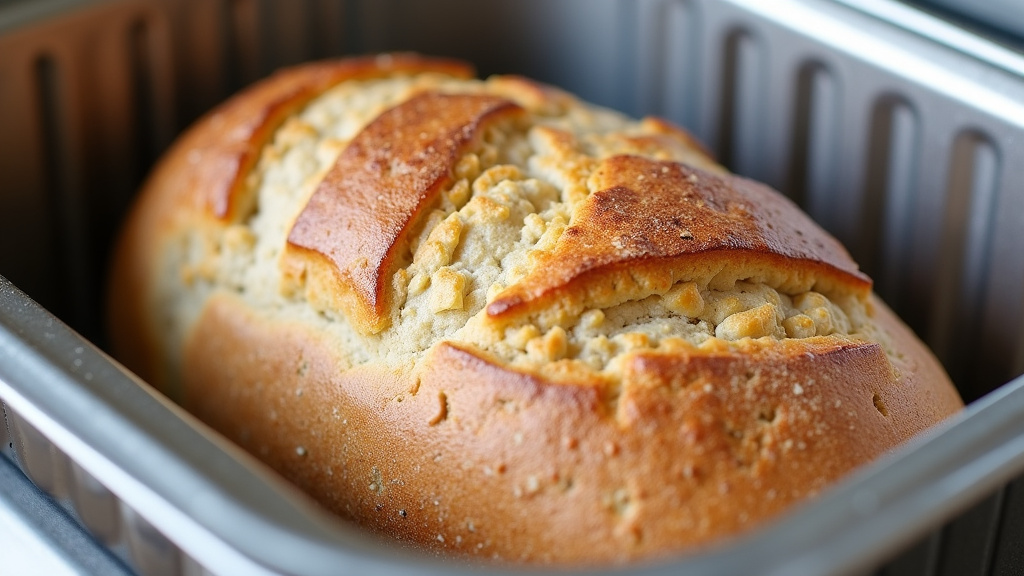
Step-by-Step Baking Process in Your Bread Machine
Now that you understand the basics, let’s walk through the actual baking process. It’s simpler than you might think, thanks to your bread machine.
Remember, precision with measurements is key for gluten-free baking. Use a kitchen scale for accuracy if possible. We found this dramatically improves consistency.
Preparing Your Ingredients
Before you even open your bread machine, measure everything carefully. Have your active gluten-free sourdough starter ready. It should be bubbly and at its peak.
Bring your liquid ingredients, like water or dairy-free milk, to room temperature. Cold liquids can slow down the starter’s activity, which you don’t want. Warm water, around 90-100°F (32-38°C), is ideal.
Loading the Bread Machine
Most bread machine manufacturers recommend adding liquids first, then dry ingredients, and finally the yeast or starter on top. This helps prevent the starter from activating too early.
Follow your specific machine’s instructions if they differ. For gluten-free sourdough, you’ll typically add:
- Water or liquid.
- Sourdough starter.
- Oil (if using).
- Dry ingredients (flour blend, salt, sugar, psyllium husk, xanthan gum).
Choosing the Right Cycle and Baking
Once your ingredients are loaded, select your “gluten-free” cycle or “dough” cycle. If using the “dough” cycle, the machine will mix and proof. After the cycle finishes, you’ll remove the dough, shape it, and bake it in a conventional oven.
If you’re using a full “gluten-free” bake cycle, the machine will handle everything. You’ll just wait for the delightful aroma of freshly baked bread to fill your kitchen.
Troubleshooting Common Gluten-Free Sourdough Issues
Even with a bread machine, you might encounter some common challenges. Don’t get discouraged! Gluten-free sourdough has a learning curve.
We found that most issues can be traced back to a few key areas. A little adjustment can make a big difference in your next loaf.
Checklist for a Perfect Loaf
Use this quick checklist if your bread isn’t turning out quite right:
- Is your sourdough starter active and bubbly?
- Are your measurements precise (especially liquids and flours)?
- Is your liquid temperature appropriate (not too cold)?
- Did you use the correct bread machine cycle?
- Is your gluten-free flour blend balanced?
- Is your kitchen temperature too cold, slowing the proof?
Addressing Specific Problems
Let’s look at a few common problems and their solutions:
Dense or Gummy Bread
This is often a sign of insufficient proofing or too much liquid. Try extending the proofing time slightly, or reducing the liquid by a tablespoon next time. Ensure your starter is very strong. We’ve seen this issue disappear with a more active starter.
Bread Doesn’t Rise Enough
Again, a weak starter is a primary culprit. Also, check the expiration dates on your flours and any added leavening agents. Your machine’s proofing temperature might also be too low; sometimes, placing a warm towel over the machine helps (University of Nebraska-Lincoln).
Crumbly Texture
If your bread is falling apart, it likely needs more binder. Increase the amount of psyllium husk or xanthan gum slightly in your next batch. Remember, these ingredients are crucial for giving gluten-free bread structure.
| Problem | Possible Cause | Solution |
|---|---|---|
| Dense/Gummy Loaf | Weak starter, too much liquid, under-proofed | Strengthen starter, reduce liquid slightly, extend proofing time |
| Poor Rise | Inactive starter, old ingredients, cold proofing environment | Feed starter well, check dates, ensure warm proofing |
| Crumbly Bread | Not enough binder (psyllium/xanthan), too dry | Increase psyllium/xanthan, ensure correct hydration |
| Hard Crust | Overbaking, too little moisture in dough | Reduce bake time, increase hydration slightly, use steam if oven baking |
Don’t be afraid to keep notes on your baking attempts. Small tweaks in your process can lead to significant improvements over time. Every baker has a few “flat bread” stories, even with a machine!
Conclusion
You absolutely can conquer gluten-free sourdough baking with your bread machine. We found it simplifies the process significantly, handling the tricky kneading and proofing. This allows you to focus on developing a strong gluten-free starter and balancing your flour blends.
Don’t be afraid to experiment with settings and ingredients. With a little patience, you’ll be enjoying delicious, homemade gluten-free sourdough. So, grab your starter and your bread machine and start baking today!
Frequently Asked Questions
What kind of gluten-free starter do I need for a bread machine?
You will need an active gluten-free sourdough starter, fed with flours like brown rice or sorghum. Ensure it’s bubbly and doubles in size after feeding for the best results in your machine.
Can I use any gluten-free flour blend in my bread machine sourdough?
While you can use many blends, we recommend a balanced mix of starchy and whole-grain flours for structure and flavor. Using specific binders like psyllium husk powder is also important for texture.
Do I need a special bread machine for gluten-free sourdough?
No, most modern bread machines will work. Look for a “gluten-free” cycle or a “dough” cycle. These settings are well-suited for the unique requirements of gluten-free dough.
Why is my gluten-free sourdough dense after using a bread machine?
Density often comes from an inactive starter, too much liquid, or insufficient proofing. Check your starter’s activity and make sure your measurements are precise. A slight adjustment can help next time.
Can I just use the “bake” cycle for gluten-free sourdough in my bread machine?
We found using a “gluten-free” or “dough” cycle is generally best. The “bake” cycle might not provide the specific kneading and proofing times needed for gluten-free sourdough’s delicate structure.
