
What Is the Dough Cycle on a Bread Machine?

The dough cycle on a bread machine is a special program that mixes, kneads, and proofs bread dough without baking it. This cycle prepares your dough, allowing you to then remove it and shape it by hand for baking in a conventional oven. It’s perfect for making rolls, pizza, or specialty loaves.
You get all the benefits of machine kneading, saving you time and effort. The bread machine handles the messy work, giving you perfectly developed dough every time. It also provides an ideal warm environment for the dough to rise, ensuring a consistent proof.
TL;DR:
- Bread machine handles mixing and kneading.
- Dough cycle proofs the dough for you.
- You shape and bake the dough elsewhere.
- Great for pizza, rolls, and custom breads.
- Saves time and ensures consistent results.
Are you ready to make fantastic homemade bread without all the hard work? We’ll walk you through exactly how the dough cycle works and how to use it to its full potential.
Unpacking the Bread Machine Dough Cycle
So, what exactly is this “dough cycle” we’re talking about? It’s a specialized program on your bread machine that’s designed to handle all the messy parts of making dough. It mixes the ingredients, kneads the dough until it’s smooth and elastic, and then provides a warm, cozy environment for the dough to rise.
Think of it as your personal, automated baker’s assistant. It does the hard work so you don’t have to. You add the ingredients, push a button, and come back to perfectly prepared dough.
Mixing and Kneading: The Foundation of Great Dough
The first part of the dough cycle focuses on mixing and kneading. This is where your ingredients – flour, water, yeast, salt, and sugar – come together. The machine’s paddle will spin, incorporating everything into a shaggy mass, then continue to knead it until it’s smooth and elastic.
Proper kneading is vital for bread. It develops the gluten in the flour, which creates the structure of your bread. Without good kneading, your bread can be dense and heavy. The bread machine ensures every batch gets the kneading it needs.
The Science of Gluten Development
Gluten is a protein network that forms when flour and water are mixed. As you knead, these proteins stretch and align, creating tiny pockets that trap the gas produced by the yeast (American Chemical Society). This trapped gas is what makes your bread light and airy. The bread machine’s consistent kneading action is excellent for optimal gluten development.
The All-Important Proofing Stage
After kneading, your bread machine shifts to the proofing stage. This is a rest period where the yeast goes to work. The machine often provides a gentle warmth, usually around 80-90°F (27-32°C), which is ideal for yeast activity.
During proofing, the yeast consumes sugars in the dough and releases carbon dioxide gas. This gas gets trapped by the gluten network, causing the dough to expand and rise. This rise is called “proofing,” and it’s a critical step for light, airy bread.
Why Temperature Matters for Proofing
Yeast is sensitive to temperature. Too cold, and it’s sluggish; too hot, and it can die or produce off-flavors. The bread machine’s controlled environment takes the guesswork out of proofing. It maintains the perfect temperature, ensuring your dough rises consistently every time.
Dough Cycle vs. Regular Bread Cycle: What’s the Difference?
You might be wondering, “Doesn’t my bread machine just make bread?” Yes, it does! But the “regular” or “basic” bread cycle is different from the dough cycle. Understanding the distinction helps you use your machine more effectively.
The main difference is the baking step. The regular bread cycle takes your ingredients all the way through mixing, kneading, proofing, AND baking. The dough cycle stops short, handing you perfectly proofed dough ready for shaping and baking elsewhere.
| Feature | Dough Cycle | Regular Bread Cycle |
|---|---|---|
| Mixing & Kneading | Yes | Yes |
| Proofing (First Rise) | Yes | Yes |
| Punch Down | Often Yes | Often Yes |
| Second Rise/Proof | No (you do this later) | Yes (in the machine) |
| Baking | No (you bake elsewhere) | Yes (in the machine) |
| End Product | Ready-to-shape dough | Finished loaf of bread |
When to Choose the Dough Cycle
The dough cycle opens up a world of possibilities beyond a simple loaf of bread. It’s your go-to option when you want to customize your final baked goods. Think about all the shapes and sizes you can create!
- Pizza Dough: Imagine fresh, homemade pizza whenever you want it. The dough cycle makes perfect pizza dough that you can stretch, top, and bake in your oven.
- Dinner Rolls: Shape elegant dinner rolls, knot rolls, or pull-apart buns. You get to decide the size and look.
- Artisan Breads: Want to score your loaf or add toppings like seeds or oats? The dough cycle gives you the freedom to craft beautiful artisan loaves.
- Sweet Breads: Cinnamon rolls, sticky buns, or fruit-filled loaves are all fantastic candidates for the dough cycle.
- Shaped Loaves: Braid challah or make a beautiful twisted loaf. Your oven provides the space for these creations.
Many home bakers find that bread machine dough is often easier to work with than hand-kneaded dough. It tends to be smoother and more consistent.
Advantages of Using the Dough Cycle
Why bother with the dough cycle when your machine can do it all? The advantages are clear, especially if you love to get creative in the kitchen.
- Hands-Off Kneading: This is a big one. No sticky hands, no tiring arm work. Your machine handles the intensive mixing and kneading, saving you time and effort. This is particularly helpful for those with hand or wrist issues.
- Consistent Results: Bread machines are very good at maintaining the right temperature for proofing. This means your dough rises beautifully and predictably every time, avoiding under-proofed or over-proofed dough.
- Versatility: As we mentioned, it frees you up to make so much more than a standard loaf. Rolls, pizza, focaccia, pretzels – the options are nearly endless!
- Ideal Proofing Environment: Many kitchens can be drafty or too cool. The bread machine provides a warm, insulated spot, which is perfect for yeast activity (North Carolina State University Extension).
- Less Mess: All the flour and sticky dough stay contained within the bread machine pan. Your countertops stay cleaner!
You might be surprised how much you’ll love having this option. It’s truly a game-changer for homemade baked goods.
How to Use Your Bread Machine’s Dough Cycle
Using the dough cycle is incredibly straightforward. It’s designed to be user-friendly, allowing you to focus on the fun part: shaping and baking.
Here’s a basic step-by-step guide to get you started:
Step-by-Step Guide to Dough Cycle Success
Before you begin, always check your specific bread machine manual. While the steps are generally similar, some machines have unique features or recommended ingredient order.
- Add Liquids First: In most machines, you’ll add your wet ingredients (water, milk, eggs, oil) to the bread pan first. This helps prevent the yeast from prematurely activating or coming into direct contact with salt.
- Add Dry Ingredients (Flour, Sugar, Salt): Next, add your dry ingredients. Create a small well in the center of the flour for the yeast.
- Add Yeast Last: Sprinkle the yeast directly into the well you made. Try to keep it separate from salt and liquids until the mixing begins.
- Select the Dough Cycle: Close the lid of your bread machine. Choose the “Dough” or “Pizza Dough” setting from your machine’s menu.
- Start the Machine: Press the start button. The machine will begin mixing, kneading, and proofing according to its pre-programmed settings.
- Wait for the Beep: Most dough cycles take between 1.5 to 2.5 hours. Your machine will beep when it’s finished.
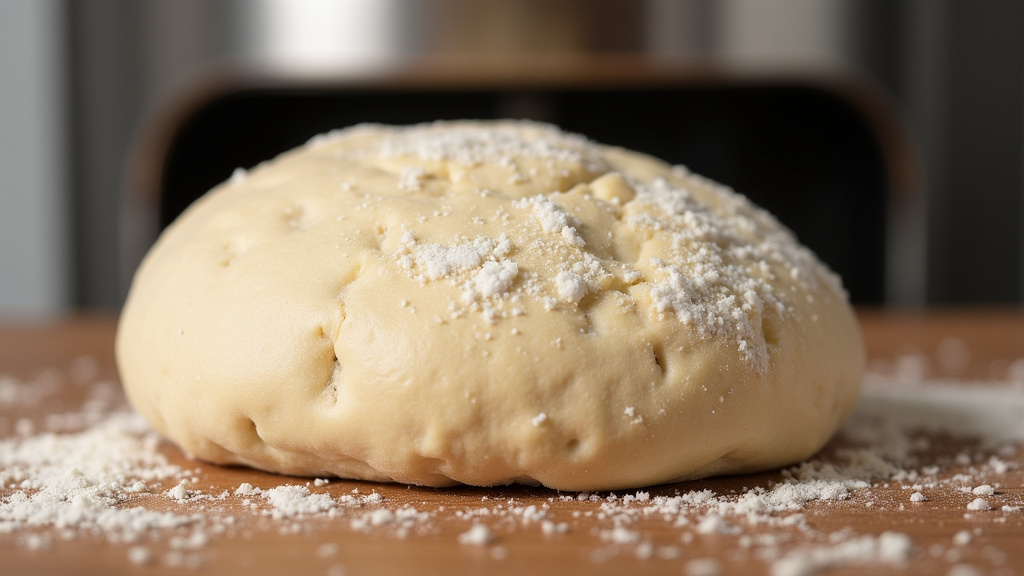
- Remove the Dough: Carefully remove the dough from the bread pan. It should be light, airy, and easy to handle.
- Punch Down and Shape: Gently punch down the dough to release the gas. Now you’re ready to shape it into whatever delicious creation you desire!
- Second Proof and Bake: After shaping, let your dough rise again (this is called the second proof) in a warm place until it’s light and puffy. Then, bake in a preheated conventional oven according to your recipe’s instructions.
It’s that simple! You’ll be amazed at the results with minimal effort.
Tips for Perfect Dough Every Time
Even with the convenience of a bread machine, a few tips can make your dough even better:
- Accurate Measurements: Always measure your ingredients precisely, especially flour and liquids. Too much or too little can drastically change the dough’s consistency. A kitchen scale is a great investment for accuracy.
- Fresh Ingredients: Use fresh yeast for the best rise. Check the expiration dates on all your ingredients.
- Water Temperature: Lukewarm water (around 105-115°F or 40-46°C) is generally ideal for activating yeast. Avoid water that’s too hot or too cold.
- Don’t Peek: Resist the urge to open the lid during the mixing and kneading phase. This can disrupt the process and temperature.
- Adjusting for Climate: If you live in a very humid or very dry climate, you might need to slightly adjust your flour or liquid measurements. Start with the recipe, then watch the dough during the first few minutes of kneading. If it looks too wet or too dry, make small adjustments.
- Oiling the Pan: Some recipes recommend lightly oiling the bread pan before adding ingredients, especially if your machine tends to stick.
Following these simple guidelines will help you consistently achieve beautiful, pliable dough that’s a joy to work with.
Conclusion
The dough cycle truly transforms your bread machine into a versatile kitchen assistant. You now know it handles all the heavy lifting of mixing, kneading, and proofing, leaving you with perfectly prepared dough. This allows you to easily create a wide array of baked goods, from custom loaves to pizza and rolls, all with minimal effort and mess.
Ready to get baking? Pull out your machine, choose your favorite recipe, and let the dough cycle simplify your journey to delicious homemade treats!
Frequently Asked Questions
Can I leave dough in the bread machine after the dough cycle finishes?
It’s best to remove the dough promptly after the cycle finishes. If left too long, it can over-proof, leading to a sour taste or a dense texture in your final product. Some machines might have a “keep warm” function, but this can also negatively impact the dough’s quality.
What if my dough doesn’t rise during the dough cycle?
If your dough doesn’t rise, the most common culprits are old or inactive yeast, water that’s too hot or cold, or too much salt in direct contact with the yeast. Always check your yeast’s expiration date and use lukewarm water. Ensure salt is added separately from the yeast.
Can I use the dough cycle for gluten-free recipes?
Yes, many bread machines have a dedicated gluten-free dough cycle or a general dough cycle that works well for gluten-free recipes. Gluten-free flours behave differently, so always follow a recipe specifically designed for gluten-free bread to ensure the best results.
How long does the dough cycle usually take?
The duration of a dough cycle varies by machine and recipe, but it typically takes between 1.5 to 2.5 hours. This includes the mixing, kneading, and initial proofing stages. Always consult your bread machine’s manual for exact timings.
Do I need to grease the bread machine pan when using the dough cycle?
It’s generally a good idea to lightly grease the bread machine pan, especially the paddle, before adding ingredients for the dough cycle. This helps prevent the dough from sticking and makes for easier removal once the cycle is complete.
