
How to Use a Bread Machine on the Dough Only Setting?
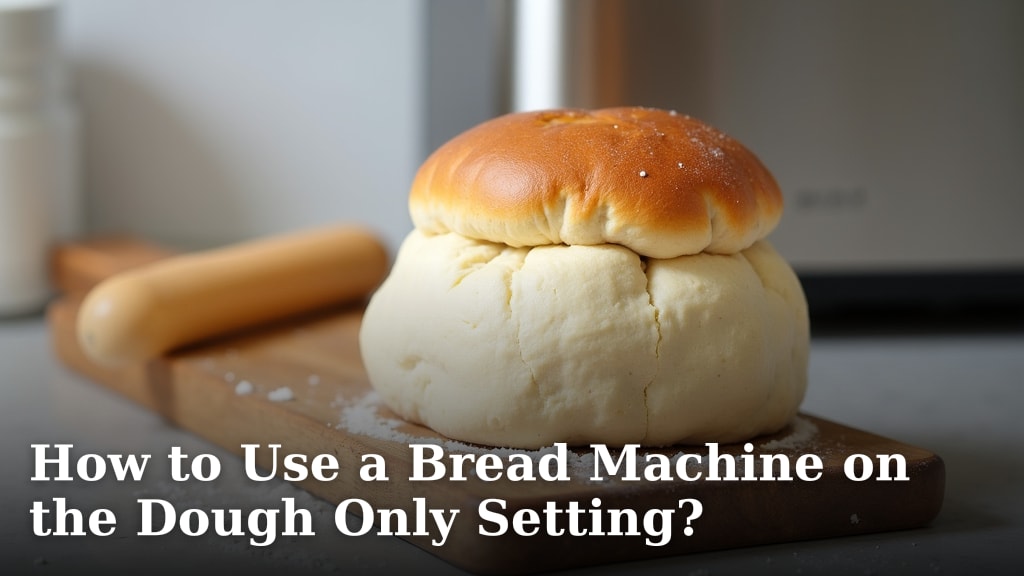
Using a bread machine on the dough only setting is simple. You add your ingredients, select the dough cycle, and let the machine do the kneading and first rise for you. This setting prepares your dough perfectly, saving you time and effort.
Many home bakers love this feature because it takes the mess and guesswork out of dough preparation. You can then shape and bake your bread in a conventional oven, giving you more control over the final product. It’s ideal for pizzas, rolls, and specialty breads.
- Add ingredients to your bread machine.
- Select the ‘Dough’ cycle.
- Let the machine mix and knead.
- The machine will complete the first rise.
- Remove the dough for shaping and baking.
Ready to master your bread machine’s dough cycle? Let’s walk through exactly how this works step by step. If you’re new to bread machines, finding the best bread maker for first-time users can make the process even smoother.
Mastering Your Bread Machine’s Dough Cycle
Using your bread machine’s dough cycle is like having a patient assistant in your kitchen. It handles the messy, time-consuming parts of bread making so you don’t have to. You get perfect dough without the heavy lifting.
The beauty of this setting is its simplicity and consistency. It warms the ingredients, kneads thoroughly, and allows for an ideal first rise. This ensures your dough is always ready for its next step.
Understanding the “Dough” Setting
So, what exactly does the “Dough” setting do? It’s designed to mix, knead, and proof your dough. It typically lasts between 1.5 and 2.5 hours, depending on your machine and recipe.
During this time, the machine creates the ideal environment for yeast activity. It maintains a warm, consistent temperature, which is crucial for a good rise. This consistency is often hard to achieve manually.
Think of it as a controlled fermentation chamber. Your dough gets exactly what it needs without you needing to monitor it constantly. It’s a true time-saver.
What Happens During the Dough Cycle?
The dough cycle involves several distinct stages. Each stage plays a vital role in creating well-developed dough.
- Mixing: All ingredients are combined into a shaggy mass. This ensures even distribution of flavors and activators.
- Kneading: The paddle vigorously works the dough. This develops the gluten structure, giving your bread its chewiness and elasticity.
- Resting: Short breaks allow the gluten to relax, making the dough easier to work with.
- First Rise (Proofing): The dough sits in the warm machine, expanding in volume. This is where the yeast does its magic, creating air pockets.
Your machine automates this entire sequence. You don’t need to know the perfect kneading time or temperature. It just handles it for you.
Gathering Your Ingredients: The Foundation of Great Dough
Before you even touch your bread machine, prepare your ingredients. Accuracy is key, especially in baking. We found that precise measurements prevent many common dough problems (Journal of Food Science).
Make sure all your ingredients are fresh and at the correct temperature. For most bread recipes, this means warm water and room-temperature dairy. Cold ingredients can slow down yeast activity.
Always check your yeast’s expiration date. Old yeast is often inactive yeast, and it won’t give your dough the lift it needs. A simple freshness test is to dissolve a teaspoon in warm water with a pinch of sugar; if it bubbles after 5-10 minutes, it’s good to go. Understanding yeast activity is crucial if you want to make bread machine bread rise higher.
The Order of Ingredients Matters
Most bread machine manufacturers recommend adding liquids first, then dry ingredients, and finally the yeast. This prevents the yeast from getting wet too early and ensures proper mixing.
Here’s a general layering guide:
- Liquids: Water, milk, oil, eggs.
- Dry Ingredients: Flour, sugar, salt. Keep salt away from the yeast initially.
- Yeast: Placed on top of the flour, away from direct contact with liquids or salt.
Some recipes might vary slightly, so always refer to your specific bread machine manual or recipe instructions. Following these steps helps the machine do its job efficiently.
Step-by-Step Guide to Using the Dough Cycle
Alright, let’s get down to business. Using the dough cycle is straightforward, but a few tips can make it even easier.
First, make sure your bread machine’s pan is clean and the kneading paddle is securely in place. A missing paddle means no kneading, and trust us, you’ll notice!
Adding Ingredients Correctly
Carefully measure all your ingredients. Use measuring cups for liquids and a kitchen scale for dry ingredients like flour. Weight is far more accurate for flour than volume, which can vary widely.
Add your liquids to the bread pan first. Then add the dry ingredients, making a small “well” in the flour for the yeast. Pour the yeast into this well. This keeps the yeast dry until the mixing begins.
Avoid letting salt directly touch the yeast. Salt can inhibit yeast activity if they come into contact too early. A small barrier of flour does the trick.
Selecting the “Dough” Cycle
Once your ingredients are in the pan, insert the pan into the bread machine. Close the lid.
Now, select the “Dough” cycle on your machine’s menu. It might be called “Dough,” “Pizza Dough,” or “Pasta Dough.” Make sure it’s not a full “Basic Bread” cycle. We found confusion over these settings is common among new users.
Press “Start.” Your machine will now begin its magical journey of transforming raw ingredients into beautiful, elastic dough.
Monitoring and Troubleshooting Your Dough
Even with a bread machine, it’s good to keep an eye on your dough, especially the first few times. You’re looking for a perfectly formed, smooth ball of dough.
During the first few minutes of kneading, open the lid and check the dough’s consistency. It should form a smooth, somewhat tacky ball. It shouldn’t be too wet or too dry.
Adjusting Dough Consistency Mid-Cycle
If your dough looks too dry (crumbly, not forming a ball), add liquid a teaspoon at a time. Let it knead for a minute, then re-check. Repeat until it’s right.
If it’s too wet (sticky, soupy, sticking to the sides of the pan), add flour a teaspoon at a time. Again, let it knead and check. Small adjustments make a big difference.
A good dough ball will clean the sides of the pan as it kneads. It should feel springy and resilient when lightly touched.
What to Do After the Dough Cycle Finishes
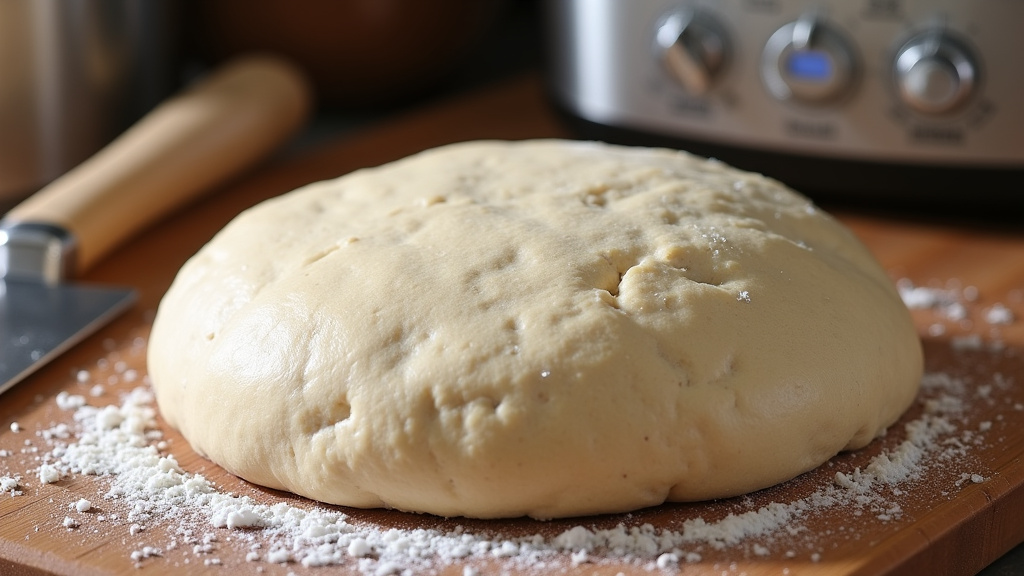
When the machine beeps, signaling the end of the dough cycle, congratulations! You have perfectly proofed dough ready for shaping.
Carefully remove the bread pan from the machine. Gently pull out the dough. You’ll notice it’s warm, elastic, and has expanded significantly.
At this point, you’ll need to “punch down” the dough. This simply means gently deflating it to release the gases. This prepares it for shaping and its second rise.
Your Dough is Ready: What Next?
This is where the fun begins! Your dough is now a blank canvas. What will you create?
| Dough Type | Ideal Uses | Second Rise & Bake Method |
|---|---|---|
| Standard White/Wheat Dough | Loaves, dinner rolls, sandwich buns | Shape, rise in pan/on sheet, bake in oven |
| Pizza Dough | Pizza crusts, calzones, focaccia | Shape, top, bake in oven (no second rise needed for most pizzas) |
| Sweet Dough | Cinnamon rolls, sweet buns, doughnuts | Shape, rise on sheet, bake/fry |
| Roll Dough | Parker House rolls, crescent rolls | Shape, rise on sheet, bake in oven |
Whether it’s a rustic loaf, soft dinner rolls, or a crispy pizza, the dough cycle gives you the perfect starting point.
Tips for Perfect Dough Every Time
Want to consistently achieve fantastic results? We’ve gathered some tips from experienced bakers and test kitchens.
Always use fresh ingredients. Old flour, stale yeast, or rancid oil can ruin your dough. Baking is a science, and good ingredients are half the battle.
Measure carefully. We can’t stress this enough. Eyeballing measurements in baking often leads to disappointment. Use proper tools.
Consider your environment. On a humid day, you might need slightly less liquid. On a dry day, a little more. Pay attention to how your dough feels.
Checklist for Dough Success
Before you hit that start button, run through this quick mental checklist:
- Are all ingredients fresh and measured precisely?
- Are liquids at the correct temperature?
- Is the kneading paddle securely in place?
- Are ingredients added in the recommended order?
- Is the “Dough” cycle correctly selected?
- Did you peek during kneading to check consistency?
Following these steps helps ensure a smooth process and delicious results. You’re setting yourself up for baking success!
Conclusion
You now have all the knowledge to confidently use your bread machine’s dough-only setting. This powerful feature simplifies baking, turning raw ingredients into perfectly kneaded and proofed dough with minimal effort on your part. We’ve seen how precise measurements and careful ingredient layering contribute to success.
By understanding each stage of the dough cycle and knowing how to troubleshoot, you’re set for fantastic results. So go ahead, experiment with new recipes, and create delicious homemade breads, pizzas, and rolls. Your bread machine is ready to be your baking partner!
Frequently Asked Questions
Can I leave dough in the bread machine longer after the cycle finishes?
It’s generally not recommended. Leaving the dough in the warm machine can cause it to over-proof, leading to a dense texture in your final baked product. Remove it promptly after the cycle ends.
What if my dough doesn’t rise much during the cycle?
This often indicates inactive yeast or incorrect liquid temperature. Ensure your yeast is fresh and active, and that liquids are warm (not hot) enough to activate it. You might also have forgotten an ingredient.
Can I make gluten-free dough using the dough cycle?
Yes, many bread machines handle gluten-free dough well on the dough cycle. You’ll need a recipe specifically designed for gluten-free baking, as these flours behave differently. They often require a slightly stickier consistency.
How do I clean the bread machine pan after using the dough cycle?
Remove the kneading paddle and any remaining dough. Soak the pan in warm, soapy water for a few minutes to loosen any stuck-on residue. Then, gently scrub it clean with a non-abrasive sponge. Avoid submerging the entire pan if it has electrical components.
What’s the main benefit of using the dough cycle over making dough by hand?
The primary benefit is convenience and consistency. The machine handles all the kneading and maintains the ideal temperature for proofing, saving you significant time and effort. It removes the guesswork, giving you reliable results every time.
