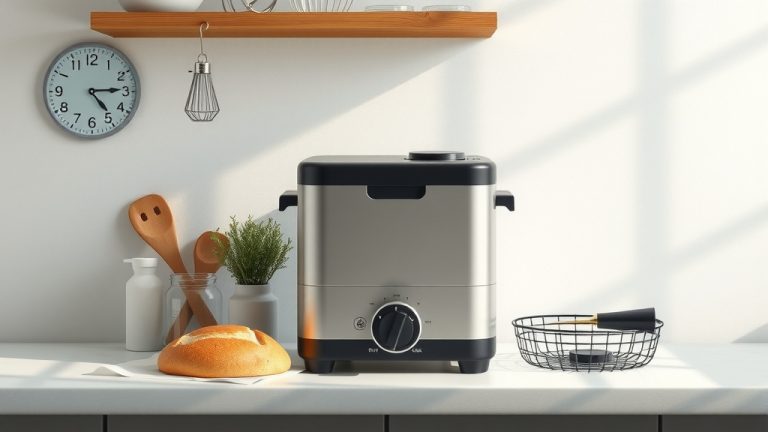
What Is Windowpane Test For Bread Maker Dough?
The windowpane test for bread maker dough helps you check if your dough has been kneaded enough. It shows you if the gluten has developed properly.
You perform the windowpane test by gently stretching a small piece of dough until it becomes thin and translucent, like a windowpane, without tearing.
For those short on time, here’s a quick look at the windowpane test for your bread machine dough:
- It confirms if your dough has enough gluten for a good rise and texture.
- You need to stop your bread maker briefly to perform the test.
- Gently stretch a small piece of dough; it should become thin and see-through.
- If it tears easily, the dough needs more kneading time.
- A successful test means your bread will likely have a light, airy crumb.
What Is Windowpane Test For Bread Maker Dough?
The windowpane test is a crucial technique to assess gluten development in your dough. It tells you if your bread maker has kneaded the dough enough for a perfect loaf.
Think of it like this: gluten is the framework of your bread. Strong gluten holds the gas produced by yeast, giving your bread a lovely, airy texture. Without it, your bread might be dense and heavy.
Why Is Gluten Development So Important?
Gluten is a protein network that gives dough its elasticity and strength. When you knead dough, these proteins link together, creating a stretchy matrix.
This network traps carbon dioxide gas during the rising process, allowing your bread to expand. Without proper gluten, your bread can’t hold its shape or achieve a light crumb.
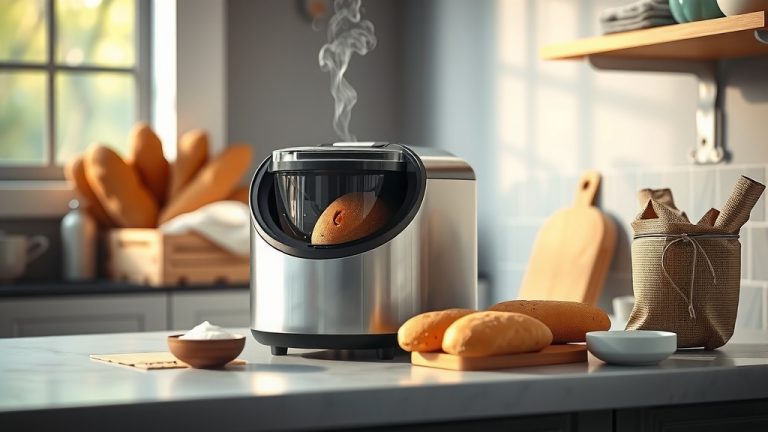
Checking Your Dough Mid-Cycle
You might wonder how to do this test with a machine doing all the work. It’s simple, really. Just pause your bread maker during the first kneading cycle.
Some machines have a “pause” button, or you can often just unplug it for a moment. This lets you get in there and feel the dough.
How to Perform the Windowpane Test Step-by-Step
Performing the windowpane test is easier than it sounds. It’s a hands-on moment that connects you to your bread-making process, even with a machine.
Pausing Your Bread Maker
First, wait until your bread maker has been kneading for at least 5-10 minutes. This gives the gluten a chance to start forming.
Gently stop the machine. Don’t worry; a brief pause won’t harm your dough or the machine’s cycle.
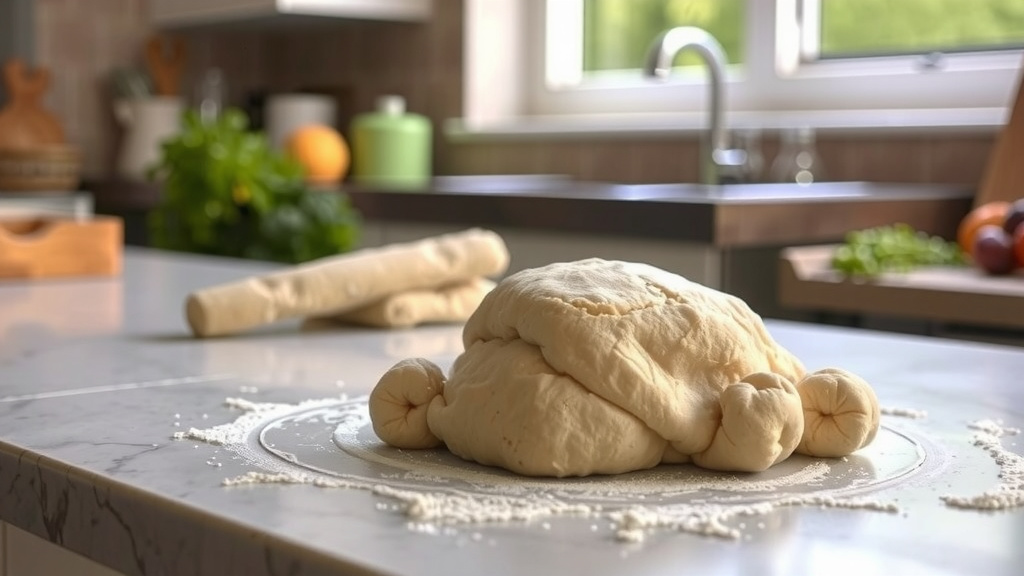
Extracting a Small Piece of Dough
Lightly flour your hands, just enough to prevent sticking. Carefully pull off a small piece of dough, about the size of a golf ball.
Be gentle with it. You’re not trying to tear it apart, but just to get a sample.
Stretching the Dough Gently
Hold the dough between your thumbs and forefingers. Slowly and carefully begin to stretch it outwards from the center.
Rotate the dough as you stretch, aiming for an even thinness. This takes a little practice, but you’ll get the hang of it.
What Does a Successful Windowpane Look Like?
You’re looking for a thin, almost transparent membrane. It should stretch without breaking, allowing light to pass through.
If you can read a newspaper through it, you’ve hit the jackpot! This means your gluten is perfectly developed and strong (NIH).
Troubleshooting Common Windowpane Test Issues
Sometimes, your dough might not pass the test the first time. Don’t worry, it happens to everyone. We found that most issues are easy to fix.
Dough Tears Easily
If your dough tears quickly and won’t stretch thin, it means the gluten network isn’t strong enough. It needs more kneading.
Simply let your bread maker continue kneading for another 5-10 minutes. Then, re-test the dough.
Dough Is Too Sticky
Very sticky dough is usually a sign of too much liquid. It won’t form a strong windowpane.
Add a tablespoon of flour at a time, letting the machine knead it in. Re-test after each addition until it feels right.
Dough Is Too Stiff or Dry
If your dough is too stiff, it lacks enough hydration to stretch. It will be dense and difficult to work with.
Add a tablespoon of water or milk at a time. Let the machine mix it in, then test again until it’s pliable.
| Dough Issue | What It Means | Solution for Bread Maker |
|---|---|---|
| Tears easily, no stretch | Under-kneaded, weak gluten | Add 5-10 mins more kneading time |
| Very sticky, messy | Too much liquid | Add flour 1 tbsp at a time |
| Stiff, crumbly | Too little liquid | Add water/milk 1 tbsp at a time |
| Stretches but breaks | Almost there, needs a little more | Add 2-3 mins more kneading |
Factors Affecting Your Dough’s Windowpane
Several things can influence how well your dough performs this test. Understanding these helps you get better results consistently.
Flour Type Matters
Different flours have different protein content. Bread flour, for instance, has higher protein than all-purpose flour, making it ideal for strong gluten development.
Whole wheat flour has bran particles that can cut gluten strands, making it harder to achieve a perfect windowpane. It might never get as thin as white bread dough (Cleveland Clinic).
Ingredient Ratios
The balance of flour, water, yeast, salt, and sugar is key. Too much salt can inhibit yeast and tighten gluten, while too much sugar can weaken it.
Accurate measuring is your best friend here. Even small changes can affect the dough’s texture and stretch.
Kneading Time and Speed
Bread makers are fantastic for consistent kneading. Most recipes account for this. However, sometimes dough needs a little extra time.
If you have an older machine or a very dense dough, a few extra minutes of kneading can make all the difference for gluten development.
Benefits of a Good Windowpane Test
Why go to all this trouble? Because a successful windowpane test sets you up for baking glory. It’s like a secret handshake for bakers.
- Better Rise: Strong gluten traps more gas, giving your bread maker dough a beautiful, airy rise.
- Chewier Texture: The developed gluten creates that satisfying chewiness we all love in fresh bread.
- Improved Flavor: A well-structured crumb allows flavors to develop evenly throughout the loaf.
- Easier Handling: Properly kneaded dough is less sticky and easier to shape, even if your machine does most of it.
- Consistent Results: Once you master this test, you’ll know exactly when your dough is ready, leading to consistently good loaves.
A Quick Checklist for Your Next Dough Test
Keep these points in mind when you’re checking your bread maker dough:
- Check after 5-10 minutes of kneading.
- Flour hands lightly to prevent sticking.
- Pull a golf-ball sized piece of dough.
- Stretch gently, rotating as you go.
- Look for transparency, not tearing.
- Add flour/water if needed, re-knead.
- Enjoy your perfectly kneaded dough!
Conclusion
The windowpane test is a simple yet powerful tool for any bread maker enthusiast. It guides you to understand your dough better, even when a machine is doing the heavy lifting.
By taking a moment to perform this test, you gain control over your baking results. You’re not just following a recipe; you’re actively ensuring your dough has the strength it needs for a wonderfully light and delicious loaf. So, go ahead, give your dough a gentle stretch, and watch that perfect windowpane appear!
What if my whole wheat bread dough never passes the windowpane test?
Whole wheat flour has bran particles that cut the gluten strands, making it very difficult, and sometimes impossible, to achieve a perfect, transparent windowpane. Aim for a dough that stretches reasonably thin before tearing, even if it’s not fully transparent. Many experts say a slightly less transparent windowpane is perfectly fine for whole wheat doughs.
Can I over-knead my dough in a bread maker?
It’s harder to over-knead dough in a typical home bread maker compared to commercial machines or extensive hand-kneading. Bread makers usually have fixed kneading cycles. However, if you keep adding flour or prolong the kneading significantly, you might risk developing very stiff dough that becomes tough. Stick to the recipe’s recommended times, only adding extra if your dough clearly fails the windowpane test.
How does temperature affect the windowpane test?
Dough temperature plays a role in gluten development. Warmer dough (around 75-80°F or 24-27°C) allows gluten to develop more quickly and become more elastic. Colder dough will be stiffer and take longer to reach the ideal windowpane stage. Bread makers often maintain a good dough temperature, but ambient room temperature can affect initial dough consistency.
Do all types of bread dough require a windowpane test?
The windowpane test is most relevant for yeast-leavened bread doughs where strong gluten development is desired for structure and texture. For quick breads, cakes, or pastries, where tenderness is key and gluten development is minimized, the windowpane test isn’t typically performed. Research shows that it’s a primary indicator for artisan-style breads, sandwich loaves, and similar risen products.
What if my dough passes the windowpane test but my bread is still dense?
If your dough passes the windowpane test but your bread is dense, other factors might be at play. This could include issues with yeast activity (old yeast, incorrect water temperature), insufficient rising time (under-proofing), or even too much flour added during shaping. Ensure your yeast is fresh and active, and always allow your dough to double in size during the proofing stages.