
What Tools Do You Need With A Bread Maker?
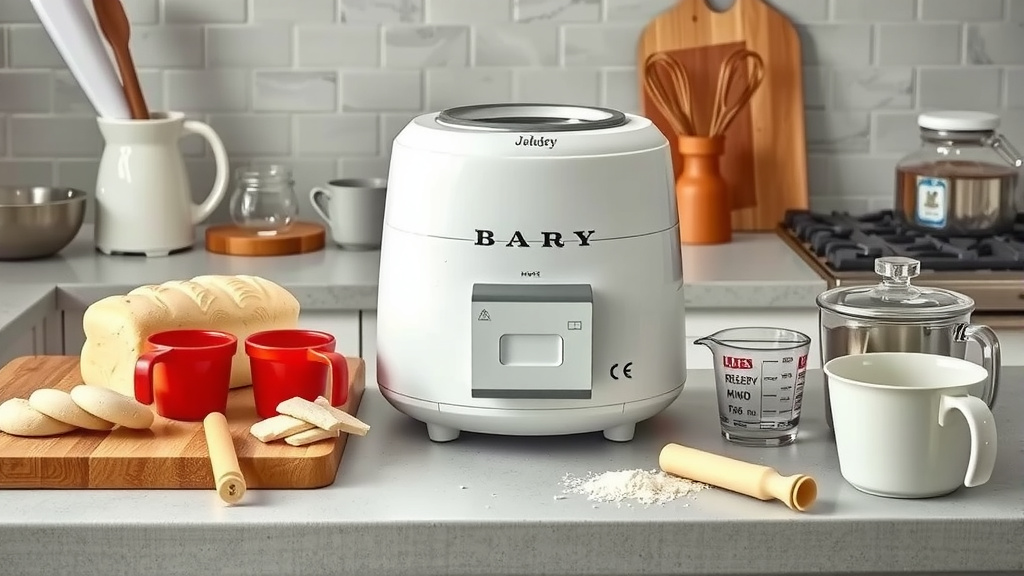
With a bread maker, you primarily need accurate measuring cups and spoons, alongside a rubber spatula for ingredient scraping.
A cooling rack is also essential for maintaining your fresh bread’s texture after baking in your bread maker.
- Accurate measuring tools are your first priority.
- A rubber spatula helps gather all ingredients.
- Always cool your fresh loaf on a wire rack.
- A sharp bread knife makes slicing easy.
- Consider a kitchen scale for precision baking.
What Tools Do You Need With A Bread Maker?
You really only need accurate measuring cups and spoons to start baking with your bread maker. These are your absolute essentials for consistent, delicious results.
You’ve got your shiny new bread maker, ready to whisk you away to a world of homemade goodness. But wait, what else do you need? Do you need a whole arsenal of gadgets, or just a few helpful items?
Don’t worry, you don’t need to transform your kitchen into a professional bakery. Many of the tools you need are likely already in your kitchen. We’ll guide you through the must-haves and the nice-to-haves.
The Essentials: Your Bread Maker’s Best Friends
Think of these as the fundamental tools that ensure your bread maker performs its best. They make the process simple and the results reliable, every single time.
Precision in Every Scoop: Measuring Tools
Accuracy is the unsung hero of baking. Your bread maker mixes and kneads perfectly, but it needs precise ingredient amounts to do its job. We found that exact measurements are critical (Cook’s Illustrated often highlights this).
You will need a good set of dry measuring cups for flour and other solids. Also, grab some measuring spoons for yeast, salt, and sugar. Liquid measuring cups, with clear markings, are perfect for water or milk.
Getting Every Last Bit: The Rubber Spatula
Sometimes, ingredients cling to the sides of the bread maker pan. A flexible rubber spatula helps you scrape everything down. This ensures all parts of your dough are fully incorporated.
It’s also great for scraping sticky dough out of the pan once it’s done baking. This simple tool saves you from wasting ingredients and makes cleanup easier. We found that a good spatula simplifies the process.
Cooling Down Right: The Wire Rack
Once your bread maker finishes its cycle, that hot loaf needs to breathe. Placing it directly on a counter can trap steam, leading to a soggy bottom crust. Nobody wants that!
A simple wire cooling rack allows air to circulate around your entire loaf. This helps your bread cool evenly and maintain its beautiful, crispy crust. Many experts emphasize the importance of proper cooling (King Arthur Baking often shares this advice).
Elevating Your Dough Handling
Want to go beyond the basics? These tools help you manage dough better, especially if you plan to use your bread maker for dough-only cycles.
The Secret to Consistency: A Digital Kitchen Scale
While measuring cups are good, a digital kitchen scale is better for accuracy. Flour can pack differently into a cup, changing the weight significantly. Many professional bakers recommend weighing ingredients for best results.
A kitchen scale measures ingredients by weight, which is far more consistent. This means you get the same perfect loaf every time, no matter how you scoop your flour. It’s a small investment for a big improvement.
Mastering Sticky Dough: The Dough Scraper
If you’re using your bread maker to make dough for rolls or pizza, you’ll need to transfer that dough. A bench scraper or dough cutter makes light work of sticky dough. It helps you cleanly lift and divide it.
This tool is invaluable for shaping and portioning your dough without making a huge mess. We found that a sturdy dough scraper can transform how you handle sticky dough. It keeps your hands cleaner too!
Slicing and Serving Your Homemade Loaf
After all that effort (or rather, your bread maker’s effort!), you’ll want to enjoy your loaf. These tools ensure you can serve it beautifully.
The Perfect Cut: A Serrated Bread Knife
You’ve baked a wonderful, crusty loaf. Don’t ruin it with a dull knife! A long, serrated bread knife glides through crusts without squishing the soft interior. This creates perfect slices every time.
Many chefs agree that a good bread knife is a kitchen essential. You want those beautiful slices for sandwiches or toast, don’t you? Investing in one makes a real difference to presentation and enjoyment.
A Stable Surface: Your Reliable Cutting Board
Pair that great bread knife with a sturdy cutting board. A non-slip board provides a safe and stable surface for slicing. This prevents accidents and makes cutting much easier.
You can choose from wood, bamboo, or plastic boards. Just make sure it’s large enough to hold your entire loaf comfortably. A good cutting board is fundamental for kitchen safety and efficiency.
Handy Extras for a Smoother Experience
These aren’t strictly necessary, but they can make your bread-making experience even more enjoyable and mess-free.
Protect Your Hands: Oven Mitts
Even though the bread maker does the baking, the pan inside gets very hot. A good pair of oven mitts or pot holders is essential for safely removing the bread pan. Your hands will thank you!
Always prioritize safety in the kitchen. Oven mitts help you handle that hot bread pan without burns. We found that having a dedicated pair near your bread maker is a smart move.
Freshness for Longer: Bread Storage Solutions
What do you do with that delicious loaf after it cools? Keeping it fresh is key. An airtight bread box or reusable bread bag helps maintain softness and prevents it from drying out quickly.
Research often connects proper storage with extended freshness (Food Safety and Quality guidelines support this). You’ve made fresh bread, now make sure it stays fresh for days. Enjoying your efforts is what it’s all about.
Your Bread Maker Tool Checklist
Here’s a quick list to help you gather your bread maker essentials:
- Dry measuring cups
- Measuring spoons
- Liquid measuring cup
- Rubber spatula
- Wire cooling rack
- Serrated bread knife
- Cutting board
- Oven mitts
- Digital kitchen scale (recommended)
- Dough scraper (recommended for dough-only cycles)
Essential vs. Advanced Bread Maker Tools
Here’s a simple comparison to help you prioritize your tool purchases:
| Tool Type | Description | Why You Need It |
|---|---|---|
| Measuring Tools | Cups, spoons, liquid measurer | Absolute accuracy for recipes |
| Rubber Spatula | Flexible scraper | Ensures all ingredients mix |
| Wire Cooling Rack | Elevated grid for air flow | Prevents soggy bread bottoms |
| Digital Kitchen Scale | Weighs ingredients precisely | Achieves consistent results |
| Serrated Bread Knife | Long, sharp, toothed blade | For clean, easy slicing |
Conclusion
Getting started with your bread maker doesn’t require a shopping spree. You likely have most of the essential tools already in your kitchen. Focus on accurate measuring, proper cooling, and safe handling to get the most from your machine.
As you gain confidence, you might explore additional tools like a kitchen scale or a good bread knife. Remember, the goal is delicious, homemade bread with ease. Enjoy your baking journey!
How do I clean my bread maker after use?
After your bread maker cools completely, remove the bread pan. Use a soft cloth or sponge with warm, soapy water to clean the pan and kneading paddle. Avoid abrasive cleaners or scouring pads. Wipe down the interior and exterior of the machine with a damp cloth, then dry thoroughly.
Can I use regular yeast in a bread maker?
While some recipes might allow for it, bread makers generally work best with instant yeast or bread machine yeast. These types are designed to activate quickly and don’t require proofing before mixing. Using the correct yeast ensures your bread rises properly in the machine.
What if my bread doesn’t rise in the bread maker?
Several factors can cause this. Check your yeast’s expiration date; old yeast loses potency. Ensure your water temperature is correct – too hot can kill the yeast, too cold won’t activate it. Also, make sure you’re using the right amount of yeast and not adding salt directly on top of it, which can hinder activation.
Is it worth getting a special bread machine cookbook?
Yes, many people find a dedicated bread machine cookbook very helpful. These books often contain recipes specifically formulated for bread makers, taking into account the machine’s mixing and baking cycles. They can help you explore new types of bread and troubleshoot common issues.
How long does homemade bread last from a bread maker?
Homemade bread from a bread maker typically lasts about 3-5 days at room temperature when stored properly in an airtight container or bread bag. It lacks the preservatives found in commercial breads, so it will go stale more quickly. For longer storage, you can freeze sliced bread for up to a few months.
