What Is A Bread Slicing Guide For Bread Maker Bread?
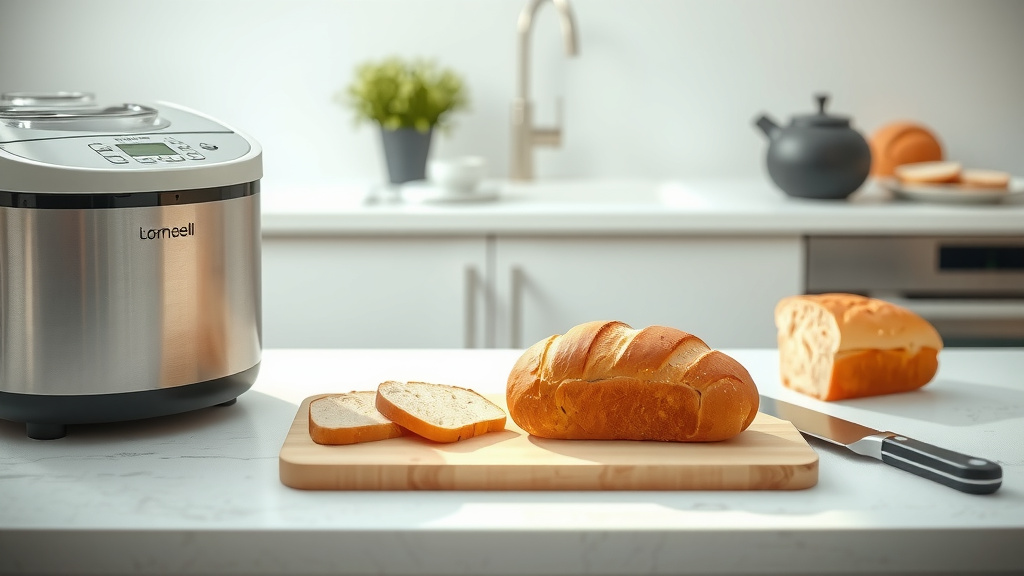
A bread slicing guide for bread maker bread is a kitchen tool designed to help you cut uniform slices from your homemade loaves, especially those uniquely shaped ones from a bread machine.
It typically consists of a frame with slots or adjustable guides that stabilize the bread and direct your knife, ensuring consistent thickness and clean cuts every time.
- A bread slicing guide helps you cut perfectly even slices from your homemade bread.
- These guides stabilize your loaf and direct your knife, preventing uneven or crushed slices.
- They come in various styles, from simple slotted boards to adjustable frames, fitting different loaf sizes.
- Using a guide improves both the appearance and enjoyment of your freshly baked bread.
- Proper cooling and a sharp knife are still key for the best results, even with a guide.
What Is A Bread Slicing Guide For Bread Maker Bread?
A bread slicing guide is a practical kitchen device that helps you achieve uniform slices from your freshly baked bread. For bread maker loaves, which can sometimes have rounded tops or unusual shapes, this tool becomes especially handy.
It provides a stable base and parallel slots or adjustable dividers to guide your knife, ensuring each slice is consistent in thickness. Think of it as a template for perfect portions.
Why Do We Even Need a Slicing Guide for Bread Maker Loaves?
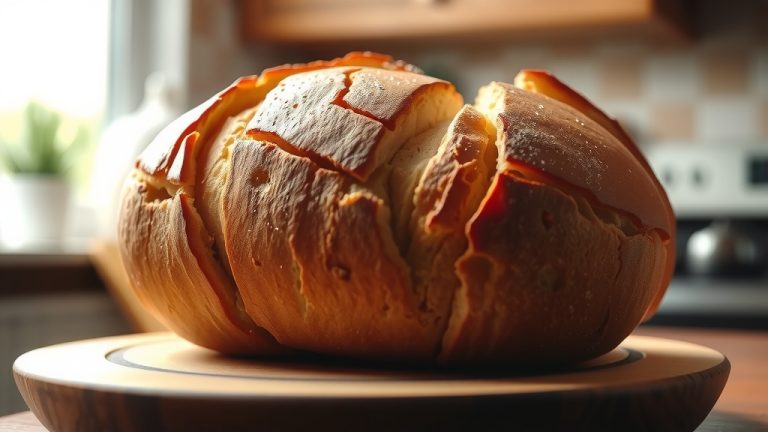
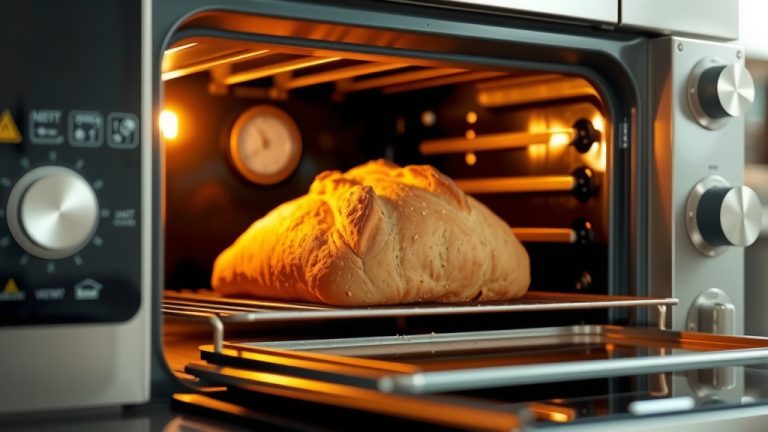
You’ve just pulled a warm, fragrant loaf from your bread maker. It looks beautiful, doesn’t it? But then comes the challenge: cutting it evenly.
Bread maker loaves often have a unique shape, sometimes taller or more rounded than store-bought bread. This makes it tough to slice them consistently, leading to uneven toast or sandwiches that fall apart. We found that many home bakers struggle with this exact issue.
The Uneven Slice Dilemma
Have you ever tried to cut a warm, soft loaf freehand? It’s like trying to draw a straight line without a ruler! Your knife might wander, crushing the delicate crumb or creating a wonky, wedge-shaped slice. It’s a common frustration, and many experts say it’s why fresh bread sometimes gets wasted (NIH).
How Does a Bread Slicing Guide Work Its Magic?
The concept behind a bread slicing guide is wonderfully simple. You place your cooled bread inside the guide’s frame. The guide then offers a series of slots or a mechanism to set your desired slice thickness.
You simply slide your knife down these slots, and presto—a perfectly even slice emerges. It’s like having a personal assistant for your bread knife.
Stabilizing Your Loaf for Cleaner Cuts
One of the biggest benefits is the stability it offers. The guide holds your bread firmly in place, preventing it from shifting as you slice. This stability means less crushing and a much cleaner cut, preserving the bread’s texture.
Types of Bread Slicing Guides: Which One Is For You?
Just like bread makers themselves, slicing guides come in a few different styles. Knowing the variations can help you pick the best fit for your kitchen and baking habits.
- Slotted Board Guides: These are typically a flat base with fixed, parallel slots. They’re straightforward to use but usually offer only one or two slice thickness options.
- Adjustable Frame Guides: More versatile, these guides allow you to adjust the spacing between the cutting guides, giving you control over slice thickness. They often fold for easier storage.
- Collapsible/Folding Guides: Great for small kitchens, these guides can be tucked away when not in use. They balance convenience with functionality.
- Wooden vs. Plastic: Wooden guides often feel sturdier and look appealing, but require more care. Plastic guides are usually lighter, easier to clean, and more budget-friendly.
Choosing the Right Slicing Guide for Your Bread Maker Bread
When selecting a guide, think about your bread maker’s typical loaf size. Some machines produce very tall loaves, others more traditional shapes. We found that measuring your bread beforehand helps immensely.
Consider the guide’s material, its ease of cleaning, and how much space it takes up. An adjustable guide offers more flexibility for different recipes.
Here’s a quick comparison to help you weigh your options:
| Feature | Slotted Board Guide | Adjustable Frame Guide |
|---|---|---|
| Slice Thickness | Fixed (1-2 options) | Variable (customizable) |
| Loaf Compatibility | Specific loaf sizes | Wider range of loaf sizes |
| Storage | Can be bulky | Often folds for compactness |
| Price Point | Generally lower | Typically higher |
| Ease of Cleaning | Simple | Might have more nooks |
Essential Tips for Using Your Bread Slicing Guide
Even with a great guide, a few simple practices will elevate your slicing game. These aren’t just for guides; they’re universal truths for perfect bread slicing.
Always Let Your Bread Cool Completely
This is perhaps the most important rule. Cutting warm bread, no matter the tool, often results in a gummy, compressed interior. Research often connects cooling bread properly with better texture and flavor (Mayo Clinic).
Give your bread a good hour or two, or even more, to cool down on a wire rack. Patience truly is a virtue here!
Invest in a Good Bread Knife
A sharp, serrated bread knife is your best friend. A dull knife will tear and crush your bread, even with a guide. We found that a knife with a long, offset blade works wonders, keeping your knuckles clear of the cutting board.
The Right Slicing Technique
Once your bread is cool and your knife is sharp, use a gentle sawing motion. Let the knife do the work, rather than pressing down hard. This ensures a clean cut through the crust and crumb without squishing the bread.
Safety First When Slicing Bread
Working with sharp knives always requires caution. A bread slicing guide adds a layer of safety by keeping your fingers away from the blade, but you still need to be mindful.
Always keep your non-knife hand firmly on the bread, but away from the path of the blade. Many guidelines point to proper knife handling as a good first step (CDC).
Maintenance and Care for Your Guide
To keep your guide in top shape, clean it after each use. Wooden guides might need occasional oiling to prevent drying and cracking. Plastic ones are usually fine with a simple wash. Proper care ensures your guide lasts for many delicious loaves.
Checklist for Perfect Bread Slicing
- Cool your bread completely before slicing.
- Use a sharp, serrated bread knife.
- Place the cooled loaf securely in the slicing guide.
- Apply a gentle sawing motion, letting the knife work.
- Keep your non-slicing hand safe and clear.
- Clean your guide after each use.
Conclusion
A bread slicing guide for your bread maker bread is more than just a gadget; it’s a tool that brings consistency and joy to your homemade baking. It addresses the common challenge of uneven slices, making your loaves look as good as they taste.
By investing in a good guide and following a few simple tips, you’ll enjoy beautifully uniform slices every time, ready for perfect toast, sandwiches, or just a simple, satisfying bite.
Are bread slicing guides worth it for occasional bakers?
Even if you don’t bake bread daily, a slicing guide can greatly improve the experience and outcome of your occasional homemade loaves. It ensures consistent, attractive slices, making your effort more rewarding and reducing potential waste from uneven cuts.
Can I use a bread slicing guide for loaves not made in a bread machine?
Absolutely! Most bread slicing guides are versatile enough to work with various types of loaves, whether they’re baked in a bread maker, a conventional oven, or even artisan sourdough. You simply need to ensure your loaf fits within the guide’s dimensions.
How do I clean a wooden bread slicing guide?
For wooden guides, gently wipe them clean with a damp cloth after use. Avoid soaking them in water, as this can cause warping or cracking. Periodically, you can apply a food-safe mineral oil to help condition the wood and maintain its appearance.
What’s the ideal slice thickness for bread maker bread?
The ideal slice thickness often depends on personal preference and how you plan to use the bread. Many people prefer a medium thickness (around 1/2 to 3/4 inch) for sandwiches, while thinner slices are great for toast, and thicker ones for heartier meals or dipping.
Do I need a special knife to use with a bread slicing guide?
While any sharp serrated knife can work, a high-quality bread knife with a long blade (8-10 inches) and an offset handle is often recommended. The longer blade ensures you can cut through the entire loaf in one smooth motion, and the offset handle helps keep your knuckles clear of the guide.