
How Long Does Bread Machine Dough Need to Rise?
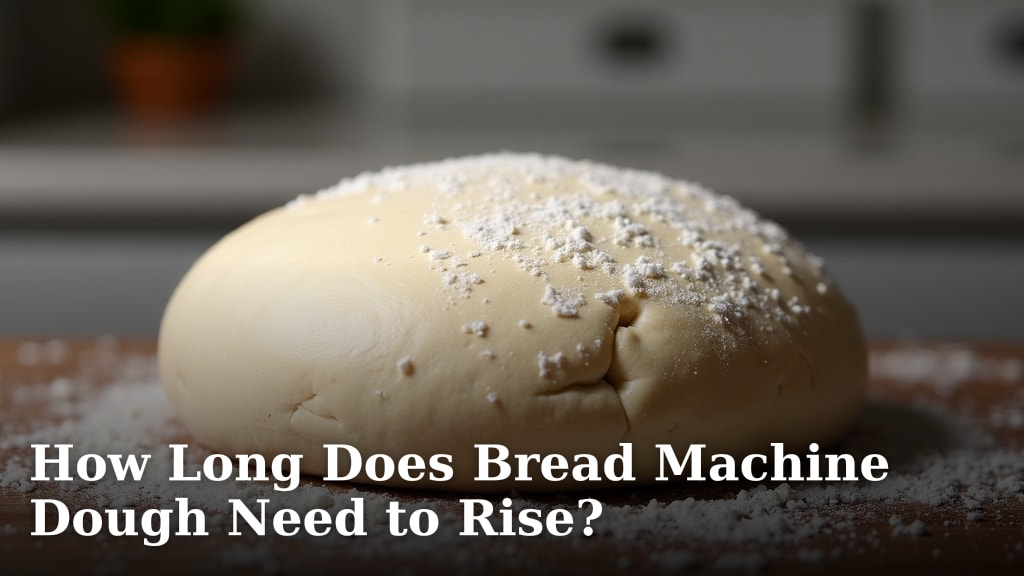
The amount of time bread machine dough needs to rise can vary, but typically, most doughs require about 1 to 2 hours for a single rise. This process allows the yeast to work its magic, creating that wonderful airy texture and delicious flavor in your bread. Understanding this rise time is key to achieving perfect results every time.
Your bread machine recipe will usually guide you on the exact timing. Some machines have pre-programmed cycles that handle the rising for you. Other times, you might be activating the dough cycle and then letting it rest. We found that paying close attention to the dough’s appearance—looking for it to double in size—is a great indicator, regardless of the exact clock time.
- Most doughs need 1-2 hours to rise.
- Watch for the dough to double in size.
- Recipe instructions are your best guide.
- Machine cycles often handle rising automatically.
Let’s walk through exactly why this rising period is so important and what factors can affect it.
Understanding Bread Machine Dough Rise Times
So, you’ve tossed your ingredients into the bread machine and hit start. Now, you’re probably wondering, “How long does this dough actually need to rise?” It’s a fantastic question, and the answer isn’t a simple clock-in-and-out situation. The ideal rise time for your bread machine dough typically hovers around 1 to 2 hours. But there’s a bit more to it than just watching the timer.
Think of the rising period as the dough’s “thinking time.” This is when the yeast gets busy. It’s eating the sugars in the flour and releasing carbon dioxide gas. This gas is what makes your bread light and fluffy. If you don’t give it enough time, your bread might be dense. Too much time, and it could over-proof and collapse. We found that understanding the dough’s behavior is more important than rigidly sticking to a set time.
Why Does Dough Need to Rise? The Science Behind the Fluff
At its core, bread making is a bit of a science experiment, and the rise is where the magic happens. Yeast, those tiny living organisms, are the stars of the show. When they’re fed, they produce carbon dioxide. This gas gets trapped in the gluten network that forms as you mix the dough. It’s like tiny balloons inflating inside your dough, making it grow.
This process, called fermentation, does more than just make the dough rise. It also develops a lot of the flavor and aroma you love in bread. So, that waiting period isn’t just about volume; it’s about taste too. Many experts note that longer, slower fermentation can lead to a more complex flavor profile (NCBI).
The Role of Yeast in Dough Fermentation
Yeast is a leavening agent. It needs warmth, food (sugars from flour), and moisture to get active. Once it has these, it starts its work. This is why your ingredients matter. The type of yeast, the amount of sugar, and even the water temperature can affect how quickly your yeast gets going.
We’ve seen that different types of yeast behave differently. Active dry yeast might take a bit longer to “wake up” than instant yeast. This is why following your recipe precisely is so helpful. It usually accounts for the specific yeast called for and how it performs.
Gluten Development: The Dough’s Structure
While yeast is making gas, the gluten in the flour is forming a network. Gluten is what gives bread its structure. Think of it like a net that catches the carbon dioxide bubbles. When you mix flour and water, proteins called glutenin and gliadin start to link up. Kneading or the bread machine’s kneading cycle helps these proteins align and strengthen.
A well-developed gluten network is essential for trapping those gas bubbles. Without it, the gas would just escape, and your dough wouldn’t rise properly. This is why your bread machine has a specific kneading phase. It’s working hard to build that structure for you.
Factors Influencing Your Bread Machine Dough’s Rise Time
Your bread machine’s recipe or cycle usually gives you a good estimate for rising. However, several environmental factors can speed up or slow down this process. Understanding these can help you troubleshoot if your bread isn’t turning out as expected. We found that temperature is often the biggest player.
Temperature: The Yeast’s Best Friend (or Foe)
Yeast is happiest in a warm environment. Most recipes aim for a dough temperature between 75-80°F (24-27°C) for optimal rising. If your kitchen is cool, say below 70°F (21°C), the yeast will work much slower. This means your dough might take longer to rise.
Conversely, a very warm kitchen, especially in the summer, can make the yeast work too fast. This can lead to an over-proofed dough. It might rise beautifully in the machine but then fall flat when baking. Many bakeries and home bakers use a thermometer to check their dough’s temperature. This helps ensure consistency.
The Impact of Room Temperature
Think about it: if you’re baking in a chilly basement in winter, that dough will likely take its sweet time. We’ve found that placing your bread machine in a warmer spot, if possible, can help. Even just a few degrees can make a difference. If your kitchen is warm, consider letting the dough rise in a slightly cooler area.
Water Temperature’s Crucial Role
The temperature of the water you use is also quite important. Water that’s too hot can kill the yeast. Water that’s too cold will just make it sluggish. A good rule of thumb is lukewarm water, often between 105-115°F (40-46°C) for active dry yeast. If using instant yeast, slightly cooler water might be fine, but always check your recipe. We recommend using a kitchen thermometer for accuracy. Using a kitchen thermometer can help ensure your water and dough are at the optimal temperature for yeast activity.
Ingredient Ratios and Types
The recipe itself plays a big role. The amount of flour, liquid, sugar, and salt are all balanced to create the right conditions for yeast. Deviating from the recipe can significantly impact rise time. For instance, using less sugar means less food for the yeast.
Sugar’s Sweet Influence
Sugar not only sweetens the bread but also feeds the yeast. Recipes with more sugar often see a slightly faster rise. However, too much sugar can actually inhibit yeast activity. It’s a delicate balance that your recipe creator has figured out for you. We found that sticking to the recipe’s sugar amount is best for predictable results.
The Effect of Salt
Salt is essential for flavor, but it also controls yeast activity. It tightens the gluten structure and slows down fermentation. This prevents the dough from rising too quickly. If you accidentally add too much salt, it can significantly slow down or even stop the yeast’s action. This is a common mistake to watch out for.
Altitude Adjustments
Living at a higher altitude changes atmospheric pressure. This affects how dough rises. At higher altitudes, dough tends to rise faster. You might need to adjust recipes by using slightly less yeast, less liquid, or reducing the rise time. Many sources suggest reducing yeast by about 1/8 teaspoon per cup of flour for every 1,000 feet above sea level (USDA). We found this general guideline helpful for our high-altitude baking friends.
How to Tell When Your Dough is Ready to Bake
While your bread machine has programmed cycles, sometimes you’re letting the dough rise separately. Or perhaps you’re using a “dough” setting and want to know when to pull it out. Relying solely on the clock can sometimes be misleading because of the factors we just discussed. The best indicator is the dough’s appearance.
The “Doubled in Size” Test
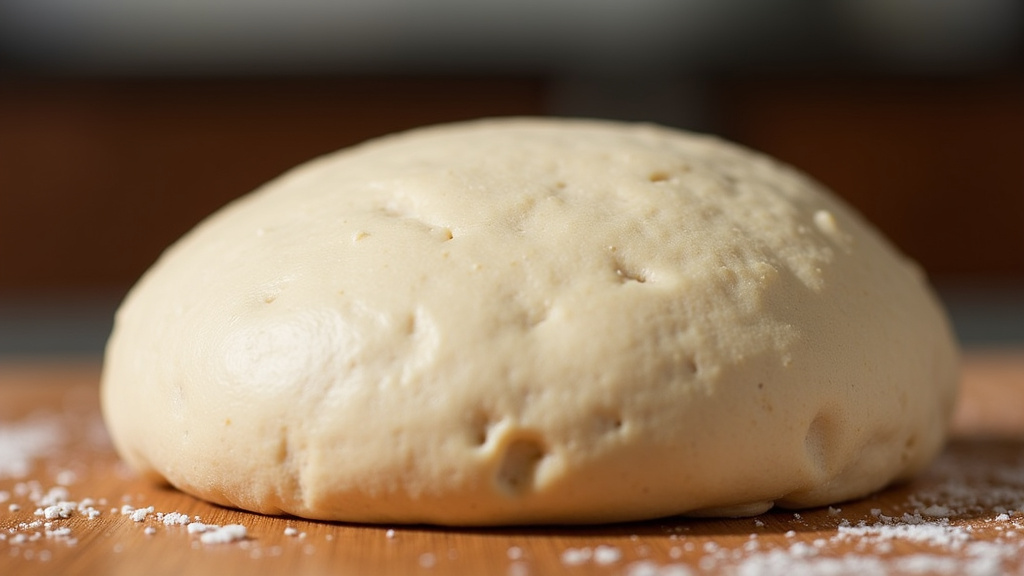
The classic sign of a properly risen dough is that it has doubled in size. You can visually inspect the dough in the machine’s pan or in a separate bowl. If it looks about twice as big as when you started the rise, it’s likely ready.
You can also gently poke the dough. If the indentation slowly springs back, it’s probably good to go. If it springs back immediately, it needs more time. If it collapses, it might have over-proofed. We found this visual cue to be more reliable than the clock.
Using the Dough Cycle on Your Machine
Many bread machines have a specific “dough” cycle. This cycle typically includes kneading, a first rise, and sometimes a second shorter rise. It prepares the dough for baking either in the machine or in a separate loaf pan. The cycle length varies by machine but often falls within the 1.5 to 2.5-hour range, with the dough resting for a good portion of that time.
We found that when using the dough cycle, it’s still a good idea to peek. Most machines have a viewing window. You can observe the dough during its resting phases. This helps you get a feel for how your machine operates and how the dough behaves.
Troubleshooting Common Dough Rising Issues
It’s not uncommon to face a few bumps along the road when making bread. If your dough isn’t rising as expected, don’t get discouraged! Let’s look at a couple of common problems and their solutions.
Dough Isn’t Rising Enough
This usually points to a problem with the yeast. Check your yeast’s expiration date. Old yeast might not be active. Also, consider the temperature of your liquids. If they were too hot, they might have killed the yeast. If they were too cold, the yeast might not have activated properly. Ensure your kitchen isn’t too cold for the yeast to work.
Dough Over-Proofing (Rising Too Much)
This happens when the dough has risen for too long or in too warm of an environment. The gluten structure gets stretched too thin. When you poke it, the indentation stays. If you bake it, the bread might collapse in the oven. If you catch it early, you can sometimes gently punch it down and let it rest for a shorter period.
A checklist for a successful rise:
- Double-check yeast expiration date.
- Use lukewarm water (105-115°F for active dry).
- Ensure a warm-ish environment (75-80°F ideal).
- Don’t overdo the salt.
- Watch the dough, not just the clock.
- Look for the “doubled in size” cue.
Conclusion
Mastering bread machine dough rise times is all about understanding the yeast’s needs and watching for visual cues. While most recipes aim for 1-2 hours, remember that temperature, ingredients, and even altitude can play a role. Don’t just watch the clock; look for your dough to double in size. This tactile and visual approach ensures your dough is perfectly proofed for a delicious, fluffy loaf. Next time you bake, trust your senses and the dough’s appearance for your best results yet!
Frequently Asked Questions
Can I speed up the dough rising time in my bread machine?
You can help speed up the rise by ensuring your ingredients, especially the water, are at the optimal warm temperature (around 105-115°F for active dry yeast). Placing your machine in a warmer spot in your home, ideally between 75-80°F, will also encourage the yeast to work faster.
What if my bread machine doesn’t have a specific “dough” cycle?
If your machine only has full loaf cycles, you can still use the “dough” function on other bread makers as a guide. You might need to manually stop the cycle after the kneading and rising phases, or use a recipe that outlines separate rise times you can manage yourself.
How do I know if my dough has over-proofed?
An over-proofed dough will often look excessively large and may appear deflated in spots. When you gently poke it, the indentation will likely stay put and not spring back at all. Baking over-proofed dough can result in a collapsed loaf.
Does the type of flour affect how long the dough needs to rise?
Yes, the type of flour can make a difference. Whole wheat flours, for example, are denser and have more bran and germ, which can slow down yeast activity compared to refined white flours. You might find whole wheat doughs require slightly longer rise times or adjustments.
Is it okay to let bread machine dough rise overnight?
Generally, bread machine recipes are designed for shorter rise times. Letting the dough rise overnight at room temperature can lead to over-proofing and a less desirable texture and flavor. For longer, slower fermentation, you’d typically refrigerate the dough.
