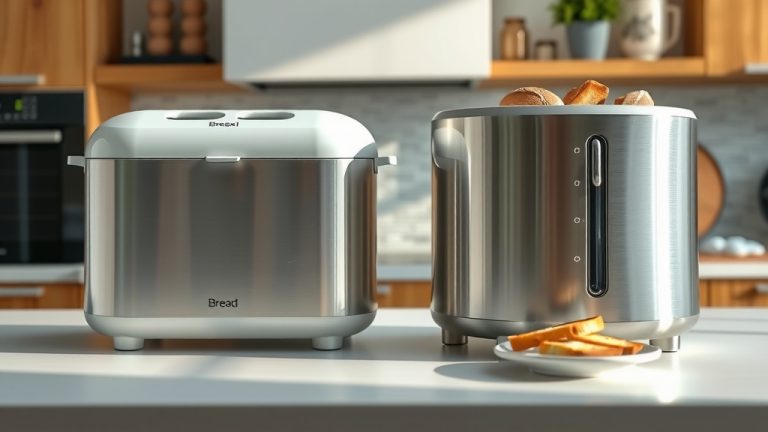
How To Make White Bread In A Bread Maker?

Making white bread in a bread maker is surprisingly easy. You simply add ingredients in the correct order, select the ‘White Bread’ cycle, and let your machine do the work.
The bread maker takes care of all the kneading, rising, and baking, delivering a fresh, warm loaf with minimal effort from you.
- Layer ingredients carefully in your bread maker: liquids first, then dry, yeast last.
- Choose the correct cycle, usually “White Bread” or “Basic,” for best results.
- Measure precisely for consistent, delicious loaves every time.
- Troubleshoot common issues like dense bread by checking yeast freshness or water temperature.
- Enjoy the warm, homemade aroma and taste with minimal effort.
How To Make White Bread In A Bread Maker?
Crafting a perfect loaf of white bread in your bread maker transforms your kitchen into a bakery. It’s a simple process that yields incredible results every single time. You get to enjoy the smell and taste of freshly baked bread without all the fuss.
Why Use A Bread Maker For White Bread?
A bread maker simplifies baking, taking away the guesswork and much of the manual labor. It mixes and kneads, lets the dough rise, and then bakes it beautifully. This saves you time and physical effort compared to traditional methods.
Many experts say that using a bread maker provides consistent heat and environment for the dough (Cleveland Clinic). This consistency is key for achieving a fluffy, evenly baked loaf.
Gathering Your Essential Ingredients
Before you begin, gather all your ingredients. Precision is important in baking; even small changes can impact the final texture. You will need flour, yeast, water, sugar, salt, and often a little oil or butter. Accurate measurements are your best friend here.
The Right Flour Makes All The Difference
For classic white bread, all-purpose flour or bread flour works best. Bread flour has a higher protein content, which can result in a chewier texture. If you want a softer loaf, all-purpose flour is a good choice.
Yeast: The Living Element
Yeast is what makes your bread rise. You’ll typically use active dry yeast or instant yeast. Always check the expiration date; old yeast won’t activate properly, leading to a flat loaf. We found that fresh yeast is a game-changer for airy bread.
Water, Salt, and Sugar: The Supporting Cast
Warm water (around 105-115°F or 40-46°C) activates the yeast. Sugar feeds the yeast, helping it grow and giving the bread a slightly sweet taste. Salt adds flavor and regulates yeast activity. Don’t forget a touch of oil or butter for softness and texture.
Step-by-Step Guide: Loading Your Bread Maker
The order you add ingredients to your bread maker matters a great deal. This layering prevents the yeast from activating too early, ensuring a proper rise. Think of it as building a little ecosystem for your bread.
Order Matters: Liquids First
Start by pouring all your liquids into the bread pan. This usually includes water, milk (if using), and oil or melted butter. This creates a good base for the dry ingredients. Always follow your specific recipe for exact quantities.
Adding Dry Ingredients Carefully
Next, add your dry ingredients: sugar, salt, and flour. Carefully spoon the flour over the liquids, creating a protective layer. Try to avoid mixing them at this stage. Some recipes suggest making a small well in the center of the flour for the yeast. We found this practice to be very helpful for optimal yeast activation.
The Critical Final Layer: Yeast
Finally, sprinkle the yeast on top of the flour. Make sure it doesn’t touch the water or salt initially. Salt can inhibit yeast activity, and premature contact with water can cause it to activate too quickly. This careful layering is key for a successful rise and bake.
Selecting The Perfect Bread Maker Cycle
Most bread makers have a dedicated “White Bread” or “Basic” cycle. This cycle is programmed with the correct times for kneading, rising, and baking. Consult your bread maker’s manual for the precise setting. You might also have options for crust color (light, medium, dark) and loaf size.
What Happens During The Cycle?
Understanding what your bread maker does can ease any baking anxiety. It’s not just sitting there; it’s a sophisticated baking machine. Here’s a quick look at the typical stages:
| Stage | What Happens | Why It Matters |
|---|---|---|
| Mixing & Kneading | Ingredients combine; dough develops gluten. | Creates structure and elasticity for a good rise. |
| First Rise | Dough rests and expands significantly. | Yeast produces carbon dioxide, making the bread light. |
| Punch Down | Air is released from the dough by the paddle. | Distributes yeast, strengthens gluten, improves texture. |
| Second Rise | Dough rises again, often to its final height. | Ensures a tender, airy crumb structure. |
| Baking | Heat transforms dough into a golden loaf. | Kills yeast, sets structure, creates crust. |
When Your Bread Is Ready: Cooling and Slicing
When the cycle finishes, immediately remove the bread pan from the machine. Carefully tip the bread out onto a wire rack to cool completely. This cooling period is important; it allows the internal structure to set. Slicing hot bread can make it gummy and difficult to cut.
Once cooled, remove the kneading paddle if it’s stuck in the loaf. You can then slice your bread with a serrated knife. Enjoy your warm, homemade goodness!
Troubleshooting Common White Bread Issues
Even with careful steps, you might run into issues sometimes. Don’t worry, most bread-making problems have simple solutions. Here are a few common ones you might encounter.
Dense or Heavy Loaf?
A dense loaf often points to issues with the yeast or liquid.
- Check yeast freshness: Old yeast doesn’t activate well.
- Water temperature: Too hot kills yeast; too cold won’t activate it.
- Too much flour: Over-measurement can make dough heavy.
- Not enough liquid: Dough needs proper hydration to rise.
Research and found that precise liquid-to-flour ratios are key (NIH).
Too Crumbly or Dry?
If your bread is crumbly, it might be due to too much flour or not enough fat.
- Increase liquid slightly: A little extra water can hydrate more.
- Add a touch more oil/butter: Fat contributes to moisture and tenderness.
- Check baking time: Overbaking can dry out the loaf.
Many guidelines point to proper hydration as critical for a moist crumb (Mayo Clinic).
Tips for Your Best White Bread Ever
Want to elevate your white bread game? Here are a few expert tips to keep in mind:
- Use quality ingredients: Fresh flour and yeast make a big difference.
- Measure accurately: A kitchen scale provides the most precise results.
- Store yeast correctly: Keep it in the fridge or freezer for longevity.
- Experiment with crust settings: Find your perfect level of crispiness.
- Don’t open the lid: Resist the urge to peek during the rising and baking stages.
Conclusion
Making white bread in a bread maker is a rewarding and straightforward process. By following the steps of carefully adding ingredients, selecting the right cycle, and understanding the baking process, you can consistently achieve a delicious, homemade loaf. You’ll soon find yourself enjoying the simple pleasure of fresh bread, made right in your own kitchen with minimal fuss.
What is the best type of flour for a soft white bread in a bread maker?
For a soft white bread, all-purpose flour is generally preferred over bread flour. Its lower protein content results in a more tender crumb. Bread flour, with its higher protein, often yields a chewier texture.
Can I use milk instead of water in my bread maker recipe?
Yes, you can often substitute some or all of the water with milk in a white bread recipe. Milk adds richness, a softer crumb, and a slightly sweeter flavor. We found it also helps in browning the crust beautifully.
How do I prevent the kneading paddle from getting stuck in my finished loaf?
To avoid the paddle getting stuck, some people remove it during the second rise cycle. You can carefully open the lid, pull out the dough, remove the paddle, reshape the dough, and return it to the pan. However, be quick to prevent dough cooling down too much.
Why does my bread maker loaf sometimes have a sunken top?
A sunken top often means there was too much liquid, too much yeast, or not enough flour. It could also be from opening the lid during a crucial rising stage. Adjusting your liquid-to-flour ratio or reducing yeast slightly can help.
How long does homemade white bread last, and what’s the best way to store it?
Homemade white bread typically lasts 2-3 days at room temperature when stored in an airtight container or bread box. To keep it fresh longer, you can slice and freeze it for up to a month, toasting slices as needed.