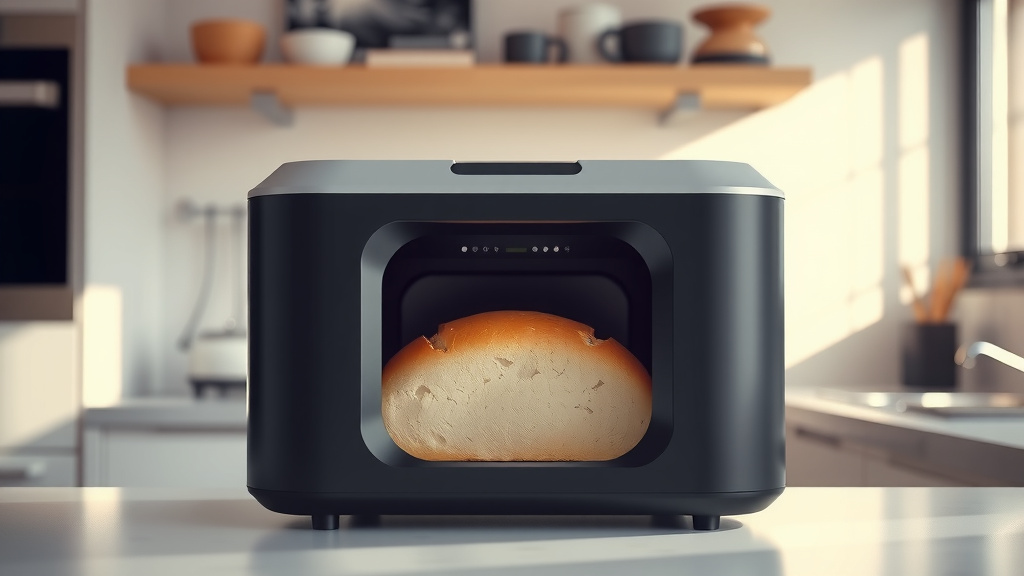
How to Use a Hamilton Beach Bread Maker
Add ingredients in the order your manual gives, select the loaf size and cycle, then press Start. Check the dough during kneading if your manual allows it, and use its instructions for adding ingredients and removing the loaf.
On this page (10 sections)
- How do you use a Hamilton Beach bread maker for the first time?
- What ingredients go into the pan first?
- Which Hamilton Beach setting should you choose?
- How do you check the dough while it kneads?
- What should you do when the cycle ends?
- What helps with bread machine toasting after baking?
- Which bread maker features can help a new owner?
- When might a different bread maker suit your routine?
- What should you do if the loaf comes out poorly?
- How do you use a Hamilton Beach bread maker successfully?
To use a Hamilton Beach bread maker, add ingredients as your model's manual directs, choose the matching cycle, and press Start. Use the recipe's loaf size and crust setting, and let the machine complete its mixing, kneading, rising, and baking stages.
For the same workflow on another brand, see Breville bread maker instructions.
Hamilton Beach has more than one bread maker model, so button names, ingredient order, and cycle options can differ. Keep the manual nearby for the control labels and recipe instructions that match your machine.
For a brand-specific comparison, see how to use a Panasonic automatic bread maker.
How do you use a Hamilton Beach bread maker for the first time?
Start with the manual and a recipe written for a bread machine. Confirm the pan and kneading blade are seated correctly, then measure each ingredient before loading it.
- Set the machine on a stable, heat-safe surface with room around its vents.
- Fit the kneading blade onto its post and place the pan into the machine.
- Add ingredients in the order specified by your recipe and manual.
- Choose the recipe's cycle, loaf size, and crust shade if those options are available.
- Press Start and follow any beep prompts for extra ingredients.
- Remove the pan carefully when the cycle ends, then cool the loaf before slicing.
If you're new to bread machines generally, How To Use A Bread Maker For The First Time? explains the basic setup and workflow. For a simple first recipe, see What Is The Easiest Bread To Make In A Bread Maker?.
What ingredients go into the pan first?
Use the loading order printed in your Hamilton Beach manual or recipe. Some machines call for liquids first, followed by dry ingredients, with yeast placed last so it doesn't touch liquid before mixing starts.
Measure ingredients accurately. Too much flour can make a dry, dense loaf, while too much liquid can leave dough loose; measuring by weight, when a recipe provides weights, can improve consistency.
Add yeast to a small well in the flour only if your recipe uses that method. Keep salt and yeast apart during loading when the instructions say to do so.
How does ingredient order affect a Hamilton Beach breadmaker loaf?
Ingredient order helps keep yeast inactive until the cycle begins mixing, especially if you use a delay timer. Follow the specific recipe because some cycles or ingredients may need a different approach.
The machine does the mixing and kneading after you start it. For a plain explanation of the process, read How Does A Bread Maker Work?.
Which Hamilton Beach setting should you choose?
Match the cycle to the recipe, then set the loaf size and crust shade it specifies. Control names and available options vary across Hamilton Beach models, so rely on the labels and manual for your machine.
Basic or White is a common choice for a straightforward loaf made with white flour. Whole Grain, French, Sweet, or Gluten-Free cycles may be available on some models, but select them only when the recipe is designed for that cycle.
Choose Dough when you want the machine to mix and knead without baking the loaf. You can then shape and bake the dough separately, following your recipe.
Is the Hamilton Beach breadmaker's Rapid cycle right for every loaf?
Use a Rapid or Express cycle only with a recipe made for that cycle. A shorter program changes the time available for mixing, rising, and baking, so a standard recipe may not work the same way.
Check the manual for any special yeast amounts or recipe adjustments. Don't use a delay timer with ingredients that need refrigeration or could spoil while sitting in the pan.
How do you check the dough while it kneads?
If your manual allows a dough check, look for a soft, cohesive ball during the kneading stage. Dough that smears heavily on the pan may need a little flour, while dry crumbs may need a little water.
Add adjustments a teaspoon at a time and let the machine mix before deciding whether to add more. Avoid opening the lid during rising or baking unless your manual instructs you to do so.
The machine may pause or beep when it's time to add nuts, seeds, or dried fruit. Add them only when the recipe and machine call for them.
What should you do when the cycle ends?
Use oven mitts to remove the hot pan, then follow the manual to release the loaf. Leave space for steam to escape and cool the bread before slicing so the crumb can set.
If the machine has a keep-warm period, check the manual to see whether the loaf should remain inside or be removed promptly. Take out the kneading blade from the loaf only after the bread is cool enough to handle safely.
For a crisp outside, remove the loaf as directed instead of leaving it in a warm, enclosed pan longer than needed. Let the pan cool before washing, and follow the care instructions for its coating.
What helps with bread machine toasting after baking?
A long-slot toaster can handle slices cut from a homemade loaf, depending on their thickness. The BELLA 4 Slice Slim Toaster has a 10-inch long slot and 6 shade settings, with reheat and cancel buttons.
Slice cooled bread evenly so it sits well in the slot. If your homemade loaf is too tall or wide, cut smaller slices rather than forcing them into the toaster.
Which bread maker features can help a new owner?
Choose controls and recipes that fit the kinds of bread you plan to make. A familiar cycle, clear loaf-size choices, and a manual with recipes can make the first few bakes easier to follow.
For another brand's walkthrough, see how to use a Rosewill bread maker.
The West Bend Hi-Rise Bread Maker has 12 digital settings, 3 loaf sizes from 2 lb to 3 lb, and 3 crust levels. For step-by-step operation, see how to use a West Bend bread maker.
Its manual includes recipes for bread and dough, including bagel and pasta dough.
This model is worth considering if you want a horizontal pan and the option to make larger loaves. Check that its settings and capacity suit your recipes and household before choosing it.
When might a different bread maker suit your routine?
A programmable machine with multiple cycles can help if you want one appliance for several recipe types. Compare the available settings with the breads you expect to make, rather than choosing by program count alone.
The Amazon Basics Programmable Bread Maker has a 2 lb capacity, 14 settings, and an LCD display. Its settings include breads, doughs, gluten-free options, and an ExpressBake cycle.
For a different brand's controls, read how to use a Cuisinart bread maker or how to use a Zojirushi bread maker. To compare general owner considerations, see Are Hamilton Beach Bread Makers Good?.
What should you do if the loaf comes out poorly?
Check the recipe, measurements, cycle, and yeast before changing several things at once. A single adjustment per bake makes it easier to find what caused a dense loaf, uneven rise, or collapsed top.
- A dense loaf can result from too much flour, old yeast, or a cycle that doesn't match the recipe.
- A sunken top can point to excess liquid, too much yeast, or an unsuitable cycle.
- Flour left in a corner may mean the pan or blade wasn't seated well, or the dough needed a brief scrape during kneading if the manual allows it.
- A pale crust may call for a darker shade setting if your machine offers one.
Use the recipe's ingredient amounts and the machine's recommended loaf size. If the same problem repeats, check the troubleshooting section of the manual before changing yeast or liquid amounts.
How do you use a Hamilton Beach bread maker successfully?
Follow the manual's ingredient order, pick the recipe's cycle, and check the dough only when the instructions allow it. Remove the loaf carefully and let it cool before slicing.
Choose the West Bend if its larger loaf sizes and recipe options fit your plans. Consider the Amazon Basics machine if its 2 lb capacity and 14 settings better match your routine, and the BELLA toaster if you want a long slot for thick slices.
Frequently asked questions
What order do you put ingredients in a Hamilton Beach bread maker?
Follow the order in your Hamilton Beach manual and recipe, since it can vary by model and recipe. Many bread machine recipes put liquids in first, then dry ingredients, with yeast added last in a small well so it stays apart from liquid until mixing begins.
Use the manual if it gives a different order.
What setting should I use on a Hamilton Beach bread maker?
Choose the cycle named for your recipe, such as Basic, Whole Grain, French, or Dough, if your model offers it. Select the loaf size and crust shade the recipe calls for, then check the manual for cycle timing and ingredient additions.
Models and control labels can differ.
Can you open a Hamilton Beach bread maker while it is running?
Check your model's manual before opening the lid. Some recipes call for checking the dough during kneading or adding ingredients at a beep, but opening during rising or baking can affect heat and results.
Keep hands and utensils away from the kneading blade.
When should you remove bread from a Hamilton Beach bread maker?
Use the manual's instructions for the end of the cycle and the keep-warm period. Remove the pan carefully with oven mitts, release the loaf as directed, and let it cool before slicing.
The pan, loaf, and steam can be hot.