What Is the Kneading Paddle for in a Bread Machine?
On this page (6 sections)
The kneading paddle in a bread machine is a small, removable blade designed to mix and knead your dough. It does the hard work of hand-kneading, creating the perfect texture for your bread before baking.
Many first-time bread machine owners wonder about this little part. It’s truly the heart of the bread-making process, ensuring your ingredients are well combined. Without it, your bread wouldn’t have that lovely, chewy consistency you expect.
- The kneading paddle mixes and kneads dough.
- It saves you from hand-kneading.
- The paddle creates the right bread texture.
- It’s essential for properly made bread.
Below, we’ll walk you through everything you need to know about your bread machine’s kneading paddle, from how it works to how to clean it. Let’s make some great bread!
Understanding Your Bread Machine’s Mixing Paddle
Your bread machine’s mixing paddle is the hero behind every perfectly kneaded loaf. It’s what transforms simple ingredients into that elastic dough you love.
Think of it as your tireless baking assistant. It mimics the motion of hand-kneading, but with far less effort from you. This little device saves your arms and gives you more time for other things. We found that most bread machines come with one or two paddles, depending on the model and the size of the loaf it produces.
How the Kneading Paddle Works Its Magic
Ever wonder how the paddle does its job? It’s quite clever, really. When you add your ingredients to the bread pan, the paddle sits at the bottom.
Once you select your cycle, the machine starts to warm up, then the paddle begins to turn. It continuously folds, stretches, and compresses the dough. This process develops the gluten, which is essential for your bread’s texture. Without proper gluten development, your bread would be dense and crumbly, not light and airy.
The Role of Gluten Development
Gluten is a protein network that forms when flour and water are mixed. It’s what gives bread its elasticity and ability to hold gas. Imagine tiny balloons trapped within your dough. These balloons expand during rising and baking, creating those lovely air pockets. The kneading paddle makes sure these balloons are strong enough to stretch without breaking (King Arthur Baking Company).
Effective kneading ensures an even distribution of ingredients. This means no pockets of unmixed flour or unevenly distributed yeast. Every part of your dough gets the attention it needs.
Different Types of Kneading Paddles You Might Encounter
While the basic function is the same, kneading paddles can vary in design. You might have noticed that some look a bit different from others. These variations are usually designed to optimize performance for specific machine models or loaf sizes.
Most common are single paddles, but some larger machines use two. Double paddles are often found in machines designed for bigger loaves, ensuring all the dough is thoroughly worked.
Common Paddle Designs
The most common design is a single, relatively flat paddle with a slight curve. It’s effective for most standard bread recipes. Some paddles have a more intricate shape, with small ridges or cutouts. For a compact setup, compare kneading paddles for small kitchens. These might be designed to handle stickier doughs or to provide more aggressive kneading action.
You’ll also find paddles made from different materials, though metal is the most durable. Non-stick coatings are common to prevent dough from sticking too much, making cleanup easier.
| Paddle Type | Common Appearance | Best For |
|---|---|---|
| Standard Single Paddle | Flat, curved blade, often metal | Most bread types (white, wheat, rye) |
| Dual Paddles | Two standard paddles, side-by-side | Larger loaves, heavier doughs |
| Collapsible Paddle | Hinged blade that folds flat | Minimizing hole in bottom of loaf |
| Specialty Paddle | Unique shapes, sometimes with holes | Specific doughs (e.g., sticky, dense) |
Before and After Baking: Paddle Placement and Removal
Understanding when and how to handle your kneading paddle is key to successful bread making. It affects both the mixing process and the final appearance of your loaf.
Proper placement ensures effective kneading. Removing it at the right time helps prevent a paddle-shaped hole in the bottom of your bread. Nobody wants a giant crater in their perfect loaf, right?
Inserting the Paddle Correctly
Before adding any ingredients, make sure your paddle is securely seated on the drive shaft inside the bread pan. It usually slides onto a small metal post. Give it a gentle wiggle to ensure it’s firmly in place. A loose paddle might not knead properly or could even come off during the cycle. Always double-check this step.
Sometimes, the paddle can be a bit stiff to put on. A small drop of cooking oil on the shaft is one way to oil the paddle so it slides on more easily. Just make sure not to use too much, or it could get messy.
Removing the Paddle After Kneading
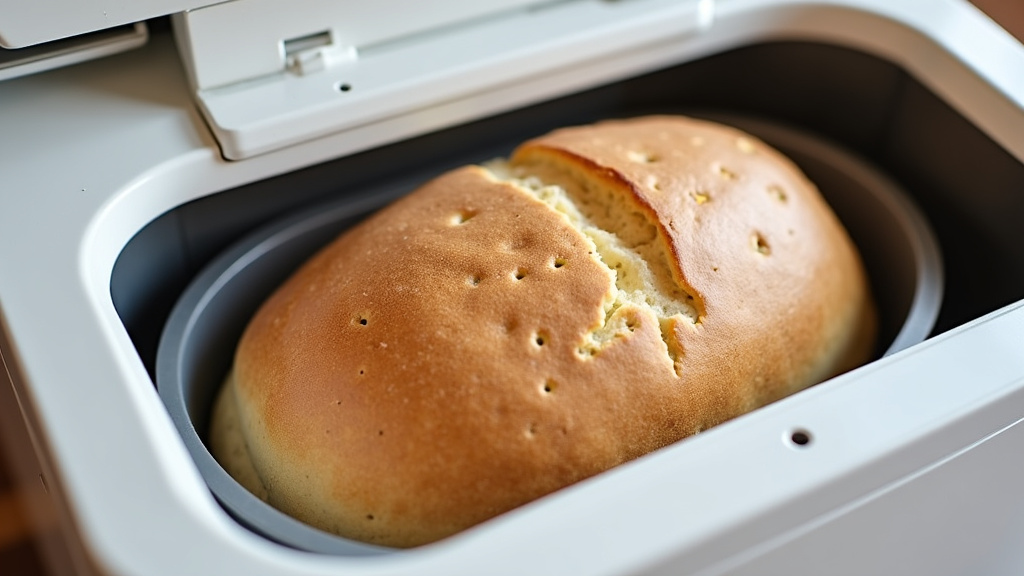
This is often where new bread machine users face a choice. To avoid a paddle mark, many recipes suggest removing the paddle after the final kneading cycle, usually before the last rise. This is done to prevent the paddle from baking into your loaf. If you remove it, you’ll have a much smaller hole in the bottom of your bread.
However, removing it means you have to interrupt the cycle. You’ll need to carefully take out the dough, remove the paddle, and then reshape the dough before putting it back. Some machines have an audible alert to tell you when to do this. Other people prefer to leave it in, accepting the small paddle hole as part of the bread machine experience.
We found that for most home bakers, leaving the paddle in is perfectly fine. The small hole it creates is often a small price to pay for convenience. If you’re making bread for a competition, then maybe consider taking it out!
Cleaning and Maintaining Your Kneading Paddle
Keeping your kneading paddle clean is vital for its longevity and for hygienic bread making. Dough can be sticky, and if left to dry, it becomes much harder to remove. A well-maintained paddle ensures it performs its best every time.
Cleaning is usually very simple, but a few tricks can make it even easier. Don’t let old dough accumulate on your paddle; it can affect future batches.
Easy Cleaning Techniques
The best time to clean your paddle is right after you’ve emptied the bread pan. Even if you leave the paddle in during baking, it will often come out with the loaf. You can then simply pull it off the drive shaft.
Most paddles are non-stick, so warm, soapy water is usually enough. Let it soak for a few minutes if there’s stubborn dough stuck to it. A soft brush or sponge works well for gently scrubbing away any residue.
- Remove the paddle as soon as possible.
- Soak in warm, soapy water immediately.
- Use a soft sponge or brush for cleaning.
- Ensure all dough is removed from the center hole.
- Dry thoroughly before storing.
Troubleshooting Common Paddle Issues
Sometimes you might run into minor issues with your paddle. Don’t worry, these are usually easy to fix.
If the paddle gets stuck on the shaft, try adding a few drops of cooking oil around the base and letting it sit for a few minutes. Then, gently twist and pull. Avoid forcing it, as this could damage the shaft or the paddle itself. If your bread is consistently under-kneaded, check that the paddle is installed correctly. A loose paddle won’t work as effectively. We also found that sometimes, too much dough can overwhelm the paddle, leading to poor mixing. Always stick to the recipe’s ingredient amounts.
If your paddle seems to be losing its non-stick coating, it might be time for a replacement kneading paddle. While it might still work, dough will stick more, making cleanup a hassle. You can often find replacement paddles online or through your bread machine manufacturer.
Remember, your kneading paddle is a small but mighty part of your bread machine. Treat it well, and it will keep making delicious bread for you for years to come!
Conclusion
You’ve learned that the kneading paddle is far more than just a small part in your bread machine; it’s the workhorse that gives your homemade bread its perfect texture. Understanding its function, knowing the different types, and mastering its care will truly enhance your baking experience. By paying attention to details like proper placement and timely cleaning, you ensure delicious, consistent results every time. Now, go forth and bake some amazing loaves, knowing your little paddle is doing all the heavy lifting!
Frequently Asked Questions
What if my bread machine didn’t come with a kneading paddle?
If your bread machine is new and didn’t include a paddle, it’s likely a packaging error. Contact the manufacturer or retailer immediately. If it’s an older machine and the paddle is missing, you’ll need to purchase a replacement to use it effectively.
Can I bake bread without the kneading paddle in the machine?
No, you cannot bake bread in a bread machine without the kneading paddle. The paddle is essential for mixing ingredients and developing gluten. Without it, your dough won’t form correctly, and you’ll end up with a dense, unappetizing brick instead of bread.
Why does my kneading paddle sometimes get stuck inside the baked loaf?
The paddle can get stuck if the dough is particularly dense or if it shifts during the baking process. We found that allowing the bread to cool for a few minutes before removing it from the pan can sometimes help. A small wooden or plastic tool can carefully pry it out if needed.
Are all bread machine kneading paddles interchangeable?
No, kneading paddles are not universally interchangeable. They are designed to fit specific bread machine models and shaft sizes. Always check your machine’s manual or the manufacturer’s website to find the correct replacement paddles for your particular model.
How do I know if my kneading paddle needs to be replaced?
You might need a new paddle if it’s bent, cracked, or if its non-stick coating is severely worn, causing dough to stick excessively. If it no longer fits securely on the drive shaft or if you notice your bread isn’t kneading properly despite correct installation, it’s likely time for a replacement.