
What Is Under-Proofing Bread?
Under-proofing bread means you haven’t given the dough enough time to rise properly before baking, resulting in a dense texture and compact crumb.
When your bread is under-proofed, it lacks the necessary air pockets that develop during fermentation, making it less airy and often tougher to chew.
- Under-proofing happens when bread dough doesn’t rise enough before baking.
- It leads to a dense, tough loaf with small, tight air cells.
- Key signs include a heavy feel, cracked crust, and uneven texture.
- Proper proofing allows yeast to create gas, developing flavor and texture.
- Adjusting proofing time and temperature can easily fix this common baking issue.
What Is Under-Proofing Bread?
Under-proofing is when your bread dough doesn’t get enough time to ferment and expand before baking. Imagine trying to run a marathon without proper training; you’d be exhausted and not perform your best. Similarly, dough needs its rest and rise to reach its full potential, creating a light and airy texture.
It’s a common issue for many home bakers, whether you’re using a bread machine or baking by hand. The yeast simply hasn’t had ample opportunity to do its job, which means the bread won’t have the desired volume or flavor you expect from a well-made loaf.
The Science Behind the Rise
Baking bread is a bit like a gentle chemical reaction happening right in your kitchen. We’re talking about yeast, which is a living organism, consuming sugars in your dough. This process is called fermentation, and it creates carbon dioxide gas.
This gas gets trapped within the gluten network of your dough, causing it to inflate like a balloon. When the dough is under-proofed, there simply isn’t enough gas produced, so your “balloon” stays half-inflated. This means your bread will be heavier than you’d hoped.
What Does Yeast Actually Do?
Think of yeast as tiny workers in your dough. They eat, they produce gas, and they help develop wonderful flavors. Research shows that yeast activity is crucial not just for rise, but also for creating the complex aromas and tastes we love in good bread (Food Science texts). Without enough time, these processes are cut short.
When yeast doesn’t have time to fully work, your bread will lack depth. It’s not just about size; it’s about the entire sensory experience. The right proofing allows for a fuller, richer taste, which is why patience is often considered a key ingredient in baking.
Identifying Under-Proofed Dough: Your First Clues
You can often spot under-proofed dough even before it hits the oven. It feels dense and heavy in your hands. It might look a little flat or appear stiff, resisting when you try to gently reshape it. It simply won’t have that airy, pillowy feel of perfectly proofed dough.
Another tell-tale sign is the lack of noticeable growth. While some doughs rise more dramatically than others, an under-proofed dough will barely change in size, or perhaps only increase slightly. Many experts suggest keeping an eye on your dough’s volume rather than just the clock, as proofing times can vary widely.
The “Poke Test” – A Simple Trick
A popular method to check for proofing is the “poke test.” Gently flour your finger and lightly poke the dough about a half-inch deep. If the indentation springs back immediately, your dough is likely under-proofed. It still has more gas to produce and needs more time.
However, if the indentation slowly springs back, or leaves a small indent, it’s probably ready. If it doesn’t spring back at all and stays deeply indented, it might be over-proofed. It’s a delicate balance, but the poke test helps you gauge the dough’s elasticity and readiness.
Visual Cues of Under-Proofed Bread After Baking
Once baked, an under-proofed loaf will reveal its secrets. It often has a dense, squat appearance, rather than a beautiful, rounded dome. The crust might look thick and pale, or even have a tendency to crack in a rather dramatic fashion. This happens because the bread tries to expand rapidly in the oven, but it lacks the internal structure to do so evenly.
You might notice the bread has “oven spring,” but it’s not well-controlled. The dough makes a final desperate attempt to rise, but it results in ruptures instead of a smooth expansion. This usually points to a dough that wasn’t quite ready for its final hot environment.
Inside the Loaf: The Crumb Structure
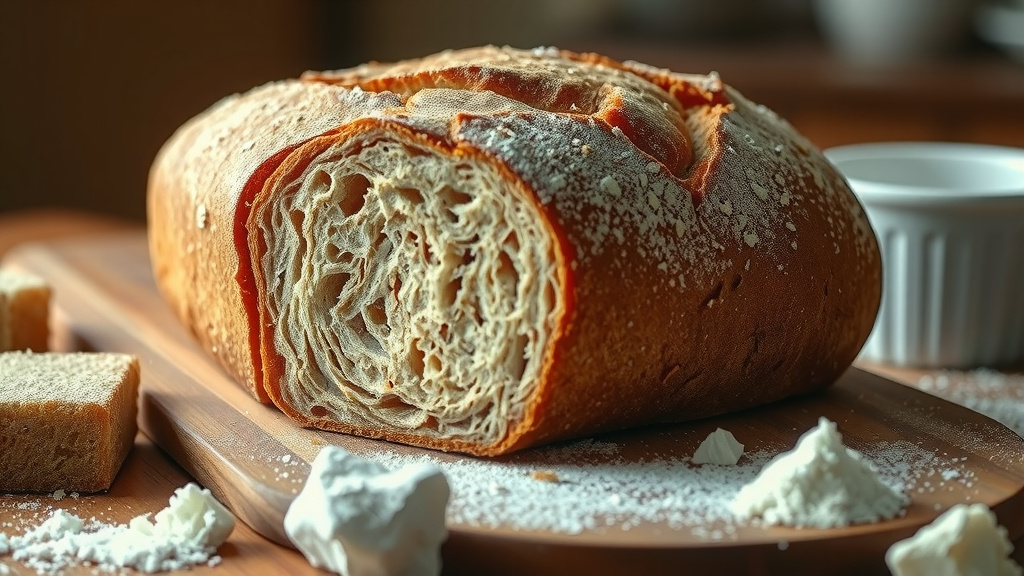
The true story of under-proofing is told when you slice the loaf open. An under-proofed bread will have a very tight, dense crumb, meaning the air pockets are small and compact. It can look almost gummy or uncooked inside, even if it’s fully baked. This texture is often described as heavy and unappetizing.
You won’t see those lovely, irregular air cells that signify a well-aerated loaf. Instead, it will be uniform and dense, lacking the open structure that makes bread so enjoyable. This dense crumb also contributes to a tougher chew and a less satisfying mouthfeel, according to many bakery guidelines.
Common Causes of Under-Proofing
Several factors can contribute to under-proofing. It’s rarely just one thing, but often a combination. Understanding these causes helps you become a more consistent baker. It’s like being a detective, looking for clues to perfect your next loaf.
Temperature Troubles
Yeast loves warmth! If your kitchen is too cold, the yeast will become sluggish, working very slowly or even going dormant. This means your dough will take much longer to rise, or it might not rise much at all. Many recipes assume a room temperature of around 70-75°F (21-24°C) for optimal activity, as we’ve found in various baking guides. A cooler environment means longer proofing times.
Not Enough Yeast or Inactive Yeast
Did you use enough yeast? Or is your yeast old? Old or expired yeast loses its potency, meaning it simply can’t produce enough gas to make your dough rise properly. Always check the expiration date on your yeast and store it correctly. Active dry yeast needs to be “woken up” in warm water, while instant yeast can be mixed directly with dry ingredients, as many baking resources recommend.
Too Much Salt
Salt is essential for flavor and controlling yeast activity, but too much of it can actually inhibit the yeast. It dehydrates the yeast cells, slowing down their fermentation process. Think of it as putting too many brakes on a car; it just won’t go as fast. Always measure your salt precisely to ensure optimal yeast performance and a good rise.
Why Does Under-Proofing Matter?
Beyond just looking dense, under-proofed bread tastes different. It can have a strong, yeasty, or even alcoholic flavor, as the fermentation process hasn’t fully mellowed out the yeast’s initial products. It also tends to be much harder to chew, feeling rubbery or tough in your mouth. You might even find it difficult to digest.
The texture also affects how you enjoy it. A dense slice doesn’t toast as well, absorb butter or jam in the same way, or make for a satisfying sandwich. Essentially, under-proofing robs your bread of its full potential for flavor, texture, and overall enjoyment. We find that a perfectly proofed loaf offers a far superior eating experience.
Preventing Under-Proofing: Your Action Plan
Don’t worry, under-proofing is a fixable problem! It mostly comes down to understanding your dough and giving it what it needs. A few simple adjustments can make a world of difference in your baking. Here’s a simple action plan to help you avoid future dense loaves:
- Always check your yeast’s expiration date.
- Use water at the correct temperature for activating yeast (around 105-115°F or 40-46°C for active dry yeast).
- Ensure your kitchen or proofing area is warm enough.
- Don’t rush the proofing process; let the dough tell you when it’s ready.
- Measure ingredients accurately, especially salt and yeast.
Optimal Proofing Environment
Create a cozy spot for your dough to rise. A warm, draft-free place is ideal. You can use your oven with just the light on (turned off), a microwave with a cup of hot water inside, or a dedicated proofing box. Many guidelines point to keeping a consistent temperature as a good first step (NIH).
The goal is to maintain a steady warmth that encourages yeast activity without being too hot, which can kill the yeast. A temperature range of 75-85°F (24-30°C) is often recommended for most doughs to proof effectively, leading to a much better and more reliable rise.
Giving Dough Time
Proofing times are often estimates in recipes. They depend heavily on your kitchen’s temperature, the type of flour, and even the humidity. Instead of rigidly sticking to the clock, learn to read your dough. It’s ready when it looks and feels right, not just when the timer goes off. Patience is genuinely a virtue here.
Trust your senses: look for a noticeable increase in volume, feel for a light and airy texture, and perform that gentle poke test. Letting your dough take its sweet time is one of the most important lessons in baking, ensuring you get the best possible outcome for your efforts.
The Ideal Proofing Checklist
Here’s a quick checklist to help ensure your dough proofs perfectly:
- Is my yeast fresh and active?
- Is the water temperature correct for my yeast?
- Is my proofing environment warm and draft-free?
- Has the dough doubled (or nearly doubled) in size?
- Does the poke test show a slow rebound?
- Have I allowed enough time, watching the dough more than the clock?
Under-Proofing vs. Over-Proofing: A Quick Look
While under-proofing is a common issue, its opposite, over-proofing, also presents challenges. It’s a fine line! Here’s a quick comparison to help you understand the differences and aim for that perfect sweet spot:
| Characteristic | Under-Proofed Bread | Over-Proofed Bread |
|---|---|---|
| Appearance | Dense, squat, cracked crust, small volume | Collapsed top, wrinkled crust, large but deflated volume |
| Crumb Texture | Tight, dense, gummy, small air cells | Weak, crumbly, large uneven air cells, often gaping holes |
| Taste/Smell | Strong yeasty, sometimes alcoholic, sour | Flat, bland, sometimes very sour or vinegary |
| Feel (Dough) | Stiff, heavy, springs back quickly after poke | Loose, floppy, doesn’t spring back, very delicate |
| Why it happens | Not enough yeast activity/time | Too much yeast activity/time, gluten network breaks down |
Conclusion
Under-proofing bread is a common hurdle, but it’s far from insurmountable. By understanding the critical role of yeast, providing the right environment, and learning to read your dough’s cues, you can consistently achieve those wonderfully airy, flavorful loaves. Don’t be discouraged by a dense outcome; see it as a valuable lesson in the art and science of baking. With a little patience and attention to detail, you’ll soon be enjoying perfectly proofed bread every time, whether from a bread machine or by hand. Happy baking!
What are the immediate signs of under-proofed dough?
Immediate signs of under-proofed dough include it feeling dense and heavy, resisting when you gently press it, and not significantly increasing in volume. When you do the poke test, the indentation will spring back very quickly, indicating that the dough still needs more time to expand.
Can I fix under-proofed bread after it’s baked?
Unfortunately, once bread is baked, you cannot reverse under-proofing. The structure is set by the heat of the oven. However, if you realize your dough is under-proofed before baking, you can simply give it more time to rise in a warm place until it passes the poke test and has increased in volume.
Does the type of flour affect proofing time?
Yes, the type of flour can absolutely affect proofing time. Flours with higher protein content, like bread flour, develop a stronger gluten network that can hold more gas, potentially requiring a bit more time to fully proof. Whole wheat flours also tend to proof differently due to bran content, often needing slightly longer. Therefore, you should always keep the flour type in mind when judging readiness.
How does cold weather impact bread proofing?
Cold weather significantly slows down yeast activity, which in turn lengthens proofing time. Yeast thrives in warmer conditions. If your kitchen is chilly, your dough will take much longer to rise compared to what a recipe might state. You’ll need to either provide a warmer proofing environment or simply extend the proofing period considerably until the dough shows proper signs of readiness.
Is it better to slightly under-proof or slightly over-proof bread?
Many experienced bakers would agree that it’s generally better to slightly under-proof than to severely over-proof. A slightly under-proofed loaf might still have a decent texture, just a bit denser, while a severely over-proofed loaf can completely collapse in the oven, develop a sour taste, and have a crumbly, unpleasant texture. Finding the perfect balance is key, but if in doubt, err on the side of caution.


