
How to Make Dinner Rolls in a Bread Machine?
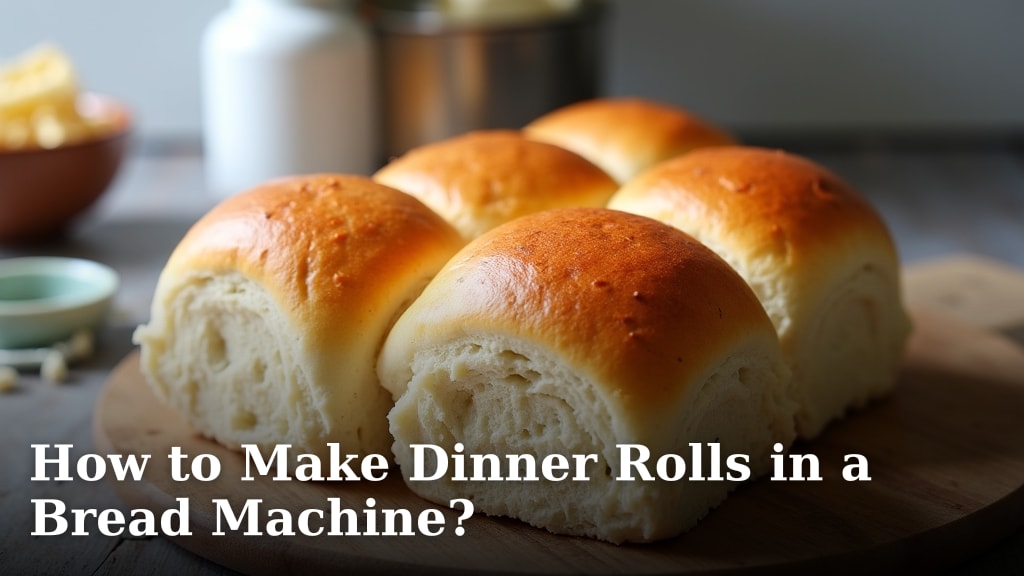
The easiest way to make dinner rolls in a bread machine is to use the dough cycle. This handy kitchen appliance does all the kneading and rising for you. Just add your ingredients, and let the machine do the hard work.
You can enjoy warm, fluffy rolls with minimal fuss. Bread machines save you time and effort in the kitchen. Many people find this method less messy than traditional baking. You’ll get perfect dough every time.
- Add ingredients in the right order.
- Select the “dough” cycle.
- Let the machine mix and rise the dough.
- Shape the dough into rolls.
- Bake in a conventional oven.
Let’s walk through exactly how this works, step by step, so you can enjoy delicious homemade dinner rolls tonight!
Crafting Perfect Dinner Rolls Using Your Bread Machine
Making dinner rolls might seem like a big baking project. But your bread machine makes it simple. It handles the hardest parts for you. You’ll be amazed at how easy it is to get fluffy, fresh rolls.
We’re talking about warm rolls, straight from your oven. Imagine them melting in your mouth! This guide will walk you through every step. You’ll learn how to get bakery-quality rolls with minimal fuss.
Gather Your Ingredients and Tools
Before you start, make sure you have everything ready. This prevents last-minute scrambling. A little preparation goes a long way. This is the first step to a stress-free baking experience.
Essential Ingredients for Classic Dinner Rolls
The beauty of dinner rolls lies in their simple ingredients. You probably have most of these in your pantry already. Using fresh ingredients makes a big difference in taste and texture. Always check expiration dates, especially for yeast.
- All-purpose flour: Provides structure.
- Warm water or milk: Activates yeast and adds moisture. Milk makes richer rolls.
- Active dry yeast or instant yeast: The leavening agent.
- Sugar: Feeds the yeast and adds sweetness.
- Salt: Enhances flavor and controls yeast activity.
- Butter or oil: Adds richness and tenderness.
- Egg (optional): For a richer dough and a golden crust.
For best results, many bakers recommend using bread flour if you have it. It has a higher protein content. This can lead to a slightly chewier roll (King Arthur Baking).
What You’ll Need Beyond the Bread Machine
While your bread machine does much of the work, you’ll need a few other items. These help with shaping and baking. Think of them as your support crew for perfect rolls.
- Measuring cups and spoons: Accuracy is key in baking.
- Rubber spatula: To scrape down the sides of the pan if needed.
- Rolling pin (optional): For an even dough when shaping.
- Baking sheet: Large enough for all your rolls.
- Parchment paper or silicone baking mat: Prevents sticking, makes cleanup easy.
- Sharp knife or bench scraper: For dividing dough.
- Clean kitchen towel: For covering rolls during their second rise.
Having a kitchen scale is also helpful. Many professional bakers weigh ingredients for accuracy. This means consistent results every time you bake (Food Network).
The Bread Machine Magic: Dough Cycle Explained
Your bread machine’s dough cycle is truly amazing. It blends ingredients, kneads the dough, and lets it rise once. This saves you so much effort. It’s like having a little bakery assistant in your kitchen.
Understanding this cycle is key. You’re harnessing technology to do the hard work. You’ll get perfectly proofed dough ready for shaping. No sticky hands, no messy counters.
Loading Ingredients for Success
The order you add ingredients matters a lot. This prevents yeast from activating too early. Or from salt killing it. Every bread machine is slightly different, so check your manual.
Generally, the order is: liquids first, then dry ingredients, and yeast last. This protects the yeast from harsh elements. Here’s a common sequence:
- Liquids: Warm water or milk, melted butter or oil, egg (if using).
- Dry ingredients: Flour, sugar, salt. Make sure the salt and yeast don’t touch directly.
- Yeast: Sprinkle it on top of the dry ingredients. Create a small well for it.
Why this order? Liquids settle at the bottom. Flour acts as a barrier. Yeast stays dry until mixing starts. This leads to a healthy, active rise. We found this method prevents premature yeast activation.
Setting the Dough Cycle and Waiting
Once ingredients are loaded, select the “Dough” cycle. Most bread machines have one. It usually lasts about 1.5 to 2 hours. This includes mixing, kneading, and one rising period.
Close the lid and press start. Now, the machine takes over. You can walk away and do other things. No need to stand over it. This is the ultimate hands-off approach to dough making.
During the cycle, you might hear it mixing. Don’t open the lid too much. The consistent temperature inside helps the dough rise properly. Many experts say patience is a virtue here!
From Dough Ball to Delicious Rolls: Shaping and Baking
Your bread machine has done its job. Now you have a perfectly risen dough ball. This is where your creativity comes in. Shaping the rolls is the fun part. It’s simple, we promise!
This is also the moment you connect with your baking. You get to interact with the dough. It should be soft, elastic, and smooth. This stage makes your rolls personal and unique.
Dividing and Shaping Your Dough
Once the dough cycle finishes, gently remove the dough. It will be light and airy. Place it on a lightly floured surface. Avoid adding too much extra flour. This can make your rolls dry.
Here’s a simple shaping process:
- Gently punch down the dough: This releases air. Don’t overdo it.
- Divide the dough: Cut it into equal pieces. For standard rolls, aim for 12-16 pieces. A bench scraper helps with this.
- Shape each piece: Roll each piece into a smooth ball. You can cup it with your hand and roll it against the counter. This creates surface tension.
- Arrange on a baking sheet: Place the shaped rolls on your prepared baking sheet. Leave some space between them. They will expand during the second rise and baking.
The best way to get uniform rolls is to weigh each piece of dough. This ensures they bake evenly. Research shows that uniform size helps prevent some rolls from being overcooked (America’s Test Kitchen).
The Second Rise: Proofing for Fluffiness
After shaping, your rolls need to rise again. This is called the “second proof.” It makes them extra tender and fluffy. Don’t skip this step!
Cover the baking sheet loosely with a clean kitchen towel or plastic wrap. Place it in a warm, draft-free place. A slightly warm oven (turned off) works well. Let them rise for 30-45 minutes. They should look noticeably puffier. They’ll almost double in size.
How do you know they’re ready? Gently poke a roll with your finger. If the indent springs back slowly, they’re ready. If it springs back fast, they need more time. If it stays indented, they might be over-proofed.
Baking Your Golden-Brown Rolls
Preheat your oven to the recommended temperature. This is usually around 375-400°F (190-200°C). Oven temperature is super important for an even bake. Once preheated, pop those beautiful rolls in!
Bake for 15-20 minutes. Keep an eye on them. They should turn golden brown on top. An internal temperature of 200°F (93°C) means they are fully cooked. You can use a meat thermometer to check this (USDA).
For an extra shiny, golden crust, brush the tops with an egg wash before baking. A little melted butter brushed on immediately after baking adds richness and softness. Now, weren’t those worth the wait?
Troubleshooting Common Dinner Roll Issues
Even with a bread machine, sometimes things don’t go perfectly. Don’t worry, baking is a skill. It gets better with practice. Here are some common problems and fixes. You’ll master this in no time!
Why Isn’t My Dough Rising Enough?
This is a frequent concern. A flat dough ball can be disappointing. The most common culprit is often the yeast. Here’s what might be happening:
- Expired yeast: Always check the date.
- Water too hot or too cold: Yeast is sensitive to temperature. Warm, but not scorching, water is ideal (CDC).
- Too much salt: Salt can inhibit yeast activity. Measure carefully.
- Old flour: While less common, very old flour can affect rise.
- Leaving the lid open: Temperature fluctuations can hinder rising.
If your yeast is old, consider buying fresh. Store yeast in an airtight container in the fridge or freezer. This extends its shelf life significantly (Fleischmann’s Yeast).
My Rolls Are Too Dense or Too Dry
Dense rolls usually mean too much flour or not enough kneading. Dry rolls often come from overbaking. It’s a delicate balance. Here are some tips:
- Measuring flour: Spoon flour into your measuring cup, then level it. Don’t scoop directly from the bag. This compacts flour, leading to too much.
- Don’t overbake: Start checking for doneness a few minutes before the recommended time.
- Add moisture: Next time, try adding a tablespoon or two more liquid. Adjust gradually.
- Cover rolls: Cover cooling rolls with a clean towel. This traps moisture.
Remember that the bread machine does most of the kneading. But sometimes dough needs a tiny bit of adjustment. You can open the lid during the first 5-10 minutes of kneading. Check consistency. It should be soft and slightly sticky, but not wet (The Kitchn).
Recipe Checklist for Your Bread Machine Dinner Rolls
Keep this handy checklist nearby. It ensures you hit all the critical steps. This reduces errors and keeps you on track. Success in baking is often about following a good process.
- ✓ Confirm all ingredients are fresh and measured accurately.
- ✓ Add liquids, then dry ingredients, then yeast to the bread machine pan.
- ✓ Select the “Dough” cycle on your bread machine.
- ✓ Remove dough, punch down, and divide into equal pieces.
- ✓ Shape each piece into a smooth roll and arrange on a baking sheet.
- ✓ Let rolls undergo a second rise until noticeably puffy.
- ✓ Bake in a preheated oven until golden brown and cooked through.
You’re now ready to impress your family and friends. Warm, homemade dinner rolls are a treat. And you made them almost effortlessly. Enjoy your delicious creation!
Conclusion
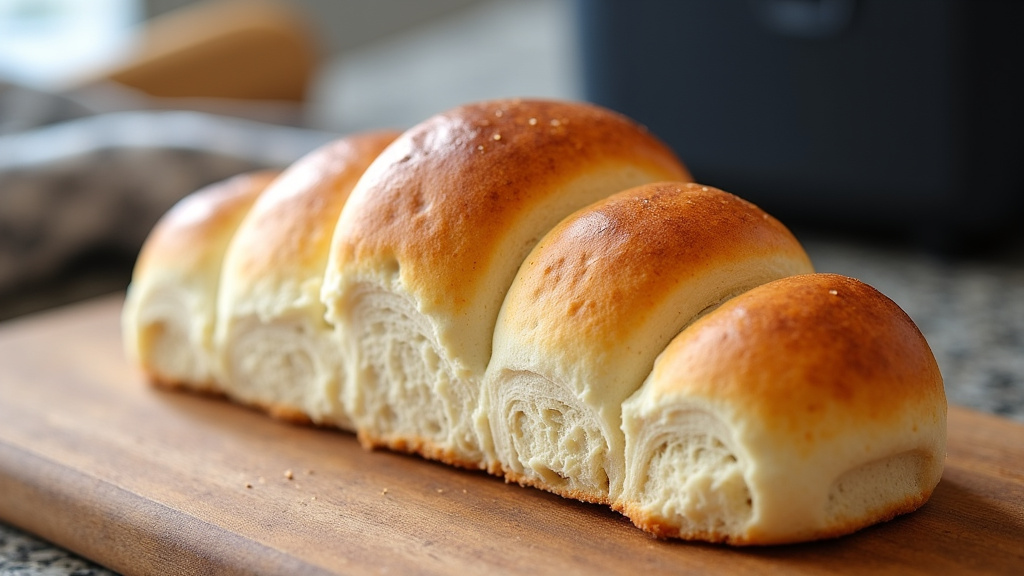
You’ve seen how simple it is to get delicious, homemade dinner rolls using your bread machine. It truly streamlines the process. By following these steps, you harness technology to do the hard work. You’ll move from basic ingredients to warm, fluffy rolls with ease.
Remember that baking is a journey, and every batch teaches you something new. Don’t be afraid to experiment with different flours or add-ins after you master the basics. Go ahead, make your next meal memorable. You can easily create a bakery-quality side dish right in your own kitchen tonight!
Frequently Asked Questions
Can I add herbs or cheese to bread machine dinner rolls?
Absolutely! Get creative once you’re comfortable with the basic recipe. For savory rolls, you can mix in dried herbs like rosemary or garlic powder with your dry ingredients. Shredded cheese, like cheddar or Parmesan, can be added during the last few minutes of the machine’s mixing cycle.
How do I store leftover dinner rolls?
To keep your rolls fresh, store them in an airtight container or a resealable plastic bag at room temperature. They will typically stay soft for 2-3 days. For longer storage, you can freeze cooled rolls in a freezer-safe bag for up to 2-3 months. Reheat frozen rolls in a warm oven for best results.
Can I use gluten-free flour in a bread machine for rolls?
Making gluten-free rolls in a bread machine is possible, but it requires specific gluten-free bread flour blends. These blends often contain binders like xanthan gum. You might also need to adjust the liquid content, as gluten-free flours absorb liquids differently. Look for recipes specifically formulated for gluten-free bread machine dough.
What’s the best way to reheat bread machine dinner rolls?
For warm and soft rolls, preheat your oven to 300°F (150°C). Place the rolls directly on the oven rack or a baking sheet. Heat for about 5-10 minutes, or until warmed through. You can also lightly butter them and microwave for 15-30 seconds, but this can sometimes make them chewy.
My rolls flattened after baking. What went wrong?
If your rolls flattened, they might have been over-proofed during the second rise. This means the yeast produced too much gas, and the dough structure couldn’t hold it. Next time, keep a closer eye on them and bake them as soon as they pass the “poke test” (when an indentation slowly springs back).
