
How to Make Keto Bread in a Bread Machine?
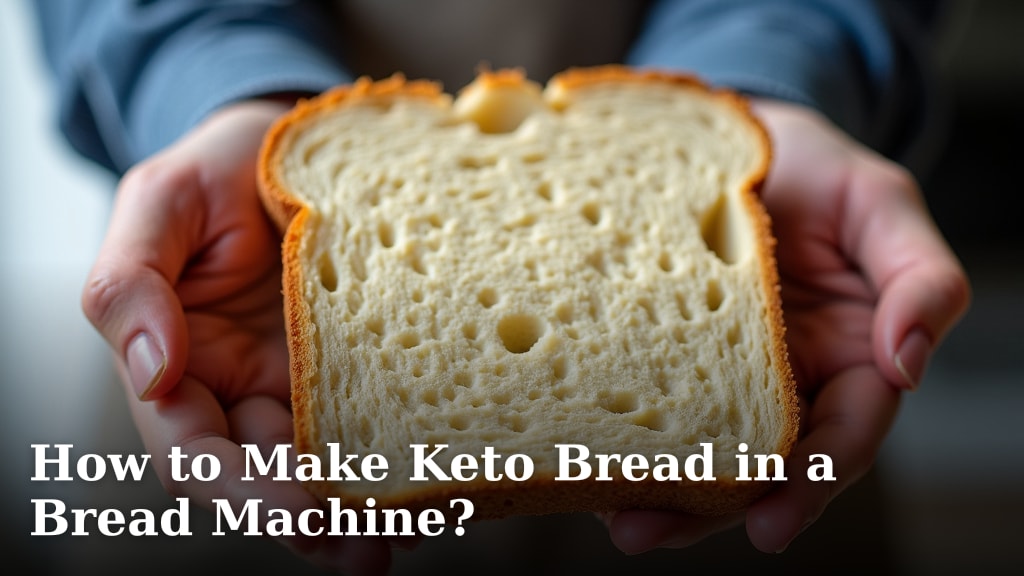
Yes, you can absolutely make keto bread in a bread machine. We found that a bread machine significantly simplifies the process, allowing you to whip up delicious, low-carb bread with minimal hands-on effort and consistent results.
You might be surprised how easy it is to enjoy warm, fresh keto bread without all the kneading. Using your bread machine can save you time and mess, making it a convenient option for a keto lifestyle. It handles the mixing and baking, so you get a perfect loaf every time.
TL;DR
- Choose the right low-carb flours like almond or coconut.
- Use specific keto-friendly leavening agents.
- Select your bread machine’s “dough” or “bake” cycle.
- Expect a denser texture than traditional bread.
- Enjoy fresh keto bread with minimal effort.
Ready to bake? Let’s walk through exactly how to make amazing keto bread in your bread machine, step by step.
Crafting Keto Bread with Your Bread Machine
Making delicious, low-carb bread in a bread machine is simpler than you might think. We’ll walk you through each step and explain why certain ingredients are key.
Understanding Keto Bread Basics
Keto bread is different. It doesn’t use wheat flour, which is high in carbs. Instead, it relies on flours like almond or coconut. This affects the texture and how it rises.
The Role of Low-Carb Flours
When you ditch traditional wheat flour, you need alternatives. These flours are the foundation of your keto bread.
- Almond Flour: This is a popular choice. It’s low in carbs and provides good structure. You’ll often see “blanched almond flour” recommended, which means the skins have been removed.
- Coconut Flour: Very absorbent and high in fiber. You typically use less coconut flour than almond flour because it soaks up a lot of liquid. It can make bread a bit denser.
- Psyllium Husk Powder: This is a game-changer for keto bread. It acts like gluten, giving your bread elasticity and helping it rise. Many recipes use it for a less crumbly texture. (NCBI research often highlights psyllium’s benefits for gut health and its gelling properties.)
Don’t be tempted to swap these flours one-for-one with wheat. Their properties are vastly different. Recipes are carefully balanced for specific flour combinations.
Keto-Friendly Leavening Agents
Since there’s no gluten, keto bread needs a little help to achieve some lift. This is where leavening agents come in.
- Yeast: Yes, you can use yeast! But it won’t react the same way as with wheat flour. Yeast in keto bread often contributes to flavor and a slight rise, but it won’t give you the huge, airy pockets of traditional bread.
- Baking Powder and Baking Soda: These are chemical leaveners. They create gas bubbles instantly when mixed with liquid and heat. They’re crucial for an initial lift in keto bread.
- Egg Whites: Whipped egg whites add air and structure. Some recipes call for them, especially if you’re aiming for a slightly lighter loaf. We found that incorporating egg whites can definitely improve the final texture.
The combination of these agents helps mimic the rise you’d expect, even without gluten. Experimenting with ratios can be fun once you get the basics down.
Essential Ingredients for Your Keto Bread Machine Recipe
Getting the right ingredients is half the battle. Think of it like a science experiment where precise measurements matter. We’ve compiled a typical list to guide you.
Before you start, gather everything. Room-temperature ingredients often mix better and lead to a more consistent result.
The Core Components
These are the non-negotiables for most successful keto bread machine recipes. Missing one can throw off the whole loaf.
- Low-Carb Flours: Almond flour, coconut flour, psyllium husk powder. These are your heavy lifters.
- Eggs: Usually large eggs. They add structure, moisture, and help bind ingredients. We’ve found that using room-temperature eggs helps integrate them better into the batter.
- Water or Almond Milk (Unsweetened): The liquid component. Water is fine, but unsweetened almond milk can add a touch of richness.
- Oil or Melted Butter: For moisture and a softer crumb. Avocado oil, olive oil, or melted butter all work well for flavor and texture.
- Apple Cider Vinegar: This acidic ingredient often helps activate baking soda and can improve the texture of gluten-free breads.
- Active Dry Yeast: Even without gluten, yeast contributes a more traditional bread flavor.
- Baking Powder: Provides an immediate lift in conjunction with your other leaveners.
- Salt: Not just for flavor, salt also helps control yeast activity and strengthens the structure.
- Optional: Sweetener: A pinch of erythritol or stevia can balance the flavors, especially if you plan to use it for “sweet” applications like toast with jam.
Always double-check your measurements. Baking is chemistry, and eyeballing it can lead to disappointment.
Ingredient Selection Tips
Choosing quality ingredients can make a difference in your final product.
- Freshness Matters: Ensure your flours, yeast, and leavening agents aren’t expired. This is particularly important for yeast to be active.
- Fine vs. Meal: For almond flour, “super-fine blanched almond flour” usually yields the best texture for bread. Almond meal, which includes skins, can result in a grittier loaf.
Preparing Your Bread Machine for Keto Bread
Your bread machine is a loyal companion, but it needs a little guidance specifically for keto bread. It’s not quite the same as baking a traditional white loaf.
Choosing the Right Cycle
This is where things diverge a bit from standard bread making. You’re not looking for a “whole wheat” or “basic white” cycle.
The best cycles are usually those that allow you to control the mixing and baking stages separately, or those that have shorter, gentler knead cycles.
- “Dough” Cycle: Many recipes suggest using the “dough” cycle. This will mix and allow for a short rise. After the cycle finishes, you can then manually set your machine to a “bake” only cycle. This gives you more control over the baking time and temperature, which is crucial for keto bread’s often denser structure.
- “Cake” or “Quick Bread” Cycle: Sometimes, these cycles work well. They typically involve mixing, a short rest, and then baking without extensive kneading. Check your machine’s manual for what these cycles entail.
- Custom or Manual Settings: If your bread machine offers custom programming, this is ideal. You can set specific mixing, proofing, and baking times tailored exactly to your keto recipe.
Avoid cycles designed for gluten development, like “basic” or “whole wheat.” Those involve lengthy kneading, which isn’t beneficial for gluten-free flours and can overwork the dough.
The Importance of Layering Ingredients
Many bread machine manuals suggest layering wet ingredients first, then dry, with yeast on top. This order is even more critical for keto bread.
- Liquids First: Pour all your wet ingredients (water/milk, eggs, oil, apple cider vinegar) into the bread machine pan.
- Dry Ingredients Next: Carefully add your flours, salt, baking powder, and any sweetener. Try to keep them separate from the liquids for a moment.
- Yeast Last: Place your active dry yeast in a small well on top of the dry ingredients, ensuring it doesn’t touch the liquids or salt initially. This prevents premature activation or inhibition.
This layering helps ensure the yeast is activated at the right time and that dry ingredients are thoroughly incorporated without clumping during the initial mix.
The Step-by-Step Baking Process
Now that you have your ingredients and know your cycles, let’s get baking! It’s less hands-on than you might think.
Following Your Recipe Carefully
Every keto bread recipe is a little unique. This is why following it closely is paramount.
We’ve found that even slight deviations in measurements can lead to drastically different results. Keto baking doesn’t quite forgive improvisation as easily as traditional baking.
- Measure Precisely: Use kitchen scales for accuracy, especially for flours and psyllium husk powder. Volumetric measurements (cups) can be less consistent.
- Ingredient Temperature: As mentioned, room temperature eggs and liquids are often preferred. They mix more uniformly and can aid in yeast activation (NCBI often publishes on optimal conditions for enzymatic reactions).
- Machine Specifics: Pay attention to the size of your bread machine. Most recipes are for 1.5 or 2-pound loaf machines.
Keto Bread Machine Checklist:
- ✅ Confirm all ingredients are at room temperature.
- ✅ Measure flours and small leaveners with a kitchen scale.
- ✅ Layer wet ingredients, then dry, then yeast.
- ✅ Select the “dough” or “cake” cycle.
- ✅ Monitor the mix for consistency (add a splash of liquid if too dry, a pinch of flour if too wet).
- ✅ Bake till golden brown and firm to the touch.
Monitoring the Mixing Stage
After you press start, don’t just walk away immediately. The first few minutes are crucial.
During the initial mixing, take a peek. Is the dough coming together? It might look a bit different from wheat dough – perhaps more like a thick batter or a soft paste.
Most recipes will yield a consistency similar to a thick muffin batter. If it’s too dry and the machine is struggling, add a tablespoon of water or almond milk at a time until it forms a cohesive mass. If it’s too wet and soupy, add a teaspoon of coconut flour (which is highly absorbent) until it thickens slightly.
This early adjustment can save your loaf. Once the dough cycle is complete, you might notice very little rise compared to gluten-based bread. That’s perfectly normal for keto bread.
Baking and Cooling Your Keto Masterpiece
The final baking stage and proper cooling are essential for a good keto loaf. Don’t rush this part!
The Baking Process
If you used the “dough” cycle, you’ll need to manually set the baking time. Consult your specific recipe for exact temperatures and times, but here’s a general idea:
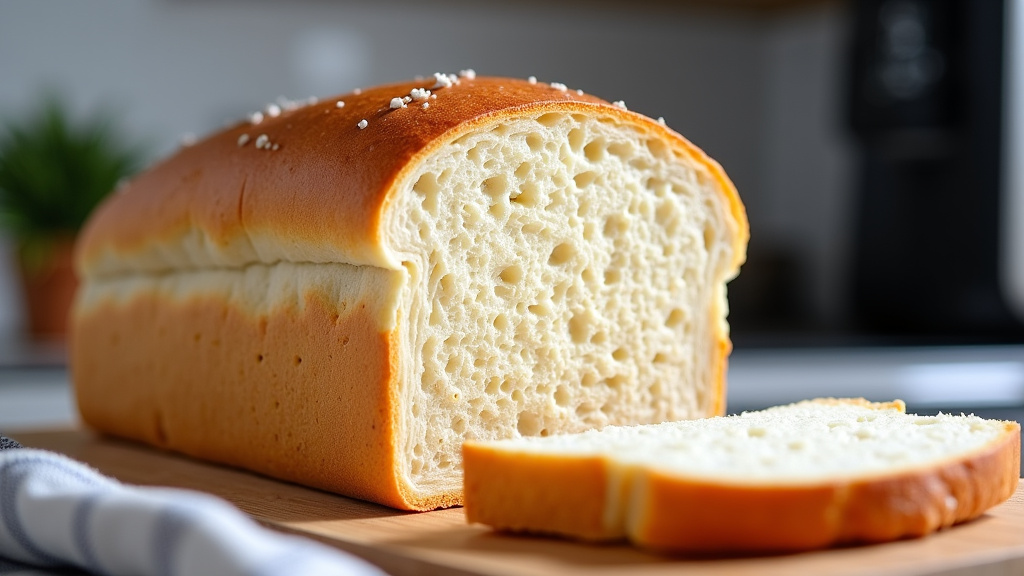
Many keto bread recipes call for baking around 325-350°F (160-175°C) for 45-60 minutes. The bread machine’s “bake” cycle usually aligns with this. You’re looking for a golden-brown crust and a firm center. A skewer inserted into the center should come out clean.
Some bread machines might make the crust a little too dark on their standard bake settings. Keep an eye on it. You can always tent it with foil if it’s browning too quickly.
Cooling for Optimal Texture
This is arguably the most important step for improving the texture of your keto bread.
Once baked, immediately remove the loaf from the bread machine pan. Place it on a wire cooling rack. Resist the urge to slice into it right away!
Keto bread continues to “cook” and set as it cools. Slicing it while warm can result in a gummy, crumbly texture. We’ve found that patience here truly pays off. Allow it to cool completely, often for at least 1-2 hours, or even longer for larger loaves. Your patience will be rewarded with a much better slice.
Cooling allows the starches (even low-carb ones) to fully set and the internal moisture to redistribute, giving you a more stable and pleasant crumb structure.
Conclusion
You’ve learned that making keto bread in a bread machine is entirely doable and surprisingly simple. By choosing the right flours, understanding leavening agents, and selecting the proper machine cycle, you can consistently bake delicious, low-carb loaves. Remember, precision in measurements and patience during cooling are key to success.
We found that having fresh, homemade keto bread can truly enhance your low-carb lifestyle. Don’t hesitate to try different keto bread recipes. Experiment with your bread machine settings to find what works best for you. Your next warm slice of keto bread is just a few steps away!
Frequently Asked Questions
Why is my keto bread so dense?
Keto bread is naturally denser than traditional wheat bread because it lacks gluten, which provides elasticity and an airy texture. Using psyllium husk powder and ensuring proper leavening can help, but don’t expect the same light crumb as regular bread.
Can I substitute almond flour for coconut flour in keto bread?
No, you generally cannot substitute almond flour for coconut flour (or vice-versa) in equal amounts. Coconut flour is highly absorbent, so recipes typically use much less of it. Swapping them without adjusting the recipe significantly will alter the texture and moisture content.
How should I store homemade keto bread?
Store your keto bread in an airtight container at room temperature for 3-5 days. For longer storage, slice the cooled loaf and freeze individual slices. This allows you to easily toast a single piece whenever you want.
My keto bread didn’t rise much. What went wrong?
Limited rise is common with keto bread. Make sure your yeast is fresh and active. Also, verify that your baking powder and soda are not expired. Using room temperature ingredients helps with leavener activation. Remember, significant rise like traditional bread is not the goal here.
Can I add seeds or nuts to my bread machine keto bread?
Yes, you can absolutely add seeds like flax, chia, sunflower, or pumpkin seeds, or chopped nuts to your keto bread. We recommend adding them during the final mixing stage specified by your recipe or during the machine’s “add-in” signal. This helps distribute them evenly without interfering with the initial dough formation.
