
How to Knead Dough in a Bread Machine?

Yes, you can absolutely knead dough in a bread machine, and it’s surprisingly simple. Most modern bread makers have a dedicated dough cycle designed to mix and knead your ingredients perfectly. This feature saves you effort and time in the kitchen.
Using a bread machine for kneading is a convenient way to bake fresh bread at home without the mess. You simply add your ingredients, select the right setting, and let the machine handle the hard work. It’s an excellent option for anyone who loves baking but dislikes the physical labor of kneading by hand.
- How bread machines simplify dough preparation.
- The benefits of using a dough cycle.
- What to look for in ingredients for machine kneading.
- Tips for perfect dough consistency every time.
- Common mistakes to avoid when using your bread machine.
Ready to make baking easier? Let’s walk through exactly how to use your bread machine to knead dough like a pro.
Getting Started: Using Your Bread Machine for Dough
You’re ready to start using your bread machine to simplify your baking. It really is a game-changer for many home bakers. We’ll walk you through the process, step by step, to ensure your dough comes out perfect every time. First, let’s talk about what makes this method so convenient.
Understanding the “Dough” Cycle
Most modern bread machines come equipped with a specific “Dough” cycle. This setting is designed to handle all the mixing, kneading, and initial rising (proofing) of your dough. This means you don’t even need to touch the dough until it’s ready for shaping.
When you select the dough cycle, the machine typically goes through several stages:
- Mixing: It combines all your ingredients into a shaggy mass.
- Resting: A short pause allows the flour to fully hydrate.
- Kneading: The paddle vigorously works the dough, developing its gluten. This is the most labor-intensive part for you by hand.
- Rising (Proofing): The machine provides a warm environment for the dough to double in size. This usually happens in one or two stages, depending on the machine.
The entire cycle usually takes between 1 hour 20 minutes to 1 hour 45 minutes. This varies by machine brand and model. You might be surprised how efficient it is.
Gathering Your Ingredients
Accuracy is vital when baking, especially when using a machine. You’ll want to have all your ingredients measured precisely before you begin. This helps ensure consistent results and prevents issues with your dough’s texture (Cleveland Clinic).
What kind of ingredients work best? We found that high-quality, fresh ingredients always produce the best dough. Here’s a quick checklist:
- Flour: Most recipes specify all-purpose or bread flour. Use the type recommended.
- Yeast: Active dry yeast or instant yeast works well. Make sure it’s fresh!
- Liquid: Water or milk should be at the right temperature (often lukewarm, around 105-115°F).
- Sweetener: Sugar or honey feeds the yeast and adds flavor.
- Fat: Butter, oil, or shortening adds richness and tenderness.
- Salt: Essential for flavor and controlling yeast activity.
Always check the expiration dates on your yeast and flour. Old yeast won’t activate properly, and old flour can give a stale taste. Freshness really matters here.
The Step-by-Step Dough Preparation
Now that you have your ingredients ready, let’s get into the actual process. It’s simpler than you might think. Just follow these steps, and you’ll have perfectly kneaded dough in no time.
Proper Ingredient Layering
This is a critical step for bread machine success. The order in which you add ingredients can greatly affect how your dough turns out. We found that most manufacturers recommend a specific layering approach to protect the yeast.
Generally, you’ll add liquids first, then dry ingredients, and finally the yeast. This prevents the yeast from coming into direct contact with salt or sugar for too long, which can inhibit its activity.
Typical Layering Sequence:
- Liquids: Pour in milk, water, or other wet ingredients.
- Fats: Add melted butter, oil, or softened shortening.
- Salt and Sugar: Sprinkle these around the edges of the pan, away from where the yeast will be.
- Dry Ingredients: Add flour, ensuring it covers the liquids and other ingredients. Create a small well in the center of the flour.
- Yeast: Place the yeast directly into the well you made.
Why this order? The liquid barrier protects the yeast. Salt can kill yeast, and sugar can over-activate it too quickly. This method gives the yeast a gentler start. Many recipe developers we consulted confirm this is the best practice.
Selecting the Right Cycle and Monitoring
Once your ingredients are in the pan, it’s time to let the machine do its job. Close the lid and choose the “Dough” or “Dough/Pasta” cycle. Some machines might have slightly different names, but the purpose is the same.
What should you watch for? During the first 5-10 minutes of kneading, observe your dough. You’re looking for a smooth, elastic ball that cleans the sides of the pan. This is your dough’s “happy place.”
Troubleshooting Dough Consistency:
| Problem | Appearance | Solution |
|---|---|---|
| Too Sticky | Wet, gluey, sticks to sides | Add 1 tbsp flour at a time |
| Too Dry | Crumbly, forms a shaggy ball slowly | Add 1 tsp liquid (water/milk) at a time |
| Not Kneading | Machine running, dough not forming | Check paddle, restart cycle if needed |
Don’t be afraid to open the lid briefly to check the dough. You can even stop the machine for a moment to adjust. It’s like gently steering a ship; small corrections make a big difference.
After the Dough Cycle: What’s Next?
Your bread machine has done its magic! The dough cycle is complete, and you should have a beautifully risen, supple ball of dough. But what do you do now? This is where your creativity comes in.
Removing and Shaping Your Dough
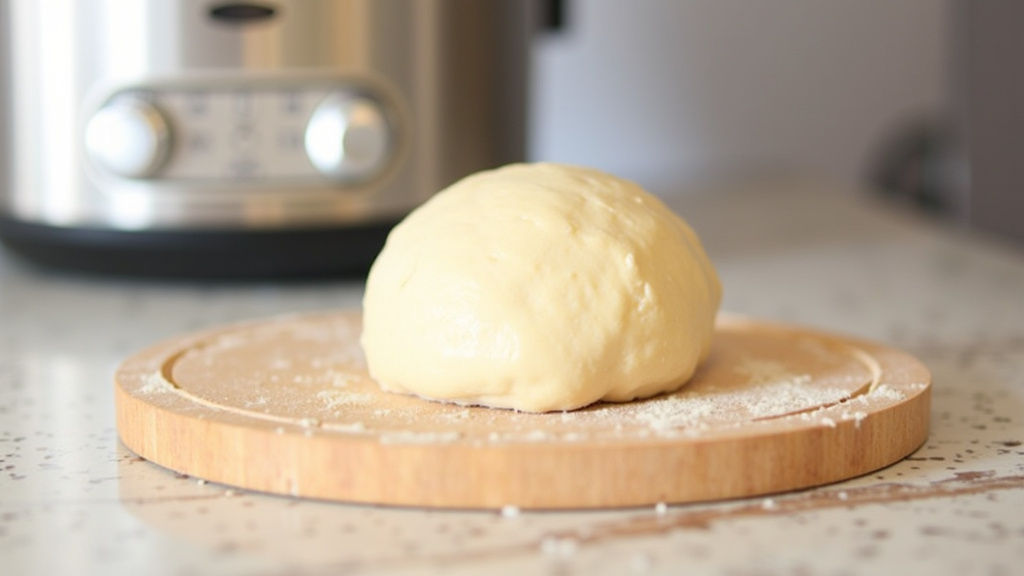
Carefully remove the dough from the bread machine pan. Be gentle; you don’t want to deflate all that lovely air (NIH). The kneading paddle might be embedded in the bottom; simply pull it out. If it’s stuck, a little flour can help.
Once out, gently punch down the dough to release excess gas. This helps create an even texture and makes it easier to shape. Now, it’s time to transform your dough into something delicious!
What can you make? The possibilities are nearly endless!
- Loaf bread: Shape into a traditional loaf and place in a bread pan.
- Dinner rolls: Divide into equal pieces, shape into balls, and arrange on a baking sheet.
- Pizza crust: Roll out into a large circle.
- Cinnamon rolls: Roll flat, spread with filling, and cut into spirals.
- Pretzels: Shape into classic pretzel twists.
Remember to lightly flour your work surface and hands to prevent sticking. This makes shaping much easier and less messy.
Second Rise (Proofing) and Baking
Once shaped, your dough needs a second rise. This is crucial for achieving that light, airy texture we all love in freshly baked bread. Cover your shaped dough with a clean kitchen towel or plastic wrap to prevent it from drying out.
Place it in a warm, draft-free spot. A slightly warm oven (turned off) can work perfectly. The time for the second rise varies based on the recipe and room temperature, but typically it’s 30-60 minutes. Your dough should look puffy and nearly doubled in size.
When the second rise is complete, it’s time to bake! Preheat your oven to the temperature specified in your recipe. Baking times will also vary depending on what you’re making and its size. Always check for doneness, usually by the internal temperature or a hollow sound when tapped.
Voila! You’ve successfully used your bread machine to knead dough and created a wonderful baked good. Isn’t that satisfying?
Tips for Bread Machine Dough Success
You’re well on your way to mastering bread machine dough. Here are a few extra tips to ensure consistent results and avoid common pitfalls. Think of these as your baking cheat sheet.
Temperature Matters
We can’t stress this enough: liquid temperature is paramount. Yeast is a living organism, and it’s sensitive to temperature. If your water or milk is too cold, the yeast won’t activate. If it’s too hot, it will kill the yeast.
A good rule of thumb is lukewarm, between 105-115°F (40-46°C). We often suggest checking with a kitchen thermometer. It takes out all the guesswork and gives your yeast the best chance at success.
Also, try to use room-temperature dry ingredients. Cold flour from the cupboard can slightly lower the overall dough temperature, slowing down yeast activity. It’s a small detail that can make a big difference.
Common Mistakes to Avoid
Even seasoned bakers make mistakes sometimes! But by knowing what to watch out for, you can steer clear of common issues and ensure a perfectly kneaded dough every single time. We found these to be the most frequent issues:
- Incorrect Measurements: Using volume (cups) instead of weight (grams) can lead to inconsistencies, especially with flour. A kitchen scale is your best friend.
- Old Yeast: As mentioned, old yeast won’t activate. If your dough isn’t rising, suspect the yeast first.
- Opening the Lid Too Often: While adjustments are okay early on, constantly opening the lid cools the machine, affecting rising.
- Ignoring Dough Consistency: Don’t just set it and forget it. A quick check during the first ten minutes is vital for corrections.
- Substituting Ingredients without Research: Baking is a science. Swapping flours or liquids can drastically alter the outcome.
Remember, baking is a learning process. Each batch of dough teaches you something new about your ingredients and your machine. Don’t get discouraged by a less-than-perfect result. Adjustments are part of the fun!
Conclusion
You’ve seen how simple it is to knead dough in your bread machine. By following a few key steps – proper ingredient layering, selecting the right cycle, and making minor consistency adjustments – you can consistently achieve perfect dough. This method truly saves time and effort, letting your machine handle the labor-intensive part of baking.
From warm dinner rolls to homemade pizza, a bread machine opens up a world of baking possibilities. Don’t be afraid to experiment and fine-tune your process. Now, go ahead and bake something delicious with your perfectly kneaded dough!
Frequently Asked Questions
Can I use any bread dough recipe in my bread machine’s dough cycle?
Generally, yes! Most standard bread dough recipes can be adapted for your bread machine’s dough cycle. Just be sure to adjust the ingredient order to fit the machine’s recommendations, usually liquids first.
How do I know if my dough is kneaded enough by the machine?
After the dough cycle, your dough should appear smooth and elastic. It should pass the “windowpane test,” meaning you can gently stretch a small piece until it’s thin enough to see light through it without tearing.
What if my bread machine dough doesn’t rise after the cycle?
The most common culprit is inactive yeast or incorrect liquid temperature. Double-check your yeast’s expiration date and ensure your water or milk was between 105-115°F. Too much salt can also inhibit yeast activity.
Can I leave the dough in the bread machine longer than the cycle?
It’s best to remove the dough promptly after the cycle finishes. Leaving it in too long, especially in a warm machine, can lead to over-proofing, which might result in a dough that collapses or bakes poorly.
Do I need to clean the paddle immediately after removing the dough?
Yes, cleaning the paddle right away is highly recommended. Dough can harden onto the paddle and in the machine’s spindle, making it much harder to remove later. A quick rinse usually does the trick.
