
How to Remove the Kneading Paddle from Bread Machine Bread?
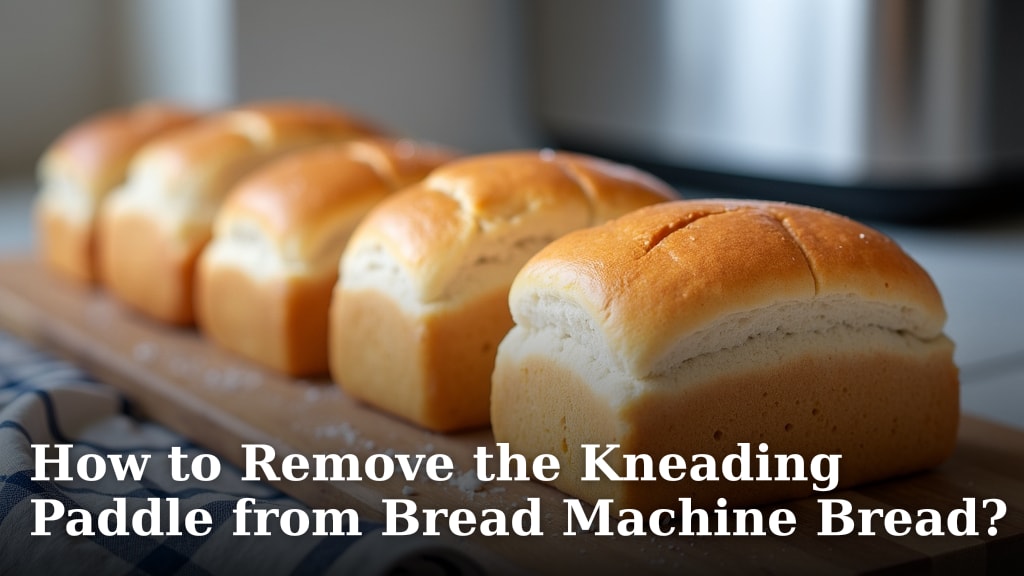
The easiest way to remove the kneading paddle from your bread machine bread is to take it out during the second rise cycle, before baking begins. This simple trick helps prevent that annoying hole in your freshly baked loaf. You want to act quickly but gently when you do this.
We’ve all been there, pulling out a beautiful bread maker loaf only to find a paddle-shaped void. It’s a minor issue, but it can ruin the presentation of your homemade bread. Thankfully, you can easily fix this common problem without much fuss.
- Remove the paddle before the final bake.
- Use heat-resistant gloves for safety.
- Fill any small holes left behind.
- Know your bread machine’s cycles.
Let’s walk through exactly how to remove that kneading paddle cleanly and efficiently, ensuring your next loaf is perfect every time.
Removing the Kneading Paddle from Your Bread Maker Loaf
The best time to remove the kneading paddle is after the last kneading cycle and before the final rise. This allows your bread to develop fully without the paddle creating a large hole.
You want to take action right after the final knead. Catching it at this stage makes a big difference. It’s truly a game-changer for your bread’s appearance.
Understanding Your Bread Machine Cycles
Knowing your bread maker’s cycles is key. Every machine is a little different. Checking your manual helps a lot here. It will outline the specific timing for each stage.
Most bread machines follow a similar pattern. They mix, knead, rise, punch down, knead again, rise, and then bake. Your goal is to pinpoint that moment after the last knead.
Typical Cycle Stages
- Mixing: Ingredients come together.
- Kneading: Dough develops strength and elasticity.
- First Rise: Dough proofs and expands.
- Punch Down/Second Knead: Air is released, gluten is refined. This is often your prime opportunity!
- Second/Final Rise: Dough proofs one last time before baking.
- Baking: The heat transforms dough into bread.
Your machine might beep at certain points. These beeps often signal the start of a new stage or an opportunity to add ingredients. Pay attention to those sounds!
Consulting Your Bread Machine Manual
Your manual is your best friend here. It provides a detailed cycle chart. Look for the “Programs” or “Cycle Descriptions” section. It’s often found near the back.
We found that many manuals even suggest when to remove the paddle. Some models have a specific “paddle removal” indicator or alarm. This feature is really helpful!
Step-by-Step Paddle Removal During the Cycle
Ready to try it? This methodical approach ensures a smooth operation. You’ll hardly disturb your beautiful dough.
Remember, safety first! The bread pan will be warm, so protect your hands. We emphasize using proper hand protection.
Timely Intervention is Crucial
You need to act quickly after the last kneading cycle. The dough will still be pliable. If you wait too long, it might be harder to separate from the paddle.
The ideal window is usually a few minutes after the second kneading stops. This is before the dough starts its final big rise.
The Actual Removal Process
- Listen for the end of the last knead: Your machine will often make a different sound or go quiet.
- Open the lid: Do this gently to avoid jostling the dough.
- Remove the pan: Carefully lift the bread pan out of the machine. It will be warm.
- Locate the paddle: It’s usually at the bottom, embedded in the dough.
- Coat your hands (optional, but recommended): A little flour, oil, or non-stick spray on your hands can prevent sticking.
- Gently free the dough: Carefully pull the dough up and away from the paddle.
- Remove the paddle: Wiggle the paddle gently and lift it out. An oven mitt or heat-resistant glove helps a lot here (Mayo Clinic).
- Reshape the dough: Gently smooth any indentations caused by removal. Try to maintain the dome shape.
- Return the pan: Carefully place the pan back into the bread machine. Close the lid.
The dough might feel sticky, but don’t panic. A light touch is all it needs. You’ll get the hang of it after a loaf or two.
Tools and Techniques for Easy Paddle Extraction
Having the right tools makes this job much easier. You don’t need anything fancy, just a few household items.
These tools help protect your hands and the dough. They simplify the whole process, we found.
Essential Items for Paddle Removal
- Heavy-duty oven mitts or heat-resistant gloves: Your hands will thank you.
- A small, non-stick spatula or wooden spoon: For gently separating dough from the paddle if it’s stubborn.
- A little flour or oil for your hands: To prevent sticking to the dough.
Some people even use a pair of kitchen tongs. Just be sure they are clean and won’t damage the bread pan’s non-stick coating.
Techniques for a Clean Break
When you’re trying to separate the dough from the paddle, think gentle leverage. Don’t yank or pull hard. We discovered that a light touch is always better.
If the dough seems stuck, use your floured fingertips around the paddle. You can also lightly oil your spatula blade. Then, carefully slide it under the paddle blade. This helps lift it without tearing the dough.
Addressing the Hole: Post-Paddle Removal Care
Even with careful removal, a small indentation might remain. Don’t worry, you can easily fix this. Your bread will still look fantastic.
Our research suggests that a little shaping goes a long way. This final touch makes all the difference.
Minimizing the Indentation
After you remove the paddle, you’ll see a small gap or hole. Use your floured fingertips to gently push the dough together here. Try to smooth out the surface.
You can also lightly dust the top of the dough with flour. This helps create a smooth finish. It also prevents the top from getting too dark during baking.
Reshaping the Dough for a Perfect Loaf
This is often overlooked but important. Give your dough a very gentle reshape. Pat down any uneven bumps. Aim for a nice, even top.
A round, smooth top means a better-looking loaf. Remember, it’s just like tucking your bread into bed for its final nap.
What If You Miss the Window?
It happens to the best of us! You get distracted, and suddenly the machine is baking. What do you do then?
Don’t despair! You can still remove the paddle. It just requires a slightly different approach. Many sources agree it’s better to remove it after baking than to leave it in (Cleveland Clinic).
Retrieving the Paddle After Baking
Once your bread is baked and cooled, carefully remove it from the pan. Then, turn the loaf upside down. The paddle is almost always stuck in the bottom.
Use a sturdy pair of tongs or a knife to gently wiggle it free. Be careful not to damage the bread too much. The resulting hole might be larger, but you saved the paddle!
Dealing with the Left-Behind Paddle
Sometimes the paddle stays in the bread. If it’s firmly stuck, wait until the bread cools completely. Then, you can try to cut around it and pull it out. Use a serrated knife for best results.
If you prefer, you can even leave it in. Just remind everyone slicing the bread to be careful. It’s perfectly safe. It’s just a cosmetic issue.
Your Paddle Removal Checklist
Keep this handy for your next baking adventure. It’s a quick reminder of the key steps for success.
- Know your bread machine’s cycle timing.
- Prepare heat-resistant gloves or mitts.
- Set an alarm for the end of the last knead.
- Gently remove the pan from the machine.
- Carefully lift out the embedded paddle.
- Gently reshape the dough surface.
- Return the pan and let the final rise and bake continue.
You’ll quickly become a pro at this. Your homemade bread will not only taste amazing but look perfect too!
Conclusion
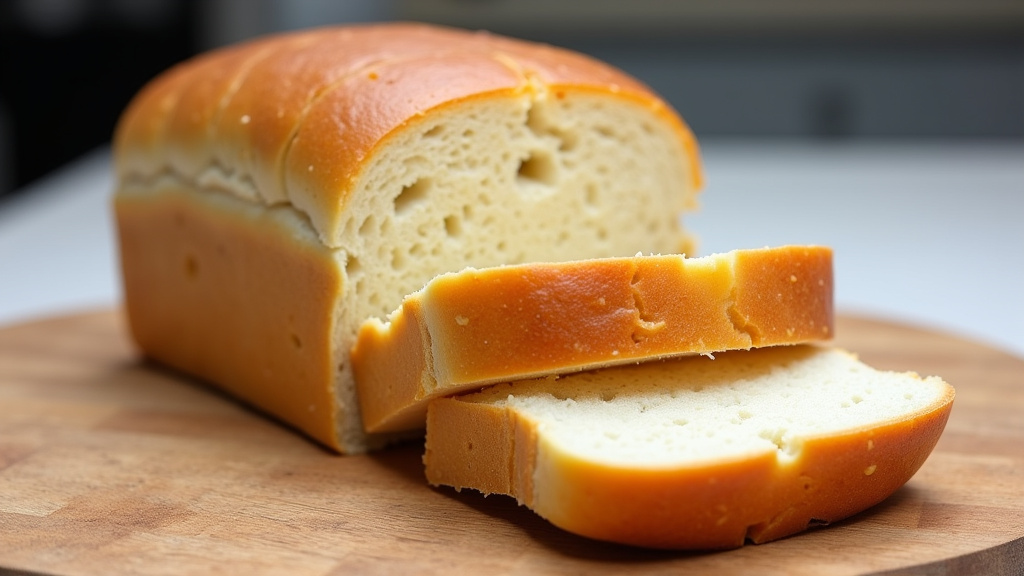
You now have all the tools and knowledge to conquer that pesky kneading paddle. By understanding your bread machine’s cycles and acting at the right moment, you can easily remove it without a fuss. This simple habit will elevate your homemade bread, making every loaf look as good as it tastes.
Don’t be discouraged if you miss the window sometimes; there are always ways to retrieve the paddle. So go ahead, experiment with your next loaf. You’ll soon be enjoying beautifully smooth, hole-free bread every single time!
Frequently Asked Questions
Can I just leave the kneading paddle in the bread?
Yes, you can leave the kneading paddle in the bread. It’s perfectly safe to eat bread with the paddle baked inside. You’ll just need to remember it’s there when slicing and serving.
Will removing the paddle affect the bread’s texture or rise?
No, removing the paddle at the recommended time (after the last knead and before the final rise) will not negatively affect the bread’s texture or how it rises. The dough has already developed its structure by then. In fact, reshaping it slightly can even help maintain a nicer dome.
What if my bread machine doesn’t have a beeper to signal paddle removal?
If your machine doesn’t beep, you’ll need to rely on your manual’s cycle chart to estimate the timing. Set a timer based on the duration of the kneading cycles. You can also listen for the machine to stop its vigorous kneading action.
My dough is really sticky; how can I remove the paddle without making a mess?
For sticky dough, lightly flour your hands or spray them with a little non-stick cooking spray before attempting removal. A small, oiled spatula can also help gently separate the dough from the paddle. Work quickly and delicately.
Is it better to remove the paddle before or after the final rise?
It is always better to remove the paddle after the last kneading cycle, but before the final rise begins. This minimizes disturbance to the dough. Removing it after the final rise or during baking can cause the dough to collapse.
