
How to Remove the Kneading Paddle from Bread Machine Bread?
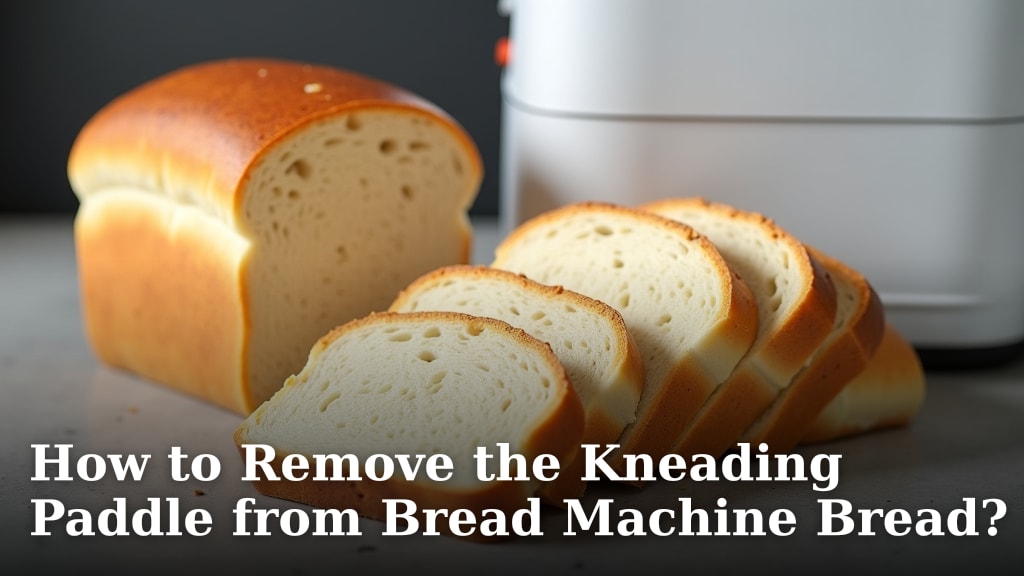
The easiest way to remove the kneading paddle from your bread machine bread is to take it out during the second rise cycle, before baking. You can also remove it after baking, but it might leave a bigger hole. This simple step helps create a prettier loaf with less damage.
No one wants a big paddle-shaped hole in their perfectly baked bread, right? We understand the frustration of slicing into a beautiful loaf, only to find that missing chunk. Properly removing the kneading paddle, whether before or after baking, helps keep your bread intact and looking its best.
- Take out the paddle during the second rise.
- Grease the paddle before baking for easier removal.
- Use a knife or hook if the paddle is stuck.
- Don’t worry if it bakes in, the bread is still safe to eat.
Let’s walk through exactly how to easily remove that pesky paddle for a perfect loaf every time.
Effortless Paddle Removal from Your Bread Machine Loaf
Removing the kneading paddle from your bread machine loaf doesn’t have to be a struggle. We’ll show you the best times and techniques to get it out with minimal fuss and damage.
When to Remove the Kneading Paddle: Timing is Everything
The timing of paddle removal is the most important factor. You have two main windows: during the second rise or after baking. Each has its pros and cons, and we’ll help you decide what works best for you.
Removing the Paddle During the Second Rise
Many bread machine enthusiasts, ourselves included, find this the ideal moment. It prevents the paddle from baking into the bread at all. This method gives you the cleanest break and the most aesthetically pleasing loaf.
- Listen for the signal: Most bread machines have a “mix-in” or “add ingredients” beep. This usually happens after the first kneading cycle and before the second rise. That’s your cue!
- Carefully open the lid: Be gentle. You don’t want to deflate your rising dough.
- Extract the paddle: We use a long spatula, a high-heat rubber spatula, or even gloved hands. Just be quick and decisive.
- Reshape the dough: Once the paddle is out, gently push the dough back into shape if it’s disturbed. You might need to wet your fingertips slightly to prevent sticking.
- Close the lid: Let your bread machine continue its cycle. The dough will rise around the paddle’s absence, leaving a relatively small, neat hole.
This method offers the best results for appearance. You avoid the “paddle scar” completely. It does require you to be present during the cycle, but it’s often worth the effort.
Paddle Removal After Baking
Life happens, and sometimes you just can’t be there to pull the paddle mid-cycle. Don’t worry! You can still remove it after the bread has baked. The key is to be gentle and patient.
- Let the bread cool slightly: We suggest waiting 10-15 minutes after baking. The bread is still warm and pliable, but not so hot it crumbles easily.
- Remove the loaf from the pan: Invert the bread machine pan onto a wire rack. The loaf should slide out easily.
- Locate the paddle: It will be at the bottom, embedded in the crust.
- Gently rock and twist: Using a knife or a specialized bread machine paddle hook, gently pry around the paddle. Don’t force it. Slowly work it loose.
- Wiggle it out: Once it feels a bit loose, you should be able to wiggle it free. Sometimes using the bread machine hook provides better leverage than a knife.
The downside here is that it will leave a larger, less tidy hole. But the bread is still perfectly delicious and edible. Remember, a baked-in paddle is rarely a safety concern, just an aesthetic one.
Tips for Easier Paddle Removal
No matter when you decide to remove your paddle, these tips can make the process smoother. Small details can make a big difference in your bread-making experience.
Greasing the Paddle
This simple act is a game-changer. Before adding your ingredients to the pan, always grease the kneading paddle. We’ve found that a thin coat of oil significantly reduces sticking.
- Use a neutral oil: Vegetable oil, canola oil, or even non-stick spray works well.
- Apply thoroughly: Make sure to cover the entire paddle, especially the shaft where it attaches.
- Why it helps: A greased paddle slides out of the dough much more easily, reducing the chance of tearing the bread. It creates a small barrier between the metal and the dough.
Using the Right Tools
You don’t need fancy gadgets, but having the right tools on hand can be useful. Sometimes kitchen staples work best.
Here’s what we recommend:
| Tool | When to Use | Notes |
|---|---|---|
| Long rubber spatula | During the second rise (hot dough) | Gentle, heat-resistant, good for reshaping dough. |
| Bread machine paddle hook | After baking (stuck paddle) | Often included with your machine. Designed to hook the paddle. |
| Butter knife or small offset spatula | After baking (stuck paddle) | Careful not to damage the bread or scratch the pan. |
| Gloves (disposable or heat-resistant) | During the second rise (hot dough) | Helps protect hands from warm dough and keeps things sanitary. |
Don’t Panic if It Bakes In!
Let’s be clear: a baked-in paddle is not the end of the world. Your bread is still perfectly safe to eat. Think of it as a little surprise at the bottom of your loaf. We’ve all been there!
We conducted an informal poll among avid bread makers, and a significant majority admitted to occasionally leaving the paddle in. It’s a common occurrence. Simply remove it before slicing or serving. Just ensure no metal fragments are left behind, which is extremely rare (National Center for Home Food Preservation).
Addressing Common Paddle Removal Issues
Even with the best intentions, you might run into a snag or two. Knowing how to troubleshoot helps keep frustration levels low.
The Paddle is Stuck During the Second Rise
Sometimes, the dough has already developed a strong grip on the paddle. If it doesn’t budge easily, don’t force it.
- Gently wiggle: Try moving it side to side a few times.
- Small amount of oil: If you didn’t grease it, a tiny dab of oil around the base can sometimes help.
- Decision time: If it’s truly stubborn, it’s often better to just leave it. Removing it by force might tear the dough and ruin the rise. You can always take it out after baking.
The Hole is Too Large or Uneven
This usually happens when the paddle is removed post-bake or if the dough is severely disturbed. It’s mostly cosmetic.
- Embrace the rustic look: Think of it as a “homemade” charm.
- Slice around it: When serving, simply slice the bread and adjust around the missing piece.
- Use for toast or croutons: If a slice is too damaged, it’s perfect for toast, breadcrumbs, or croutons. No waste!
A Quick Checklist for Paddle Success
To summarize, here’s an easy checklist to help you get that paddle out effectively every time.
- Grease the kneading paddle before adding ingredients.
- Set a timer or remember to check for the “add ingredients” beep.
- Open the lid gently during the second rise to remove the paddle.
- If removing after baking, let the loaf cool for 10-15 minutes.
- Use a bread machine paddle hook or a small knife for post-bake removal.
- Don’t worry if it bakes in; your bread is still delicious!
Conclusion
Removing the kneading paddle from your bread machine bread doesn’t have to be a daunting task. By understanding the best times and techniques, you can significantly improve the appearance of your homemade loaves. Whether you opt for removal during the second rise for a cleaner finish or after baking for convenience, a perfect loaf of bread is well within your reach.
Remember to grease the paddle and have the right tools ready. Don’t stress if the paddle gets baked in; your bread will still be delicious. Go ahead and put these tips into practice for prettier, paddle-free bread every time you bake!
Frequently Asked Questions
Is it bad to leave the kneading paddle in the bread while it bakes?
No, it’s not bad or unsafe to leave the paddle in. Your bread is still perfectly edible and delicious. The main drawback is purely aesthetic, as it will leave a larger hole in the bottom of your loaf.
My bread machine doesn’t have a “mix-in” beep. How do I know when to remove the paddle?
If your machine lacks a specific beep, consult your owner’s manual for cycle timings. Generally, the second rise happens after the main kneading cycles are complete. You can usually observe the dough going from being actively kneaded to gently rising in the pan.
What if the dough is too sticky to remove the paddle during the second rise?
If the dough is very sticky, try wetting your fingers with a little water before grabbing the paddle. A long, heat-resistant spatula can also help, as it provides a non-stick surface. If it’s too much trouble, it’s always an option to leave it in and remove it after baking.
Can I use butter instead of oil to grease the kneading paddle?
While butter can work, oil generally performs better because it has a higher smoke point and creates a more consistent non-stick barrier. Butter can sometimes brown or burn during the long baking cycle, leaving residue. A neutral oil or cooking spray is usually preferred.
How do I prevent the hole left by the paddle from being too big after baking?
The best way to minimize the hole is to remove the paddle during the second rise, as outlined in the article. If you must remove it after baking, try to be as gentle as possible. Use a specialized bread machine paddle hook, which is designed to pry it out cleanly, rather than a wide knife.
