
How to Proof Yeast for a Bread Machine?
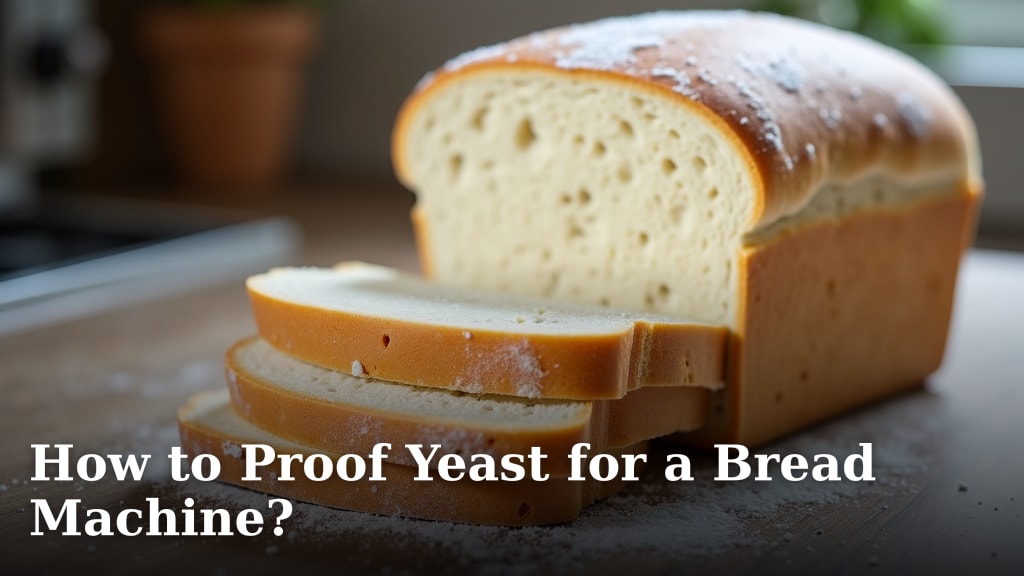
The easiest way to proof yeast for a bread machine is to perform a simple “proof test” beforehand. This quick check confirms your yeast is active and ready to bake. You can avoid wasted ingredients and time by proofing your yeast.
Many home bakers skip this step, but it’s a smart habit. Active yeast is essential for a good rise and fluffy bread machine loaf. If your yeast is old or wasn’t stored correctly, it might not work. We found that a simple proof provides peace of mind.
- Test yeast for activity before baking.
- Use warm water (105-115°F is ideal).
- Add a pinch of sugar.
- Look for foam and bubbles within 5-10 minutes.
- Discard inactive yeast.
Let’s walk through exactly how to proof yeast for your bread machine, step by step.
Proofing Yeast for Your Bread Machine
You can easily check if your yeast is alive and ready to make delicious bread. This quick test will save you from a flat, dense loaf and wasted ingredients. Think of it as a quality control step for your baking.
Gather Your Supplies
Before you start, make sure you have everything you need. This makes the process smooth and quick. No one likes searching for tools mid-test, right?
What You’ll Need
- A small clear bowl or glass (about 1-cup size).
- Warm water (between 105°F and 115°F).
- A thermometer (optional, but helpful for accuracy).
- Your yeast (active dry or instant yeast).
- A pinch of sugar (just a tiny amount).
- A spoon for stirring.
The Proofing Process, Step by Step
This is where the magic happens! Follow these simple steps to ensure your yeast is bubbling with life.
Step 1: Warm the Water
Start with warm water. This is crucial. Too hot, and you’ll kill the yeast. Too cold, and it won’t activate. We found that a temperature range of 105°F to 115°F is ideal. It feels warm to the touch, like a comfortable bath. Many sources, including Cook’s Illustrated, confirm this temperature range for optimal yeast activation.
If you don’t have a thermometer, aim for water that’s noticeably warm but not scalding. You should be able to comfortably keep your finger in it for a few seconds.
Step 2: Add Sugar
Pour about 1/2 cup of your warm water into the clear bowl. Then, add a pinch—about 1/2 teaspoon—of sugar. Stir it gently until the sugar dissolves. The sugar is food for the yeast; it helps wake them up and makes their activity visible. It’s like offering them a little breakfast to get the day started.
Step 3: Introduce the Yeast
Now, sprinkle one packet (about 2 1/4 teaspoons) of your yeast over the sugared water. Do not stir it in immediately. Let it sit on top of the water for about 5 minutes. This gives the yeast granules time to rehydrate and begin absorbing moisture. You might see some slight changes already.
Step 4: Stir and Wait
After about 5 minutes, give the yeast mixture a gentle stir. Then, let it sit undisturbed for another 5 to 10 minutes. This is the observation period. During this time, the yeast should start to show signs of life. We’re looking for movement!
Step 5: Observe the Results
What are you looking for? The mixture should become foamy and bubbly. You’ll see a thick layer of foam, almost like the head on a freshly poured beer, forming on the surface. We found that the more active the yeast, the more vigorous the foam. This tells you your yeast is alive and ready to make your bread rise.
Interpreting Your Proofing Results
So, you’ve waited your 10 minutes. What does it all mean?
Good News: Your Yeast is Active!
If you see a thick layer of foam and many small bubbles, congratulations! Your yeast is healthy and ready to work its magic in your bread machine. You can now confidently add this proofed yeast mixture to your bread machine with the rest of your liquid ingredients. Just remember to account for the water you used in the proofing process when measuring other liquids for your recipe.
Bad News: Your Yeast is Inactive
If there’s little to no foam, or just a few sparse bubbles, your yeast is likely inactive or dead. Don’t use it! If you do, your bread won’t rise, and you’ll end up with a dense brick instead of a fluffy loaf. It’s disappointing, we know, but it’s better to find out now than after you’ve mixed all your expensive ingredients.
We found that common reasons for inactive yeast include:
- Expired yeast: Always check the date on the packet.
- Improper storage: Yeast should be stored in an airtight container in a cool, dry place, or ideally, in the refrigerator or freezer.
- Too hot or too cold water: Remembering that 105-115°F range is very important.
If your yeast is inactive, simply discard it and open a new packet. It’s a small setback but necessary for baking success.
Why Bother Proofing? Is it Always Necessary?
You might wonder, “Do I really need to do this every time?” It’s a fair question!
We believe proofing is a valuable habit, especially if you’re using active dry yeast or if your yeast has been sitting in your pantry for a while. Many experts, including those at The Bread Bakers Guild of America, suggest this is a foundational step for consistent results.
There’s a type of yeast called “instant yeast” or “rapid-rise yeast” that often doesn’t require proofing. It’s engineered to be added directly to dry ingredients. However, even with instant yeast, a quick proof test can give you peace of mind, particularly if your package is old or you’re unsure of its freshness. Think of it as an insurance policy for your bread machine baking.
Quick Yeast Proof Checklist
Here’s a quick recap to keep you on track:
-
☑️ Gather your supplies: clear bowl, warm water, sugar, yeast, spoon.
-
☑️ Heat water to 105-115°F (warm to the touch, not hot!).
-
☑️ Add sugar (1/2 teaspoon) to 1/2 cup warm water; stir to dissolve.
-
☑️ Sprinkle 1 packet of yeast over the water; let sit for 5 minutes.
-
☑️ Stir gently and wait another 5-10 minutes.
-
☑️ Look for a thick layer of foam and bubbles.
Comparing Yeast Types and Proofing Needs
Not all yeasts are created equal. Knowing the difference can help you decide when to proof.
| Yeast Type | Proofing Recommended? | Why or Why Not? |
|---|---|---|
| Active Dry Yeast | Yes, always. | Needs rehydration and activation. Older packages especially benefit. |
| Instant Yeast (Rapid-Rise) | Optional, but good for peace of mind. | Designed to be added directly to dry ingredients; rehydrates faster. |
| Bread Machine Yeast | Optional, if fresh. | Usually a type of instant yeast, but a quick test never hurts if it’s been stored a while. |
| Fresh Yeast (Cake Yeast) | Yes, always. | Highly perishable, must be proven to confirm activity. |
As you can see, active dry yeast is the one most definitely in need of a good proofing. For others, it’s more about confidence or verifying freshness.
Troubleshooting Common Proofing Issues
What if your yeast doesn’t foam? Don’t panic! It’s a learning opportunity.
Issue 1: No Foam at All
If you see absolutely no activity, your yeast is likely dead. This could be due to age, improper storage, or exposure to excessive heat or cold. We’ve certainly had this happen, and it’s a clear sign to start over with a fresh packet.
Issue 2: Minimal Foam, Few Bubbles
This suggests your yeast might be weak but not entirely dead. It could make a dense loaf. We found it’s best to discard this yeast and use a fresh packet. Why risk a flat loaf when a small test can prevent it?
Issue 3: Water Too Hot or Cold
Double-check your water temperature. A thermometer is your best friend here. Too hot water (over 120°F) kills the yeast, while too cold water (under 100°F) puts them to sleep. We’ve seen many online communities debate the perfect temperature, but 105-115°F hits the sweet spot for consistency.
Ultimately, proofing your yeast is a small step with a big payoff. It ensures your bread machine can do its best work, giving you a wonderfully risen, airy loaf every time. It’s a quick investment of your time that protects your ingredients and your baking efforts.
Conclusion
Proofing your yeast is a simple, effective step to guarantee baking success. This quick test saves you from disappointment and wasted ingredients. By taking just a few minutes, you ensure your yeast is active and ready to produce a beautifully risen loaf.
You now have the tools to confidently check your yeast every time. Make proofing a regular part of your bread-making routine. It’s a small effort for a consistently perfect bread machine bread. Go forth and bake delicious bread!
Frequently Asked Questions
Can I use milk instead of water to proof yeast?
While you can proof yeast in milk, warm water is generally preferred. Milk contains sugars that can also activate yeast, but water provides a clearer visual of the foam, making it easier to assess activity. Stick to water for the most straightforward proof test.
What if my bread machine recipe doesn’t call for proofing yeast?
Most bread machine recipes assume your yeast is active. However, if you’re using active dry yeast or an older package, proofing is still a good idea. Consider it an insurance policy for a successful loaf. If your recipe instructs to add dry yeast directly, you can still do a quick proof test beforehand to be sure.
Can I proof yeast in cold water?
No, yeast needs warmth to activate. Cold water will keep the yeast dormant, and you won’t see any activity. This will lead you to believe your yeast is dead when it’s simply inactive due to temperature. Aim for that 105-115°F range.
How long does proofed yeast stay active?
Once you’ve proofed your yeast, use it within about 10-15 minutes. The yeast will quickly consume the sugar and lose its potency. Don’t let it sit too long, or the activity will decrease, impacting your bread’s rise. Plan to add it to your bread machine almost immediately after proofing.
Does “bread machine yeast” need to be proofed?
“Bread machine yeast” is typically a type of instant yeast, designed to be added directly to ingredients. While it often doesn’t require proofing, a quick test is still beneficial. It offers peace of mind, especially if the package has been open for a while or you’re unsure of its age.
