
How to Shape Bread Machine Dough into a Loaf?
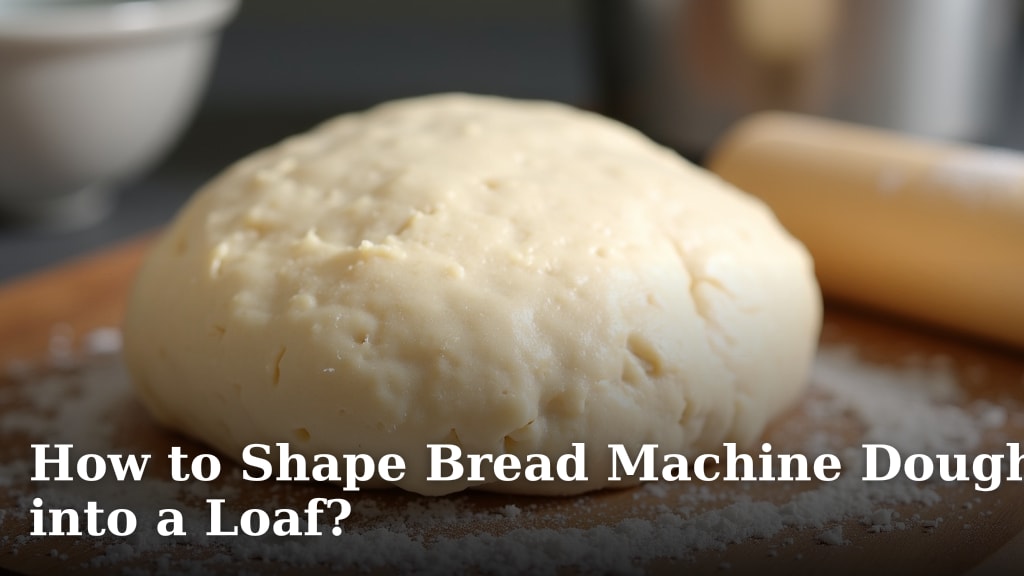
Shaping bread machine dough into a loaf is totally doable. You can gently turn out the dough and shape it by hand before the final rise and bake. This is a great way to get a more traditional loaf shape from your machine’s dough. It’s not as hard as you might think!
While your bread machine is fantastic for mixing and kneading, it typically bakes in its pan. If you’re craving a classic loaf look, you’ll want to get that dough out. We found that this simple process gives you much more control over the final presentation. It’s a small step that makes a big difference in your homemade bread.
- Take dough out after kneading cycle.
- Gently shape it on a floured surface.
- Let it rise in a loaf pan or on a baking sheet.
- Bake in your oven for a golden crust.
Ready to turn that blob of dough into a beautiful loaf? Let’s walk through exactly how to shape your bread machine dough step by step.
Getting Your Bread Machine Dough Ready for the Oven
Your bread machine does a lot of the heavy lifting. It mixes, kneads, and often handles the first rise. But when it comes to shaping that lovely, springy dough into a beautiful, crusty loaf, you get to be the artist. This is where you take the dough from a simple ball to something ready for a classic bake.
This process is quite straightforward. We’ll guide you through taking the dough from the machine and preparing it for its final baking stage. It’s a rewarding step that truly elevates your homemade bread.
Preparing Your Dough for Shaping
The moment your bread machine finishes its kneading cycle, it’s time to act. You want to get the dough out before it starts its second, longer rise inside the machine’s pan. This is your window of opportunity for shaping.
Gently Removing the Dough
When the kneading cycle is done, carefully open the lid. You’ll see your dough, likely smooth and elastic, nestled in the kneading pan. Some machines have a paddle that stays in the dough. You might need to gently pull it out. Be gentle; you don’t want to deflate all that hard work the machine just did.
We found that slightly wetting your fingers can help the dough release from the paddle. Just a little water is all you need. Then, carefully tip the pan over a clean, lightly floured surface. The dough should slide out in one nice, plump piece. If it sticks a bit, give the pan a gentle shake.
Flouring Your Workspace
A lightly floured surface is your best friend here. Too much flour, and your dough will become dry and tough. Too little, and it might stick. Think of it as a gentle dusting, like powdered sugar on a cake, not a snowstorm. This prevents the dough from sticking while still allowing it to be flexible.
Many bakers suggest using all-purpose flour or bread flour for dusting. Whatever you used in your recipe is usually a good choice. Just make sure it’s evenly spread across your countertop or board.
Shaping Your Bread Dough: The Art of the Loaf
Now for the fun part! Shaping is all about creating tension on the dough’s surface. This helps it hold its shape during the final rise and bake. It also contributes to a beautiful, well-formed crust. You can also use your bread machine to prepare pizza dough before shaping it.
The Basic Round (Boule) Method
This is a simple and effective way to shape your dough. Start by gently pressing the dough down a little. You don’t want to knock out all the air. Then, imagine you’re folding the edges of the dough towards the center, like tucking in a blanket.
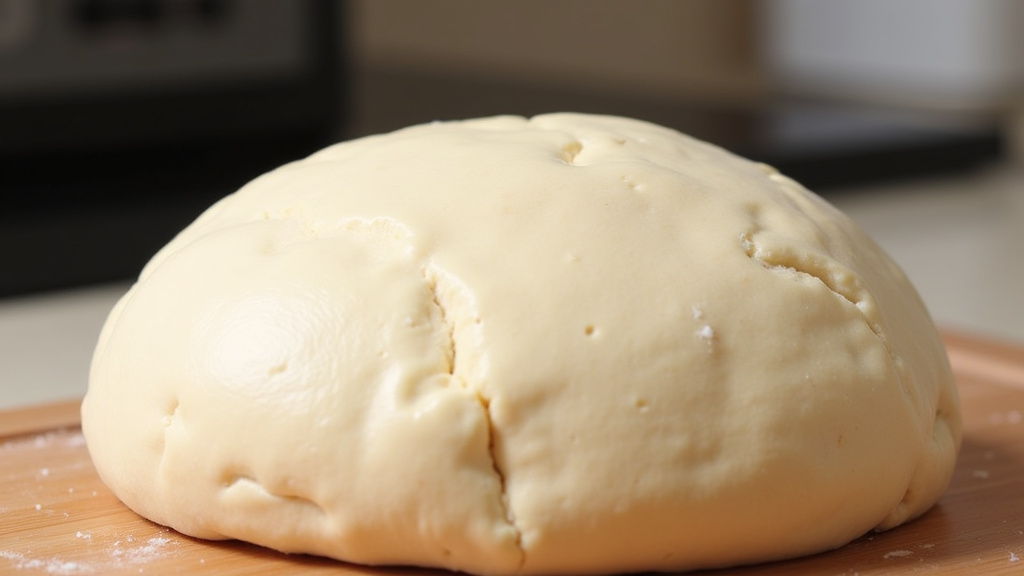
Gather the seams together at the top. Once gathered, turn the dough over so the seam is on the bottom. Now, cup your hands around the dough ball. Gently rotate it on the floured surface. This motion pulls the dough slightly, creating a smooth, taut surface on top and sealing the seam underneath.
We’ve found that this technique gives a lovely round loaf. It’s perfect for baking on a baking sheet or in a Dutch oven.
Creating a Traditional Loaf Pan Shape
If you’re aiming for that classic sandwich bread look, you’ll want to shape your dough for a loaf pan. After gently pressing the dough down, stretch it into a rough rectangle. Don’t overwork it; just coax it into shape.
Next, take the edge closest to you and fold it over about one-third of the way. Press lightly to seal. Now, take the opposite edge and fold it over the first fold, creating a layered effect. You’re essentially making a jelly roll, but with dough.
Once you have your log shape, pinch the seams together firmly. This is important for a good rise. Then, gently roll the log back and forth to lengthen it slightly. You want it to be just a bit shorter than your loaf pan, so it has room to expand.
Sealing the Seams
A well-sealed seam is key. When you’ve finished rolling or tucking, make sure all the edges are pinched together. This prevents the dough from splitting open during baking. A good seal helps the loaf bake evenly and achieve a beautiful, unified crust.
Many home bakers suggest using the side of your hand to firmly press the seam shut. You can even roll it slightly to ensure it’s completely sealed. This little bit of extra care makes a big difference in the final appearance.
The Final Rise and Baking Preparation
Once shaped, your dough needs one more rise before hitting the oven. This is where it gets big and airy again. You have a couple of options for where it rests.
Rising in a Loaf Pan
If you shaped your dough for a loaf pan, place it seam-side down right into a greased loaf pan. Many recipes call for a 9×5 inch loaf pan. Make sure the pan is lightly greased with butter, oil, or cooking spray. This prevents sticking.
Cover the pan loosely with plastic wrap or a clean kitchen towel. This keeps the dough from drying out. Let it rise in a warm place. Many experts suggest a temperature around 75-85°F (24-29°C) for the best results. This could be near a sunny window or in a slightly warmed (but turned off) oven.
The dough should nearly double in size. This usually takes about 30-60 minutes, but it can vary depending on the room temperature. A good test is to gently poke the dough. If the indentation springs back slowly, it’s ready.
Rising on a Baking Sheet or in a Banneton
For round loaves (boules) or free-form shapes, you can place your dough on a piece of parchment paper on a baking sheet. Or, if you have one, a floured banneton (a proofing basket) works wonderfully. The banneton helps the dough hold its shape and creates beautiful spiral patterns on the crust.
Again, cover it loosely to prevent drying. Allow it to rise in a warm spot until puffy and nearly doubled. The poke test is still your best friend here. Once it passes the poke test, your dough is ready for its final transformation.
Getting Ready to Bake in Your Oven
Before your dough finishes its final rise, preheat your oven. This is a critical step for achieving a good crust. Most bread recipes recommend a fairly high temperature, often starting around 400-425°F (200-220°C).
If you’re baking in a Dutch oven, preheat it in the oven along with the oven itself. This gets the pot screaming hot, which helps give your loaf a great oven spring and a crispy exterior. If you’re baking directly on a sheet pan, just ensure the oven is fully heated.
Optional: Scoring Your Loaf
For free-form loaves or even those in pans, scoring the top just before baking can be a nice touch. Scoring is making shallow cuts on the dough’s surface with a very sharp knife or a lame (a special tool for scoring bread). This controlled cut allows the bread to expand evenly as it bakes, preventing awkward bursts in the crust.
We’ve found that a simple diagonal slash or a few parallel lines works beautifully. It’s not just for looks; it helps guide the oven spring. Just be quick and decisive when you score. Don’t saw at the dough.
A Quick Checklist Before Baking:
- Dough is shaped and sealed.
- Dough has completed its final rise (passed the poke test).
- Oven is preheated to the correct temperature.
- Loaf pan or baking sheet is ready.
- (Optional) Dough is scored.
- Ready to bake!
Taking the extra step to shape your bread machine dough can turn a simple homemade loaf into something truly special. It’s about transforming that basic mix into a beautiful, delicious bread that you can be proud of. You’ve got this!
Conclusion
You’ve learned how to transform your bread machine’s dough into a beautifully shaped loaf. By gently removing the dough after kneading and carefully shaping it on a floured surface, you gain control over your bread’s final appearance. Whether you prefer a classic round boule or a traditional sandwich loaf, these techniques are simple yet effective. Remember to seal those seams well and give your shaped dough its final rise in a warm spot. Now, go ahead and bake that gorgeous loaf you’ve created. Your next homemade bread is just a shaping away from being picture-perfect!
Frequently Asked Questions
What if my bread machine dough is too sticky to handle?
If your dough feels too sticky, don’t panic! Lightly dust your hands and your work surface with a little more flour. You can also try slightly wetting your fingertips, as this can help prevent the dough from clinging too much while still allowing it to be handled.
How do I know if I’ve sealed the dough seam properly?
A well-sealed seam will look smooth and be firmly pinched together. You can use the side of your hand to press it down. If you’re shaping a log for a loaf pan, make sure the seam is on the bottom and fully closed. This prevents the loaf from splitting open during baking.
Can I freeze bread machine dough after shaping it?
Yes, you can often freeze shaped dough. Once it has been shaped and is ready for its final rise, you can wrap it tightly in plastic wrap and then place it in a freezer-safe bag. Thaw it in the refrigerator overnight before letting it complete its final rise at room temperature.
What’s the difference between shaping for a loaf pan versus a baking sheet?
When shaping for a loaf pan, you create a log shape that fits snugly into the pan. For a baking sheet, you’ll typically shape a round boule or an oval. This allows the loaf to expand freely without the confines of a pan, often resulting in a different crust texture.
My shaped loaf didn’t rise well in the oven. What could be wrong?
A common reason for poor oven spring after shaping is insufficient final rising time or an oven that wasn’t fully preheated. Ensure your dough has nearly doubled in size and passed the gentle poke test before baking. Also, make sure your oven is at the correct temperature, especially if you’re using a Dutch oven that needs to preheat.
