How to Make Pizza Dough in a Bread Machine?
On this page (3 sections)
The easiest way to make pizza dough in a bread machine is to add your ingredients in the order suggested by your bread machine’s manual, then select the dough cycle. The machine will mix, knead, and proof the dough for you, taking out all the guesswork and messy cleanup. You’ll get perfect, ready-to-use dough every time.
If you love homemade pizza but hate the fuss of making dough from scratch, your bread machine is a secret weapon. We found that using a bread machine for pizza dough saves tons of time and effort, making pizza night much more relaxing. It’s like having a little kitchen helper do all the hard work for you.
- Your bread machine handles all the mixing and kneading.
- Simply add ingredients and press a button.
- The dough cycle includes proofing, too.
- No messy kitchen or sticky hands.
- Perfect pizza dough is ready in about 90 minutes.
Ready to make amazing pizza without the usual hassle? Let’s walk through exactly how to make pizza dough in your bread machine, step by step.
Crafting Pizza Dough with Your Bread Machine
Making pizza dough in your bread machine is surprisingly simple. You’ll gather a few basic ingredients, drop them into the machine, and let it do all the hard work. We found this method removes all the guesswork, giving you consistent results every time.
Gather Your Essential Ingredients
Before you start, make sure you have everything you need. Think of it like a fun science experiment! Having your ingredients ready makes the process smooth and enjoyable.
Flour Power: Choosing the Right Type
For pizza dough, bread flour is often recommended. It has a higher protein content, which is key for developing that chewy texture we all love in pizza crust. All-purpose flour can work, too, but your crust might be a little less chewy. Don’t worry, it’ll still be delicious!
The Role of Yeast: Active Dry vs. Instant
You’ll need yeast to make your dough rise. Active dry yeast and instant yeast are both great choices. If your recipe calls for active dry, you might need to proof it first (mix it with warm water and a pinch of sugar). Instant yeast can usually go straight into the machine with the other dry ingredients. Always check your yeast’s expiration date!
Liquids and Fats: Water, Oil, and Sugar
Water helps activate the yeast and brings the dough together. Use lukewarm water, around 105-115°F (40-46°C), if your bread machine doesn’t warm the ingredients. Olive oil adds flavor and helps create a tender, pliable crust. A tiny bit of sugar feeds the yeast, helping it activate and rise beautifully (National Institutes of Health).
Salt: Don’t Forget This Flavor Enhancer
Salt isn’t just for flavor; it also helps control yeast activity and strengthens the dough’s structure. Without enough salt, your dough might rise too quickly and taste bland. We found that just the right amount of salt makes a huge difference in the final taste.
Step-by-Step: Using Your Bread Machine for Dough
Now for the fun part! This is where your bread machine truly shines. Following these steps will lead you to perfectly risen, ready-to-use pizza dough.
The Correct Order of Ingredients
This is crucial! Most bread machine manufacturers recommend adding liquid ingredients first, then dry ingredients, and finally the yeast on top. This prevents the yeast from touching the salt or sugar too early, which can affect its activation. Always check your specific bread machine manual for their suggested order. It’s like a secret handshake for your machine!
Here’s a common order:
- Warm water
- Olive oil
- Salt
- Sugar
- Flour
- Yeast (on top of the flour, making sure it doesn’t touch the liquid directly)
Selecting the “Dough” Cycle
Your bread machine will have several settings, but for pizza dough, you want the “Dough” cycle. If you are choosing an appliance, see our guide to the best bread machine for pizza dough. This setting typically mixes, kneads, and then allows the dough to proof (rise) at an optimal temperature. This whole process usually takes between 90 minutes to 2 hours. We found this cycle is your best friend for hands-off dough making.
What to Expect During the Cycle
Once you press start, the machine will whir to life. It will first mix all the ingredients, forming a shaggy ball. Then, the kneading paddle will get to work, developing the gluten in the dough. You might hear some thumping and banging – that’s normal! After kneading, the machine will enter a warming phase for proofing. This is where the magic happens as your dough slowly doubles in size.
Troubleshooting Common Dough Problems
Even with the best instructions, sometimes things don’t go exactly as planned. Don’t worry, these issues are usually easy to fix!
Dough That’s Too Sticky or Dry
If your dough looks like a sticky mess or a dry, crumbly ball during the kneading phase, don’t panic. You can often adjust it. We found that the humidity in your kitchen can impact the dough’s consistency. If it’s too sticky, add a tablespoon of flour at a time until it forms a smooth ball. If it’s too dry, add a teaspoon of warm water at a time. Do this within the first 10-15 minutes of kneading.
Dough That Doesn’t Rise
This can be frustrating! The most common culprits are old or inactive yeast, or water that’s too hot or too cold. Remember, yeast is a living organism and very sensitive to temperature. Ensure your yeast is fresh and your water is just right (around 105-115°F / 40-46°C). Another reason could be too much salt, which can inhibit yeast activity.
Dough Is Ready: What’s Next?
Congratulations! Your bread machine has delivered a perfectly proofed ball of pizza dough. Now it’s time to turn it into your delicious masterpiece.
Shaping Your Pizza Dough
Gently remove the dough from the bread machine. It will be soft and pliable. The same machine can also help prepare pretzel dough for shaping. On a lightly floured surface, you can either gently stretch it by hand or use a rolling pin to shape it into your desired crust thickness. We found that being gentle helps keep the air bubbles intact, leading to a lighter crust. If the dough snaps back too much, let it rest for 5-10 minutes, then try again.
Baking Your Homemade Pizza
Once your dough is shaped and topped with your favorite ingredients, it’s ready for the oven. A pizza stone for bread machine dough is one option to consider for baking. For a crispy crust, preheating your oven and a pizza stone or baking steel to a very high temperature (like 450-500°F or 230-260°C) is key. Many professional chefs recommend a high initial temperature (Cleveland Clinic).
Benefits of Using a Bread Machine for Pizza Dough
Why go the bread machine route? We’ve already hinted at some of the perks, but let’s break down why this method is a real game-changer for homemade pizza night.
| Benefit | How it Helps You |
|---|---|
| Time-Saving | Frees up your hands and mind for other tasks while the dough is made. |
| No Mess | Keeps your counter and hands clean from sticky dough. |
| Consistent Results | Provides precise mixing, kneading, and proofing temperatures. |
| Ease of Use | Perfect for beginners and busy home cooks. |
| Perfect Proofing | Creates an ideal environment for yeast to rise optimally. |
The consistent environment inside the bread machine means you get perfectly proofed dough every time, regardless of the temperature or humidity in your kitchen. This is a huge advantage, especially in colder climates or less consistent home environments. We found that this consistency leads to much less stress on pizza night.
Pizza Dough Checklist for Your Bread Machine
Here’s a quick reminder of the key steps to ensure your pizza dough comes out perfectly every time:
-
Check Yeast Expiration: Ensure your yeast is fresh and active for a good rise.
-
Measure Precisely: Use accurate measurements for all ingredients.
-
Add in Order: Follow your bread machine’s recommended ingredient order.
-
Select “Dough” Cycle: Choose the correct setting for mixing, kneading, and proofing.
-
Monitor Consistency: Lightly check the dough during kneading—adjust if too sticky/dry.
-
Gentle Handling: Remove and shape the dough gently to keep its airy texture.
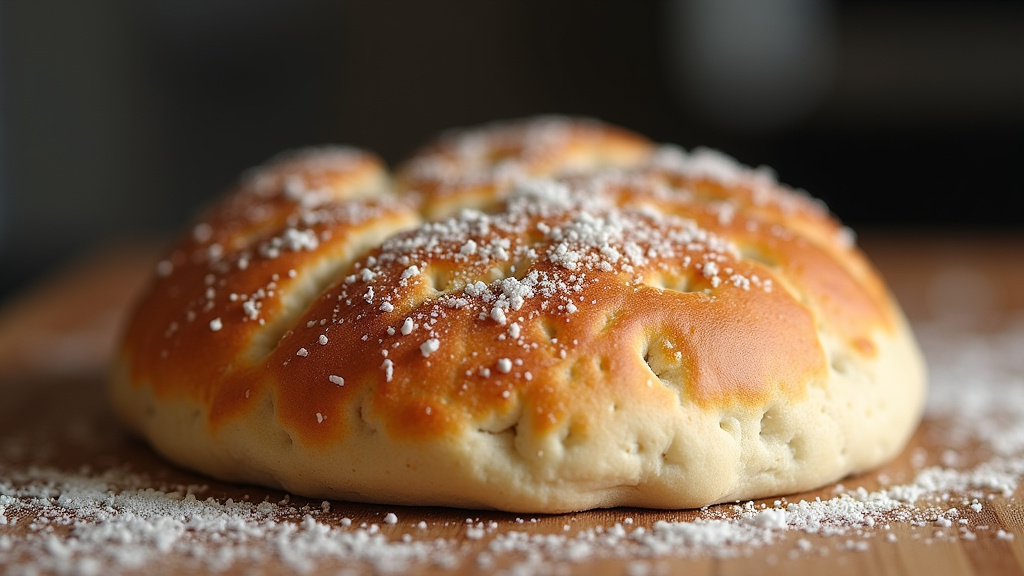
Conclusion
You’ve seen how your bread machine transforms homemade pizza night. By simply adding ingredients in order and selecting the dough cycle, you eliminate all the mess and guesswork. This hands-off approach gives you perfectly kneaded and proofed dough every single time. We found this method truly simplifies the process, leaving you more time to enjoy decorating and eating your delicious pizza. You now have the power to create fantastic pizza with incredible ease. So, plug in that bread machine and get ready for your best pizza night yet!
Frequently Asked Questions
Can I store bread machine pizza dough for later?
Yes, absolutely! Once the dough cycle is complete, you can lightly oil the dough ball and place it in an airtight container in the refrigerator for up to 3 days. For details on proofing pizza dough overnight, see our related guide. This is great for meal prepping or unexpected pizza cravings.
What if my bread machine doesn’t have a “Dough” cycle?
If your machine lacks a dedicated “Dough” cycle, look for a “Pasta” or “Manual” setting that primarily focuses on mixing and kneading without baking. You’ll then need to remove the dough and let it proof (rise) in a warm place until doubled in size, usually about 60-90 minutes.
Can I make whole wheat pizza dough in my bread machine?
Yes, you can! Whole wheat flour absorbs more liquid, so you might need to adjust the water slightly during the kneading phase. Start with the recommended amount in your recipe, and add a teaspoon or two more if the dough appears too dry and shaggy.
How can I make my pizza crust extra crispy?
For an extra crispy crust, preheat your oven and a pizza stone or baking steel to its highest temperature (450-500°F or 230-260°C) for at least 30-60 minutes before baking. Also, avoid overloading your pizza with too many wet toppings.
Do I need to let the dough rest after removing it from the bread machine?
While the dough is ready to use immediately, letting it rest for 10-15 minutes after you gently remove it from the machine can make it easier to shape. This allows the gluten to relax, preventing the dough from snapping back when you try to stretch it.



