
Why Is My Rye Bread Machine Loaf So Dense?
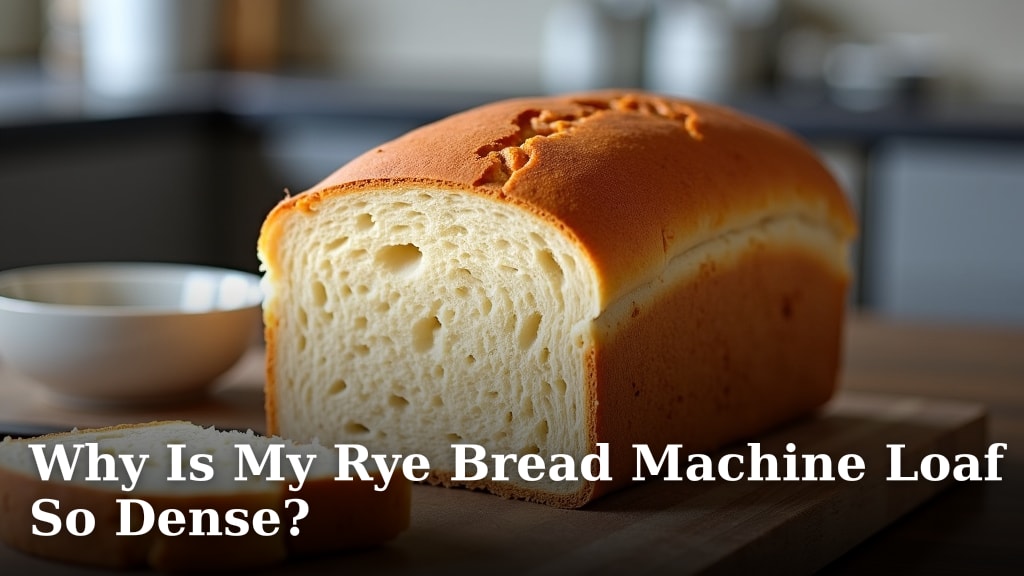
Your rye bread machine loaf is dense because the rye flour lacks enough gluten to trap the gases produced during baking. Rye flour has pentosans, which absorb a lot of liquid, making the dough sticky and heavy. This often results in a loaf that’s **flat and dense**, rather than light and airy. Don’t worry, there are ways to fix this!
Often, the ratio of rye to wheat flour is a key factor. Wheat flour provides the necessary structure that rye alone cannot. We found that adjusting this **flour balance** is a common solution. Other culprits can include issues with the yeast, the amount of liquid used, or even the machine settings themselves. We’ll look at each of these.
- Rye flour’s low gluten content causes density.
- Pentosans in rye absorb too much liquid.
- Wheat flour adds necessary structure for a lighter loaf.
- Yeast activity and liquid amounts are also important factors.
- Machine settings can sometimes be the culprit.
Let’s walk through exactly why your rye bread machine loaf might be so dense and how to get that perfect rise next time.
Troubleshooting Your Dense Rye Bread Machine Loaf
It’s frustrating when your rye bread machine loaf comes out dense and heavy, isn’t it? You followed the recipe, pressed the button, and waited patiently, only to be met with a brick-like result. Don’t throw in the towel just yet! We’ve found that understanding a few key principles about rye flour and bread making can make all the difference. Let’s break down the common reasons why your rye loaf might be dense and how you can achieve a lighter, airier texture.
Understanding Rye Flour’s Unique Properties
The main culprit behind a dense rye loaf often lies in the flour itself. Rye flour is quite different from wheat flour. Wheat flour contains a good amount of gluten, which acts like a stretchy net. This net traps the gases produced by yeast, allowing bread to rise and become airy. Rye flour has much less gluten.
The Gluten Challenge in Rye
Because rye has less gluten, it can’t create that strong, elastic structure. Think of it like trying to build a bouncy castle with a flimsy sheet instead of durable fabric. The gases escape more easily, leading to a denser loaf. This is why most successful rye bread recipes include a percentage of wheat flour. The wheat flour provides the gluten structure that rye lacks.
Pentosans: The Sticky Situation
Rye flour also contains something called pentosans. These are a type of carbohydrate. Pentosans absorb a lot more water than the starches in wheat flour. This absorption makes the dough feel sticky and heavy. It can also interfere with gluten development. When you’re mixing your dough, you might notice it’s wetter than a standard wheat dough. This is normal for rye, but it requires careful handling.
Research has shown that pentosans can form a gel-like substance when mixed with water. This gel traps water and can make the dough less pliable. It can also hinder the yeast’s ability to work efficiently. Many bakers find that adjusting the liquid ratio is key to managing this sticky dough (NCBI).
The Importance of Flour Ratios
This brings us to one of the most critical factors: the balance of rye to wheat flour. If you’re using 100% rye flour in your bread machine, you’re almost guaranteed a dense loaf. It simply doesn’t have enough structure to rise properly.
Finding the Right Wheat-to-Rye Balance
Most successful rye bread recipes use a blend of flours. A common starting point is around 30-50% rye flour, with the rest being wheat flour. This ratio allows you to enjoy the distinct flavor of rye while still getting a decent rise from the wheat’s gluten. We found that sticking to a maximum of 50% rye flour often yields the best results for bread machine baking.
Experimenting with Different Wheat Flours
The type of wheat flour you use can also play a role. All-purpose flour has a moderate protein content. Bread flour has a higher protein content, meaning more gluten potential. If your recipe calls for all-purpose flour, switching to bread flour might give you a slightly better rise. However, remember that too much bread flour might overpower the delicate rye flavor.
What About Gluten-Free Rye?
If you’re making a gluten-free rye bread, the density issue becomes even more pronounced. Gluten-free flours lack gluten entirely. You’ll need a blend of gluten-free grains and binders like psyllium husk or xanthan gum to mimic the structure gluten provides. These recipes often require different liquid ratios and might not be ideal for standard bread machine settings.
Yeast: The Tiny Powerhouse
Yeast is what makes bread rise. If your yeast isn’t active, your bread will be dense. This is true for all bread, but it’s particularly noticeable in rye bread where the structure is already a challenge.
Is Your Yeast Fresh?
Check the expiration date on your yeast. Old yeast loses its potency. We recommend testing your yeast before you start. To do this, dissolve a teaspoon of yeast in a quarter cup of warm water (around 105-115°F or 40-46°C) with a pinch of sugar. If it gets foamy within 5-10 minutes, it’s active and ready to go. If not, it’s time for a new packet.
Proper Yeast Amount and Placement
Bread machine recipes are carefully calibrated for the amount of yeast. Too little yeast, and you won’t get enough lift. Too much, and the bread might rise too quickly and then collapse, resulting in a dense or gummy texture. Always measure your yeast accurately. Also, ensure you place the yeast in the correct compartment or follow your machine’s instructions for adding ingredients.
Liquid Ratios and Dough Consistency
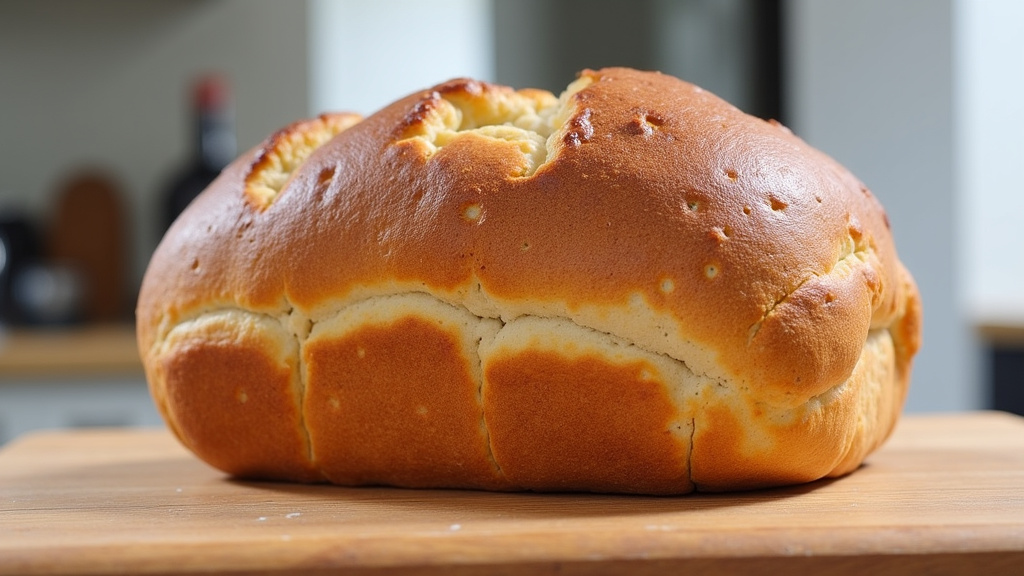
Getting the liquid right is tricky with rye flour because of those pentosans. They soak up a lot of moisture. Too much liquid can make the dough too wet and sticky, preventing it from forming a proper structure. Too little liquid, and the dough will be too stiff, again hindering rise.
The Dough Consistency Test
Many bread machines have a dough-setting cycle. This is a great way to check your dough consistency without baking. About 10-15 minutes into this cycle, the dough should form a smooth ball that’s slightly tacky but not sticking excessively to the sides of the pan. If it looks too dry and crumbly, add liquid a teaspoon at a time. If it looks like a sticky, unmanageable mess, add a tablespoon of flour at a time. This visual check is often more reliable than just measuring.
We found that rye dough often looks wetter than wheat dough. This is normal. The goal is a smooth, elastic ball, not a dry, shaggy mess. A dough that’s too wet won’t hold its shape. A dough that’s too dry won’t have the moisture for yeast to work.
| Problem | Likely Cause | Solution |
|---|---|---|
| Dense, Heavy Loaf | Too much rye flour, not enough gluten | Increase wheat flour ratio, use bread flour |
| Sticky, Wet Dough | Pentosans absorbing too much liquid | Adjust liquid down slightly, check dough consistency |
| Flat, Collapsed Loaf | Too much yeast, oven temperature too low, opened door too soon | Reduce yeast slightly, ensure machine temps are correct, don’t peek! |
| Gummy Interior | Undercooked, too much liquid, not cooled properly | Bake longer, ensure correct liquid ratio, cool completely |
Bread Machine Settings and Techniques
Sometimes, the machine itself or how you use it can contribute to a dense loaf. Bread machines are fantastic, but they have their own quirks.
Choosing the Right Cycle
Does your machine have a specific “Rye” or “Whole Wheat” setting? These cycles often have longer kneading times and slower rises to accommodate denser flours. If you’re using a standard “White” or “Basic” cycle for a rye blend, it might not be optimized for the flour type. We found that using the correct cycle for the flour blend makes a noticeable difference in texture.
The Role of Kneading and Rising Times
Rye dough needs adequate kneading to develop what little gluten it has. Bread machine cycles are designed to do this. However, if your machine’s kneading time seems short, or if the dough doesn’t form a ball, it might not be kneaded enough. The rising times are also critical. If the temperature inside the machine is too cool, the yeast won’t be active enough. If it’s too hot, the yeast can be killed.
Avoid Opening the Lid!
We know it’s tempting to peek, but resist the urge! Opening the lid during the baking cycle releases heat. This can cause the loaf to collapse. For rye bread, which is already prone to density, maintaining consistent heat is essential for a good rise.
Getting your rye bread machine loaf just right might take a little practice. But by understanding these factors, you’re well on your way to baking a delicious, lighter loaf. Here’s a quick checklist to keep in mind:
- Check your yeast’s expiration date and test its activity.
- Ensure your recipe uses a balanced mix of rye and wheat flour.
- Watch the dough consistency during the kneading cycle.
- Use the correct bread machine cycle for rye or whole wheat.
- Measure ingredients precisely, especially liquids and yeast.
- Resist the urge to open the lid while baking!
Conclusion
You’ve learned that your dense rye bread machine loaf isn’t a lost cause! The key often lies in understanding rye flour’s unique properties, like its lower gluten and the role of pentosans. We found that balancing rye with wheat flour is essential for structure, and keeping your yeast fresh and your liquid ratios just right makes a big difference. Don’t forget to use the correct bread machine cycle and avoid peeking during baking. Your next loaf is just a few tweaks away from being perfectly light and delicious!
Frequently Asked Questions
Why does my rye bread machine loaf taste gummy?
A gummy interior often means the bread wasn’t fully cooked or cooled properly. Ensure your bread machine is on the correct cycle for dense loaves and allow it to bake for the full time. Letting the loaf cool completely on a wire rack before slicing is also vital for its texture.
Can I use 100% rye flour in my bread machine?
While you can technically use 100% rye flour, research and our experience suggest it will almost always result in a dense, heavy loaf. Rye flour lacks the gluten structure needed for a good rise, so a blend with wheat flour is highly recommended for bread machines.
My rye dough looks too wet in the bread machine, what should I do?
Rye dough naturally absorbs more liquid due to pentosans, so it often looks wetter than wheat dough. Observe the dough consistency during the kneading cycle; it should form a mostly smooth ball that’s slightly tacky but not sticking excessively to the pan. If it seems unmanageable, add flour a tablespoon at a time.
How can I tell if my yeast is still good?
To check your yeast, mix a teaspoon of it with a quarter cup of warm water (around 105-115°F or 40-46°C) and a pinch of sugar. If it becomes foamy and bubbly within 5-10 minutes, your yeast is active and ready to use. If there’s no reaction, it’s time for a new packet.
Does the type of wheat flour matter in a rye bread machine recipe?
Yes, the type of wheat flour can influence your loaf’s rise. Bread flour has a higher protein content, meaning more potential gluten, which can help create a lighter structure. While all-purpose flour works, switching to bread flour might give you a slightly better result, especially if you’re using a higher percentage of rye.
