Why Is My Keto Bread Machine Bread Too Dense?
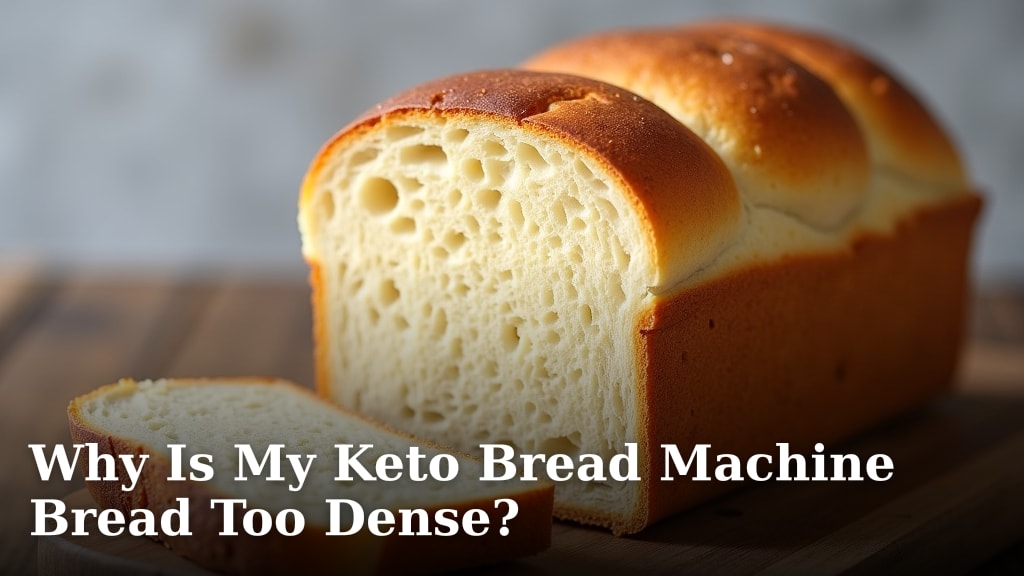
Your keto bread machine bread is likely too dense because of low-carb flour differences, not enough yeast activation, or an incorrect liquid-to-dry ingredient ratio. These factors significantly impact the bread’s texture and rise.
Baking keto bread can be tricky, especially in a bread machine. The ingredients behave differently than traditional flours. You might be wondering, “Why isn’t my bread rising properly?” We found that small adjustments can make a big difference in your results.
- Understand low-carb flour types.
- Check your yeast’s freshness.
- Adjust liquid amounts carefully.
- Ensure proper mixing and rising times.
- Troubleshoot common bread machine issues.
Let’s dive into the common reasons behind dense keto bread and how you can fix them. We’ll help you get that perfect loaf.
Why Your Keto Bread Machine Loaf Isn’t Rising
You’re putting in the effort to bake delicious keto bread in your machine, but the results are often dense and heavy. This usually comes down to how low-carb flours behave, yeast activity, and ingredient ratios. Let’s get to the bottom of it. For a broader perspective on common issues, explore our article on why bread machine bread is dense.
Understanding Low-Carb Flours
Traditional bread relies on gluten in wheat flour for its structure. Gluten creates a stretchy network that traps gas bubbles, helping the bread rise and giving it a light, airy texture. Keto flours are different; they don’t have this gluten structure. This is the biggest challenge you face.
The Gluten Gap
When you remove wheat flour, you also remove gluten. Almond flour and coconut flour, common in keto baking, simply don’t have it. This means your bread won’t have the natural elasticity to stretch and hold gas. It’s like trying to build a house without proper support beams.
Without gluten, dough can’t trap gas effectively. This leads to a tighter crumb and a denser loaf. You’re working with different rules here, and that’s okay. We just need to adjust your approach.
Almond Flour vs. Coconut Flour
These two flours are keto staples, but they behave very differently. Almond flour is denser and absorbs less liquid than coconut flour. It can make your bread heavy if you use too much. Coconut flour, on the other hand, is a liquid sponge. It absorbs a huge amount of moisture, sometimes four times its weight. Using too much coconut flour can quickly lead to a dry, crumbly, and dense loaf.
Mixing them can sometimes help. Some recipes use a blend to balance their characteristics. You might find better results by experimenting with different ratios of these flours in your recipes. Think of it like a delicate balancing act.
Yeast: The Heartbeat of Your Bread
Yeast is what makes bread rise by producing carbon dioxide gas. In keto baking, it often has a harder job. If your yeast isn’t happy, your bread won’t rise. It’s as simple as that.
Is Your Yeast Alive and Well?
Expired yeast is dead yeast. It won’t activate, and your bread won’t rise. Always check the expiration date on your yeast package. If it’s past its prime, toss it and get a fresh batch. It’s a small expense for a much better loaf.
Even if it’s not expired, yeast can lose potency over time, especially if not stored properly. Keep your yeast in an airtight container in the refrigerator or freezer. This extends its life significantly.
Proofing Your Yeast
Before adding all your ingredients, it’s smart to “proof” your yeast. This means dissolving it in a small amount of warm liquid (around 105-115°F or 40-46°C) with a pinch of sugar or sweetener. If the yeast is active, it will get foamy and bubbly within 5-10 minutes. If it doesn’t, your yeast is probably no good, and you should start over with fresh yeast.
Too hot water will kill the yeast, and too cold water won’t activate it. It’s a bit like Goldilocks – you need it just right. The tiny amount of sweetener helps “feed” the yeast, giving it a kickstart even in low-sugar keto doughs.
The Liquid-to-Dry Ingredient Ratio
This ratio is incredibly important in any bread baking, but even more so with keto flours. Because low-carb flours absorb liquids differently, the “perfect” amount of liquid can be tricky to gauge. Too little liquid, and your dough will be stiff and dense. Too much, and it will be soupy and won’t hold its shape.
Low-carb doughs need more moisture than traditional doughs. This is especially true for coconut flour. It can soak up a lot, so you might need more liquid than your recipe suggests initially. We often find that a slightly wetter dough yields a lighter texture.
Adding Liquid Gradually
Don’t dump all the liquid in at once. Start with the recipe’s recommended amount, then observe your dough. It should be soft and pliable, not stiff or sticky. Add a tablespoon at a time if it looks too dry. You’re aiming for a consistency that the bread machine can knead effectively without struggling. This careful approach can make all the difference.
The Role of Other Ingredients
Beyond flour and yeast, other ingredients play a part in your keto bread’s density. These often get overlooked, but they are important for achieving a good texture.
Eggs and Protein
Eggs add moisture, structure, and a bit of richness to keto bread. They act as a binder, helping to hold the gluten-free flours together. The protein in eggs also contributes to a slightly chewier texture. If your recipe calls for eggs, don’t skimp on them. They are essential for preventing a crumbly loaf.
Psyllium Husk and Xanthan Gum
Since keto flours lack gluten, we need substitutes to provide elasticity and binding. Psyllium husk and xanthan gum are your best friends here. Psyllium husk creates a gel-like substance that mimics gluten, helping the dough become more pliable and trapping gases. Xanthan gum also helps with binding and gives the dough some elasticity. Without these, your bread will almost certainly be dense and fall apart easily. Think of them as the “glue” for your keto bread.
| Ingredient | Primary Role in Keto Bread | Impact on Density (if misused) |
|---|---|---|
| Almond Flour | Bulk, structure, flavor | Too much can make it heavy |
| Coconut Flour | High absorption, some structure | Too much makes it dry & dense |
| Yeast | Leavening (creates gas) | Inactive yeast means no rise, dense bread |
| Psyllium Husk | Binder, elasticity, moisture retention | Too little leads to crumbly, dense bread |
| Xanthan Gum | Binder, texture, elasticity | Too little leads to crumbly, dense bread |
| Eggs | Structure, moisture, binding | Too few makes it fragile, dry, or dense |
Bread Machine Settings and Technique
Even with perfect ingredients, incorrect bread machine settings can sabotage your loaf. Your bread machine is designed for traditional wheat flour, so you need to be smart about how you use it for keto recipes.
Using the Right Cycle
Most bread machines have a “gluten-free” cycle. This cycle usually has a single rise and shorter kneading time, which is better suited for gluten-free and keto doughs. Traditional cycles with multiple rises and long kneads can actually overwork keto doughs, leading to a denser result. We found that the simpler the cycle, the better for keto. You’re not looking for a big, airy rise like a traditional loaf.
If your machine doesn’t have a gluten-free setting, use the “dough” cycle and then transfer the dough to a loaf pan for a final rise and bake in a conventional oven. This gives you more control over the rising and baking times.
The Mixing Process
Keto doughs, especially those with psyllium husk, can become very thick quickly. Make sure your bread machine is actually mixing everything thoroughly. Sometimes, ingredients can get stuck at the bottom of the pan. You might need to use a spatula to scrape down the sides during the initial mixing phase to ensure all ingredients are incorporated. Proper mixing ensures even distribution of yeast and binders. This ensures all parts of the dough can contribute to the rise.
Troubleshooting Checklist for Dense Keto Bread
Feeling overwhelmed? Don’t worry, here’s a quick checklist to help you pinpoint the problem and get closer to that perfect keto loaf:
- Check Yeast Freshness: Is your yeast active and within its expiration date? Proof it!
- Review Flour Type: Are you using the correct low-carb flour (almond, coconut, or a blend) for the recipe?
- Adjust Liquid Amount: Is your dough too dry or too wet? Try adding liquid one tablespoon at a time.
- Ensure Binders are Present: Does your recipe include psyllium husk or xanthan gum? These are vital.
- Use the Right Cycle: Are you using a “gluten-free” or “dough” cycle on your bread machine?
- Scrape Down Sides: Did all ingredients get mixed properly, especially at the start?
By systematically going through these points, you can often find the culprit behind your dense keto bread. It’s a bit of detective work, but very rewarding when you bite into a well-risen slice. For a comprehensive guide on how to fix dense bread machine bread, consult our detailed article.
Conclusion
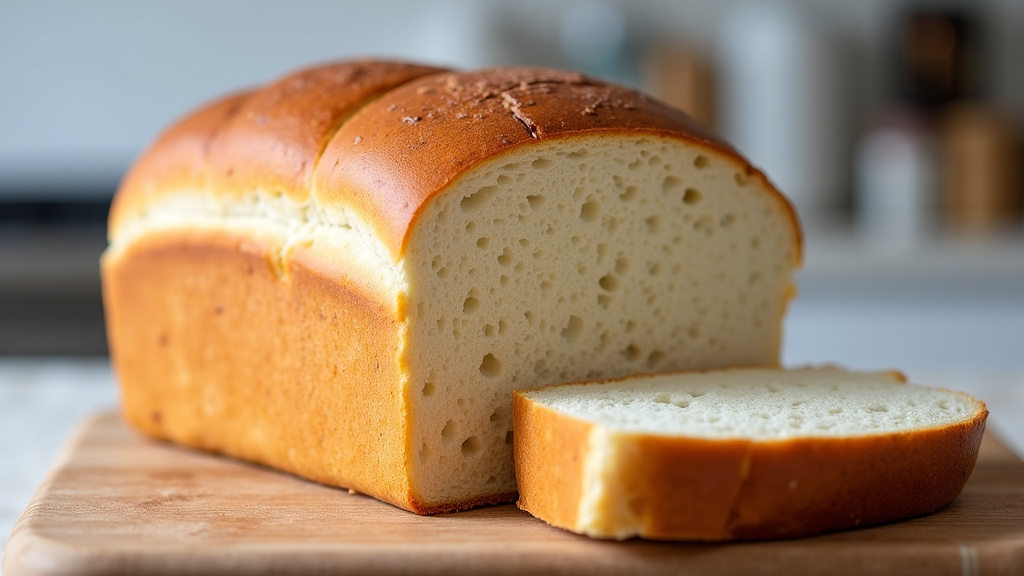
Creating delicious, fluffy keto bread in your bread machine is absolutely achievable. We’ve explored the common culprits behind dense loaves, from the unique properties of low-carb flours to the vitality of your yeast and the critical liquid ratios. Remember, keto baking is different. It requires a slightly different mindset than traditional baking. Small tweaks can lead to big improvements in your bread’s texture and rise.
Don’t get discouraged by a few dense loaves. Keep experimenting with your ingredients and machine settings. You’ll soon be enjoying perfectly risen, satisfying keto bread right from your kitchen. Your next loaf could be your best one yet!
Frequently Asked Questions
Can I use regular bread machine recipes and just substitute keto flours?
No, this usually won’t work. Regular recipes rely on gluten for structure, which keto flours lack. You need recipes specifically developed for low-carb flours that account for their different absorption and binding properties.
My keto bread machine bread is crumbly as well as dense. What’s causing this?
Crumbly keto bread often means too little liquid or insufficient binders like psyllium husk or xanthan gum. Ensure your dough has enough moisture and these essential ingredients to hold it together. Over-baking can also dry out the loaf.
Why does my keto bread fall in the middle after rising?
This “collapse” can happen if your dough is too wet or if there’s too much yeast. An overly weak structure, often due to a lack of proper binders, can also cause it. Ensure your liquid-to-dry ratio is balanced and your binders are present.
Should I add extra vital wheat gluten to my keto bread machine recipe?
Adding vital wheat gluten would make your bread no longer strictly keto or gluten-free. While it would help with structure, it reintroduces carbs and gluten. Stick to keto-friendly binders like psyllium husk and xanthan gum for true keto bread.
How can I tell if my bread machine’s “gluten-free” cycle is right for my keto bread?
Observe the cycle. A good gluten-free cycle for keto bread will typically have a shorter kneading time and fewer, or a single, rise cycle. Long, aggressive kneading and multiple rises can negatively impact delicate keto doughs. If your bread is still dense, try using the “dough” cycle and baking in a regular oven for more control.