
Why Is My Bread Machine Bread Sticky?
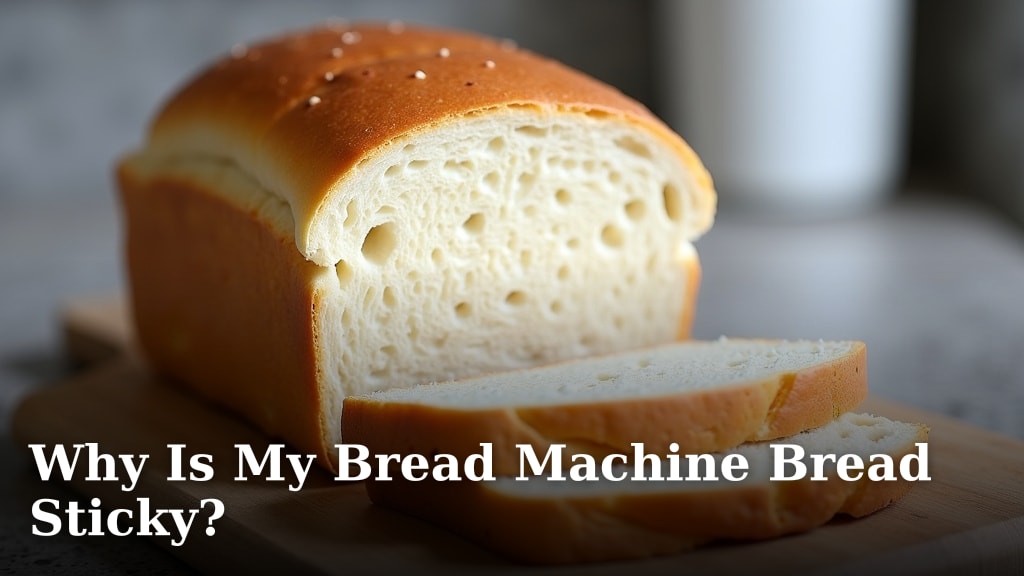
Your bread machine bread is sticky because of an improper flour to liquid ratio. This often means too much liquid or not enough flour. When the dough is too wet, the gluten can’t form properly. This results in a gummy, sticky texture instead of a well-structured loaf. Correcting this balance is key to achieving that perfect bread consistency you’re after.
Sticky bread can also be a sign of other issues. Sometimes, the yeast might be old or not activated correctly. Other times, the kneading process might not have been long enough. We found that even the temperature of your ingredients can play a role. These factors all affect how your dough behaves inside the bread machine.
TL;DR:
- Sticky bread is usually due to too much liquid.
- Not enough flour can also cause gumminess.
- Check your yeast and make sure it’s active.
- Ensure the dough kneads for the right amount of time.
- Ingredient temperature matters too!
Let’s figure out exactly why your bread machine bread is coming out sticky and how to fix it for your next bake.
Troubleshooting Sticky Bread Machine Loaves
So, you’ve pulled your bread machine loaf out, ready for a beautiful slice, only to find a sticky, gummy mess. It’s frustrating, right? You followed the recipe, but something went wrong. Don’t worry, this is a common problem, and we’ve found that it usually comes down to a few key areas. Let’s get to the bottom of why your bread machine bread is sticky.
The Flour to Liquid Ratio: The Foundation of Your Loaf
This is the most common culprit behind sticky bread. Think of your flour and liquid as dance partners. If one is too heavy, the dance falls apart. Your bread machine needs the right balance to create a dough that can properly develop gluten. This structure is what gives bread its airy texture and firm crumb.
Too Much Liquid: The Gummy Saboteur
When there’s too much water or other liquid in your recipe, the flour can’t absorb it all. This leaves a lot of excess moisture. The flour particles become oversaturated. They can’t link up properly to form a strong gluten network. This results in a dough that feels overly wet, sticky, and even gooey. When baked, this excess moisture can’t escape. It stays trapped, leading to that undesirable gummy or sticky texture inside your loaf. We found that even a small excess can make a big difference.
Measuring Liquids Correctly
Liquid measurements are critical. Always use liquid measuring cups. These have a spout and a line to show the exact level. For accuracy, place the cup on a **flat surface** before reading the measurement. Don’t try to eyeball it from above. We learned that tilting the cup can lead to over-measuring. Your machine’s recipe probably calls for a specific amount of water, milk, or other liquids. Stick to it as closely as possible.
How to Adjust if Your Dough Looks Too Wet
During the kneading cycle, keep an eye on your dough. If it looks like a **sloppy mess** and is sticking excessively to the sides of the pan, you might need to add a touch more flour. Do this very gradually. Add flour one tablespoon at a time. Let the machine mix it in for a minute or two before adding more. We found that adding too much flour at once can make your bread dry and dense. This is a delicate balance.
Not Enough Flour: The Flip Side of the Coin
The opposite problem – not enough flour – also leads to a wet dough. If you measure your flour incorrectly, you might end up with too little. This means there isn’t enough dry ingredient to absorb the liquid. The result is similar to having too much liquid: a sticky, unmanageable dough. The gluten development suffers greatly. The bread will likely be dense and have a gummy, sticky interior.
Measuring Flour Accurately is Key
This is where many home bakers stumble. The best way to measure flour for bread making is by weight using a kitchen scale. This is the most precise method. If you don’t have a scale, use the spoon-and-level method. Gently spoon flour into your dry measuring cup until it’s overflowing. Then, use a straight edge, like the back of a knife, to level it off. Do not scoop directly from the flour bag. We found this packs too much flour into the cup, leading to dry bread.
When to Add More Flour
If your dough looks too dry or crumbly during the kneading cycle, it means you might have too much flour. In this case, add liquid **one teaspoon at a time**. Let the machine mix it in well. Be patient. Too much liquid will lead to sticky bread. We’ve seen that a slightly sticky dough that pulls away from the sides of the pan is often ideal.
| Issue | Symptom | Solution |
|---|---|---|
| Too Much Liquid | Dough is very wet, sticky, might not form a ball. | Add flour 1 tbsp at a time during kneading. |
| Not Enough Liquid | Dough is dry, crumbly, pulls away from sides too much. | Add liquid 1 tsp at a time during kneading. |
| Incorrect Flour Measurement | Dough is too wet or too dry depending on error. | Use a scale or spoon-and-level method for flour. |
The Role of Your Yeast: Is It Ready to Rise?
Yeast is the magic ingredient that makes bread rise. If your yeast isn’t active, your dough won’t develop properly. It might seem like sticky bread, but it could be a lack of rise causing a dense, gummy texture. Active yeast produces carbon dioxide gas. This gas creates the bubbles that make bread light and airy.
Is Your Yeast Fresh?
Yeast has a shelf life. Once opened, it can lose its potency over time. Check the expiration date on your package. Even if it’s within date, yeast can be damaged by heat or moisture. We found that storing yeast in the refrigerator or freezer can extend its life. Always make sure the container is sealed tightly.
Proofing Your Yeast: The Warm-Up Act
Many bread machine recipes suggest adding yeast directly to the dry ingredients. However, some people prefer to proof their yeast first. This means dissolving it in warm liquid with a pinch of sugar. Let it sit for about 5-10 minutes. If it gets foamy, it’s active and ready to go. If it doesn’t foam, your yeast might be dead. You’ll need to get new yeast. Many guidelines point to using warm liquid (around 105-115°F or 40-46°C) for proofing (Mayo Clinic).
Why Proofing Helps
Proofing acts as a double-check. It ensures your yeast is alive and kicking before you commit all your ingredients. It also gives the yeast a head start. This can lead to a better rise. While many bread machines are designed for direct addition, proofing can be a good troubleshooting step if you suspect your yeast is the issue. We found that for tricky recipes, this step can be beneficial.
Kneading Time: Not Too Little, Not Too Much
Your bread machine has a kneading cycle for a reason. This process develops the gluten structure in your dough. It’s essential for achieving the right texture. If the kneading time is insufficient, the gluten won’t be strong enough. This can lead to a sticky, dense loaf that collapses.
Understanding the Kneading Process
During kneading, the gluten strands in the flour link together. They form a flexible network. This network traps the gases produced by the yeast. The longer and more thorough the kneading, the stronger and more elastic the gluten becomes. Most bread machine cycles have a set kneading time. You usually don’t need to adjust this unless you notice major issues with the dough’s consistency.
Signs of Under-Kneading
If your dough is too soft and sticky after the kneading cycle, it might not have been kneaded long enough. The gluten hasn’t had time to develop properly. You might notice large, unmixed clumps of flour. The dough might also feel very slack. We found that under-kneaded dough often results in a bread that is dense and has a gummy interior.
Signs of Over-Kneading
While less common with bread machines, over-kneading can also cause problems. It can make the dough tough. This can sometimes lead to a bread that is dense. Over-kneaded dough might feel very tight and elastic. It could snap back aggressively if you try to stretch it. Some experts suggest that for most bread machine recipes, the programmed cycle is sufficient (Cleveland Clinic).
Ingredient Temperature: A Surprising Factor
The temperature of your ingredients can play a role in how your dough behaves. Yeast is sensitive to temperature. Water that is too hot can kill yeast. Water that is too cold can slow down its activity. This can affect the dough’s consistency and rise. We found that many recipes perform best when ingredients are at room temperature or slightly warm.
The Impact of Cold Ingredients
If you use cold milk or water straight from the fridge, it can significantly slow down the yeast. This means your dough might not rise as much. It can also lead to a denser, stickier loaf. The machine might also have trouble mixing the cold, stiff dough effectively. This can result in pockets of unmixed flour.
The Danger of Hot Ingredients
Conversely, if your liquid is too hot, it can kill the yeast. Yeast thrives in a warm environment, but extreme heat is its enemy. Water around 130°F (54°C) or higher can start to kill yeast cells. This will prevent your bread from rising at all. The result will be a flat, dense, and likely sticky loaf. Always check the temperature if you’re unsure. Using an instant-read thermometer is a good practice.
Recipe Variations and Add-ins: What Else Is In There?
Sometimes, the issue isn’t with the basic ingredients but with additions. Things like seeds, nuts, dried fruits, or even high-protein flours can affect the dough’s hydration needs. They can absorb moisture differently than plain flour.
How Add-ins Affect Dough Consistency
Ingredients like whole wheat flour, rye flour, or oat flour tend to absorb more liquid than all-purpose flour. If your recipe includes these, you might need slightly more liquid. Conversely, additions like seeds or dried fruit can absorb moisture. This might require a slight adjustment in liquid or flour. We found that for recipes with a lot of add-ins, a bit more flour is often needed to prevent stickiness.
When to Add Mix-ins
Most bread machines have a setting or an alert for adding mix-ins. This is usually towards the end of the kneading cycle. Adding them too early can break them down too much. Adding them too late means they won’t be incorporated properly. Ensure you’re following your machine’s instructions for when to add these extras. This helps maintain the dough’s structure.
Here’s a quick checklist to run through if your bread machine bread is coming out sticky:- Double-check your flour and liquid measurements.
- Ensure your yeast is fresh and active.
- Verify the temperature of your liquids.
- Observe the dough during kneading for consistency.
- Consider how add-ins might affect hydration.
- When in doubt, try a simpler recipe first.
Conclusion
Getting your bread machine bread just right can feel like a puzzle sometimes. You’ve learned that a sticky loaf often points to an imbalance in your flour and liquid ratio. Remember to measure carefully! We also found that checking your yeast’s freshness and ensuring your ingredients are at the right temperature can make a huge difference. Don’t forget the kneading time, as it’s essential for gluten development.
Don’t get discouraged by a sticky loaf. By reviewing these common issues and making small adjustments, you’re well on your way to baking perfect bread machine loaves. For your next bake, pay close attention to your measurements and dough consistency during the kneading cycle. Happy baking!
Frequently Asked Questions
My bread machine dough feels too wet after mixing. What should I do?
If your dough looks overly wet and sticky right after mixing, you likely have too much liquid or not enough flour. Try adding flour one tablespoon at a time during the kneading cycle. Let the machine mix it in for a minute or two before adding more. This gradual addition helps you find the perfect consistency without making the dough too dry.
How can I be sure my yeast is still active?
The best way to check if your yeast is active is to proof it. Dissolve the yeast in a small amount of warm liquid (around 105-115°F or 40-46°C) with a pinch of sugar. If it becomes foamy within 5-10 minutes, it’s good to go. If it doesn’t foam, it’s time for new yeast.
Does the type of flour I use affect stickiness?
Yes, different flours absorb liquid differently. Whole wheat and rye flours, for example, tend to absorb more liquid than all-purpose flour. If your recipe uses these, you might need to slightly increase the flour amount or decrease the liquid to prevent a sticky dough.
My bread machine bread has a gummy texture. Is this the same as sticky?
A gummy texture is often a result of the same issues that cause stickiness, primarily an improper flour-to-liquid ratio or insufficient gluten development. This means the moisture couldn’t escape properly during baking. Ensuring accurate measurements and proper kneading is key to avoiding both stickiness and gumminess.
What’s the best way to measure flour for my bread machine?
The most accurate method for measuring flour is by weight using a kitchen scale. If you don’t have a scale, use the spoon-and-level method: gently spoon flour into your dry measuring cup until overflowing, then level it off with a straight edge. Avoid scooping directly from the bag, as this compacts the flour too much.
