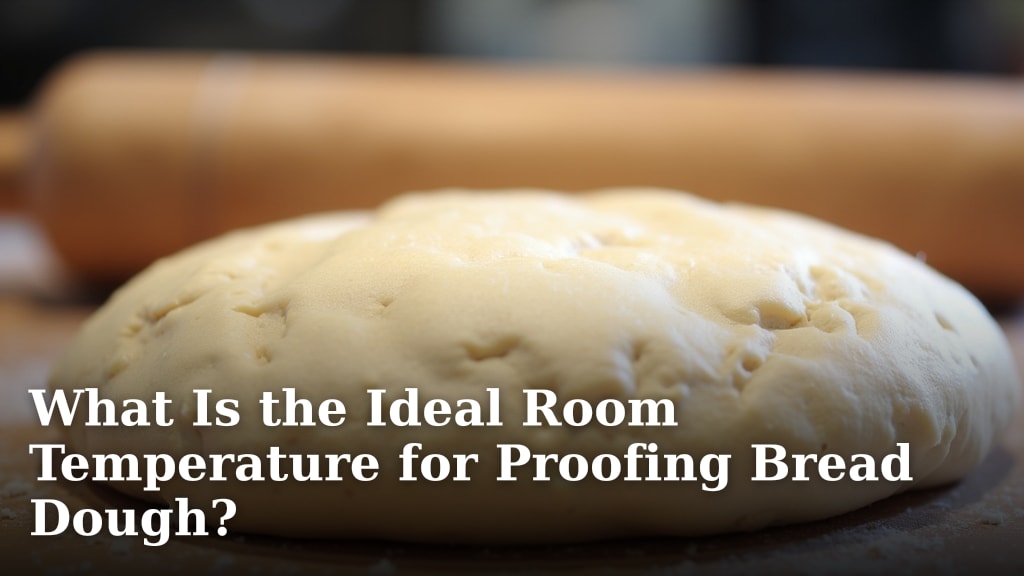
How Long Does It Take to Proof Sourdough at Room Temperature?
On this page (8 sections)
- Understanding Sourdough Proofing Times at Room Temperature
- Key Factors Influencing Proofing Speed
- Recognizing When Your Sourdough is Ready to Bake
- Room Temperature Proofing vs. Other Methods
- Troubleshooting Common Proofing Issues
- Your Room Temperature Proofing Checklist
- Conclusion
- Frequently Asked Questions
Generally, proofing sourdough at room temperature takes between 2 to 5 hours. This timing can change depending on your kitchen’s warmth and how active your starter is. You’re looking for visual cues more than a strict clock. Proper proofing means your dough will be airy and jiggly.
Understanding proofing time is key to a successful loaf. Too short, and your bread might be dense. Too long, and it could overproof, leading to a flat, sour taste. We’ve researched common proofing times and found that factors like ambient temperature play a huge role. For more general guidance, see our article on bread making temperatures.
- Proofing usually takes 2-5 hours.
- Warm kitchens speed things up.
- Cooler temps mean longer proofing.
- Look for visual signs, not just the clock.
- Dough should be airy and jiggly when ready.
Let’s walk through what to look for and how to manage sourdough proofing at room temperature so you get that perfect crust and crumb every time.
Understanding Sourdough Proofing Times at Room Temperature
You’ve mixed your dough, and now comes the waiting game. How long does sourdough proof at room temperature? We found that typically, it takes between 2 to 5 hours. This period is super important. It’s when your dough develops flavor and its lovely airy texture. Think of it as the dough’s “getting ready” time before its big baking debut.
The exact timing isn’t a hard-and-fast rule. It’s more of a guideline. We’ve learned that many factors influence how quickly your sourdough proofs. Your goal is to watch the dough, not just the clock. Paying attention to its visual cues will tell you when it’s perfectly ready to bake.
Key Factors Influencing Proofing Speed
Ambient Temperature: The Biggest Player
This is the number one factor. Warmer kitchens speed up yeast activity. Cooler kitchens slow it down considerably. For instance, a cozy 75°F (24°C) kitchen might proof your dough in 3 hours. But a cooler 68°F (20°C) kitchen could take 5 hours or even longer.
We’ve seen that a difference of just a few degrees can have a noticeable impact. If your home is particularly warm, keep an eye on your dough. It might be ready sooner than you expect! Conversely, if you live in a cooler climate or it’s a chilly day, be patient. Your dough just needs a little more time to wake up.
Starter Activity: A Lively Starter Speeds Things Up
How bubbly and active is your sourdough starter? A young or sluggish starter won’t have as many active yeast cultures. This means it will take longer to leaven your dough. A mature, vigorous starter, on the other hand, is full of life and will make your dough rise faster.
Think of your starter like tiny workers. If they’re energetic and numerous, they’ll get the job done quicker. If they’re sleepy or few, the work takes longer. We recommend feeding your starter consistently. This ensures it’s always ready to give your dough a good boost.
Hydration Level of Your Dough
The amount of water in your dough affects proofing too. Higher hydration doughs (wetter) tend to proof a bit faster. This is because the water provides a good environment for the yeast and bacteria. Lower hydration doughs (stiffer) might take a bit longer.
It’s a subtle difference, but something to keep in mind. If you’re working with a very wet dough, start checking it earlier in the proofing window. You don’t want it to go from perfect to overproofed in a flash!
The Amount of Starter Used
The percentage of starter in your dough recipe, known as the inocculation, also plays a role. A recipe with a higher percentage of starter will typically proof faster. This is because there are more yeast and bacteria working from the start.
Recipes using a smaller amount of starter will naturally require more time. It’s all about the balance. Most recipes fall within a standard range. This usually leads to predictable proofing times when other factors are constant.
Recognizing When Your Sourdough is Ready to Bake
The Poke Test: Your Dough’s Secret Signal
This is the most famous test for a reason! Gently flour your finger and press it into the side of the dough. If the indentation springs back slowly and leaves a small mark, your dough is likely ready. If it springs back immediately, it needs more time.
If the indentation stays completely and doesn’t spring back at all, your dough might be overproofed. We’ve found this test to be remarkably reliable. It gives you direct feedback from the dough itself. You want that gentle spring-back.
Visual Cues: Look for the Changes
What should you be looking for? Your dough should look noticeably puffier and larger. It won’t necessarily double in size, but it should have increased by about 50-75%. It should also appear airy and feel lighter when you gently shake the bowl or container.
You might see a few small bubbles on the surface. This is a great sign of fermentation activity. The dough should look alive and full of potential, not dense and heavy.
The Jiggle Test: Does It Wobble?
Gently shake the container your dough is proofing in. Does the dough jiggle a bit? A jiggly dough is a good sign that it has developed enough gas and structure to hold its shape while baking. This ‘jiggle’ indicates that the gluten network is well-developed and trapping the gases produced by the yeast.
It’s a bit like watching a well-risen cake or pudding. That gentle wobble tells you it’s ready for its next step. We’ve found that dough that passes the jiggle test often results in a beautiful oven spring.
Room Temperature Proofing vs. Other Methods
Comparing to Refrigerator Proofing (Cold Retarding)
Proofing in the refrigerator, often called cold retarding, is a popular method. It slows down fermentation significantly. This allows for a much longer proofing time, often overnight (8-24 hours). Cold retarding also deepens the sour flavor of the bread.
We found that room temperature proofing is much faster. For machine baking, see our guide to bread maker baking time. It’s ideal if you want bread sooner. Refrigerator proofing is great for developing complex flavors and for fitting baking into a busy schedule. They are different tools for different baking goals.
Why Room Temperature Proofing is Preferred by Many
Many bakers prefer room temperature proofing for its speed and simplicity. It’s a straightforward approach that doesn’t require planning days ahead. You can often bake a loaf the same day you mix it. This makes sourdough baking more accessible for beginners.
It also allows for a quicker development of the dough’s structure and flavor. For those who enjoy the immediacy of watching their dough transform over a few hours, room temperature proofing is the way to go. It’s a visible, active process.
Troubleshooting Common Proofing Issues
Dough Isn’t Rising: What to Do?
If your dough isn’t showing much activity after a couple of hours, don’t panic. First, check your kitchen’s temperature. If it’s on the cooler side, your dough is just moving slowly. You can try moving it to a slightly warmer spot, like near a pilot light or in a turned-off oven with the light on.
Also, ensure your starter was active and healthy when you mixed the dough. A weak starter is a common culprit for slow rises. We’ve learned that sometimes, a little extra patience is all that’s needed. Resist the urge to rush the process if the conditions aren’t optimal.
Dough Overproofed: Signs and Prevention
An overproofed dough will have lost some of its structure. It might appear very puffy but then deflate easily. It might not spring back well during the poke test, or the jiggle test might show it’s too soft. Overproofing can lead to a very sour taste and a flat loaf.
Prevention is key! Be vigilant during the warmer parts of the day. Know the signs of readiness, especially the poke test. If you’re concerned, err on the side of baking it slightly early. It’s often better than letting it become overproofed. Learn about preventing the collapse of your bread by understanding the factors that cause it, such as over-proofing.
Your Room Temperature Proofing Checklist
Here’s a quick rundown to help you nail your room temperature sourdough proof:
- Monitor the temperature of your kitchen.
- Ensure your sourdough starter is active and bubbly.
- Watch for visual cues: dough looks puffy and increased in size.
- Perform the poke test gently.
- Give the dough a gentle jiggle to check for airiness.
- When in doubt, it’s better to bake slightly early.
Conclusion
You’ve learned that proofing sourdough at room temperature is a flexible process, typically taking 2 to 5 hours. Remember, your kitchen’s warmth and your starter’s vigor are the main drivers, not just the clock. Always trust the visual cues: look for that airy, jiggly dough that springs back gently to the poke test. By paying attention to these signs, you’ll achieve that perfect loaf consistently. Now, go forth and bake with confidence!
Frequently Asked Questions
Can I proof sourdough on the counter overnight?
While typically done over a few hours, leaving sourdough to proof on the counter overnight is generally not recommended. It risks overproofing and developing an overly sour flavor, potentially leading to a flat loaf. For longer proofing, refrigerator methods are preferred.
How do I know if my sourdough starter is active enough for proofing?
An active starter will double in size within 4-8 hours after feeding, be very bubbly, and float when a small spoonful is dropped into water. If your starter shows these signs, it’s ready to leaven your dough effectively for proofing.
Is it okay if my sourdough proofs for longer than 5 hours?
Yes, it can be, especially in cooler temperatures. However, the longer it proofs, the higher the risk of overproofing. You must rely on the visual and physical cues of the dough itself (poke test, jiggle test) rather than just the elapsed time.
What if my kitchen is very cold? Can I still proof sourdough at room temperature?
You certainly can, but it will take significantly longer. Aim for a consistent spot around 70-75°F (21-24°C) if possible. You might need to proof for 6-8 hours or even longer, so patience and observation are key.
Should I cover my sourdough while it proofs at room temperature?
Yes, always cover your dough while proofing at room temperature. This prevents a dry skin from forming on top, which can hinder the dough’s rise and affect the final texture of your bread. A lightly oiled bowl with plastic wrap or a damp tea towel works well.