
What Is the Ideal Room Temperature for Proofing Bread Dough?
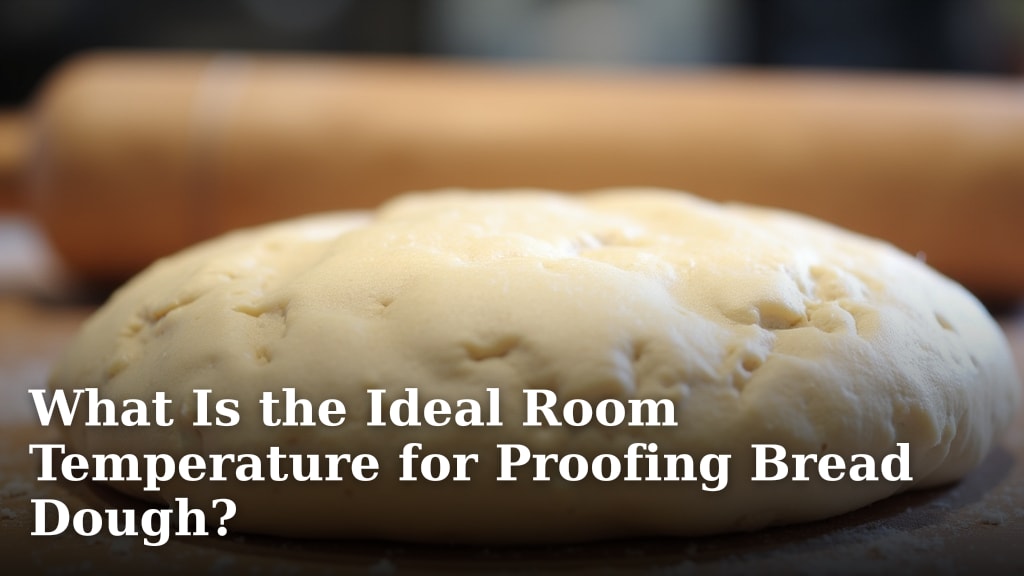
The ideal room temperature for proofing bread dough is generally between 75°F and 85°F. This temperature range provides the perfect environment for your yeast to work its magic. You want it warm enough to encourage a good rise, but not so hot that it harms the yeast. Getting this right is key to a lovely, airy loaf.
When your dough is proofing, it’s essentially resting and growing. A consistent, warm spot will help it double in size predictably. Too cool, and your bread might be dense. Too hot, and it could overproof or develop a tough crust. We found that aiming for that sweet spot makes all the difference.
- Proofing is the second rise for bread dough.
- Ideal temperature is 75-85°F.
- This range helps yeast activity.
- Avoid temperatures that are too hot or too cold.
Ready to find that perfect proofing spot in your own kitchen? Let’s dive into some practical ways to achieve that ideal dough temperature every time.
Finding the Sweet Spot: Optimal Dough Proofing Temperatures
So, you’ve mixed your dough and given it a good first rise. Now comes the magic part: proofing. This is the second rise, where your dough puffs up, developing that airy texture we all love. But what’s the secret sauce for a perfect proof? It really comes down to the temperature.
You want your dough to be warm, but not too warm. Think of your yeast as tiny living organisms. They love a cozy environment to do their best work. Too cold, and they’ll get sluggish. Too hot, and you might accidentally harm them. We found that a consistent, gentle warmth is the key to happy yeast and fantastic bread.
Why Temperature Matters So Much for Proofing
Yeast are the tiny powerhouses behind your bread. They consume sugars in the dough and produce carbon dioxide gas. This gas gets trapped in the gluten network, making your dough rise. Temperature directly impacts how fast and efficiently this process happens. Understanding how yeast makes bread rise can help you better control the proofing process.
The Yeast’s Happy Place: What Research Says
Many bakers and food scientists agree on a general range. Research from culinary institutions often points to a range between 75°F and 85°F for optimal yeast activity. This isn’t just a random guess; it’s based on how yeast thrives.
Within this temperature zone, yeast fermentation is active and consistent. This leads to a predictable and beautiful rise. It’s the sweet spot where you get good volume without rushing the process too much. We found that once you hit this range, your dough behaves beautifully.
When Things Get Too Cold: The Sluggish Dough Dilemma
What happens if your kitchen is on the cooler side, say below 70°F? Your yeast will slow down considerably. Proofing will take much longer. You might end up with a dense loaf that didn’t rise enough. This is a common issue in older homes or during winter months.
Think of it like trying to run a race when it’s freezing outside. You’re just not going to move as quickly. Your dough needs that warmth to get going. We found that consistent cooler temperatures often lead to frustratingly flat results.
The Danger Zone: Overheating Your Dough
On the flip side, what if your spot is too hot? If the temperature climbs much above 90°F, you risk damaging your yeast. At extreme temperatures, above 120°F, yeast can actually die. This means no rise at all.
Even if the yeast doesn’t die, very high temperatures can cause the dough to rise too quickly. This can result in a coarse crumb and a tough crust. It’s like trying to sprint a marathon; you burn out too fast. Many bakers report that dough proofed too hot often has a distinct, yeasty smell that isn’t pleasant. We found that avoiding the extremes is key.
Creating Your Own Ideal Proofing Environment
Don’t have a perfectly temperature-controlled kitchen? No worries! You can create that ideal warm spot with a few simple tricks. The goal is consistency. Fluctuating temperatures are also not ideal for dough development.
The Oven Method (Turned Off!)
This is a classic for a reason. Your oven, even when turned off, often holds a bit of residual warmth. It’s a relatively enclosed space, which helps maintain a steady temperature.
To use it, simply place your covered dough inside the turned-off oven. For an extra boost, you can place a pan of hot water on the rack below your dough. This creates a humid, warm environment. Make sure the oven is definitely off! We can’t stress this enough.
A Word of Caution with the Oven
Always, always double-check that your oven is off. A forgotten preheat cycle can turn your beautiful dough into a sad, overcooked brick. A quick peek inside before you leave the dough is a good habit. We found that this method provides a reliable temperature for proofing.
The Microwave Trick
Your microwave can also be a secret proofing chamber. It’s a small, contained space that’s easy to control. Similar to the oven, you’ll want to generate a little warmth.
Heat a cup of water in the microwave for about 1-2 minutes, until it’s hot but not boiling. Carefully remove the cup of water. Then, place your covered dough inside the microwave. Close the door and let it proof. The residual heat and steam from the water create a lovely environment. Many experts suggest this method for its simplicity and effectiveness. We found this is great for smaller batches.
Sunlight and Warm Appliances
Sometimes, the simplest solutions are best. Is there a spot in your home that gets direct, gentle sunlight? Place your dough there. Alternatively, some appliances generate a bit of low-level heat when running.
Consider the top of your refrigerator or a warm spot near your dishwasher after it’s run a cycle. You want warmth, but not direct heat that could dry out the dough. Be mindful of drafts, though. Cold air can undo all your hard work. We found that utilizing existing heat sources is a smart way to go.
Using a Proofing Box or Bag
For the dedicated baker, there are specialized tools. A proofing box is designed to maintain a precise temperature and humidity. You can also use a large, clear plastic bag to create a mini-greenhouse for your dough.
This helps trap moisture and creates a stable environment. If you use a bag, ensure it’s large enough not to touch the dough. We found that these methods offer the most control over your proofing conditions.
| Temperature Range | Yeast Activity | Expected Outcome |
|---|---|---|
| Below 70°F | Slow, Sluggish | Dense, Flat Loaf; Long Proofing Time |
| 75°F – 85°F | Optimal, Active | Light, Airy Loaf; Predictable Rise |
| 85°F – 95°F | Fast, Can Over-activate | Risk of Overproofing; Coarse Crumb |
| Above 100°F | Damaged or Dead Yeast | Little to No Rise; Tough Crust |
Tips for Consistent Proofing Success
Achieving that perfect rise isn’t just about temperature. Here are a few extra tips to help you nail it every time. Consistency is truly your best friend when baking.
Monitor the Dough, Not Just the Room
While room temperature is a starting point, the dough itself is what matters. Use an instant-read thermometer to check the internal temperature of your dough. Aim for that 75-85°F range. Many bakers use this as their primary guide. We found this offers the most accuracy. Use an instant-read thermometer to check the internal temperature of your dough.
Cover Your Dough
Always cover your dough while it’s proofing. Use plastic wrap, a damp tea towel, or a bowl lid. This prevents the surface from drying out. A dry surface can form a tough skin, hindering the rise. Moisture is crucial for a good proof. We found that a lightly oiled plastic wrap works wonders.
Be Patient and Observant
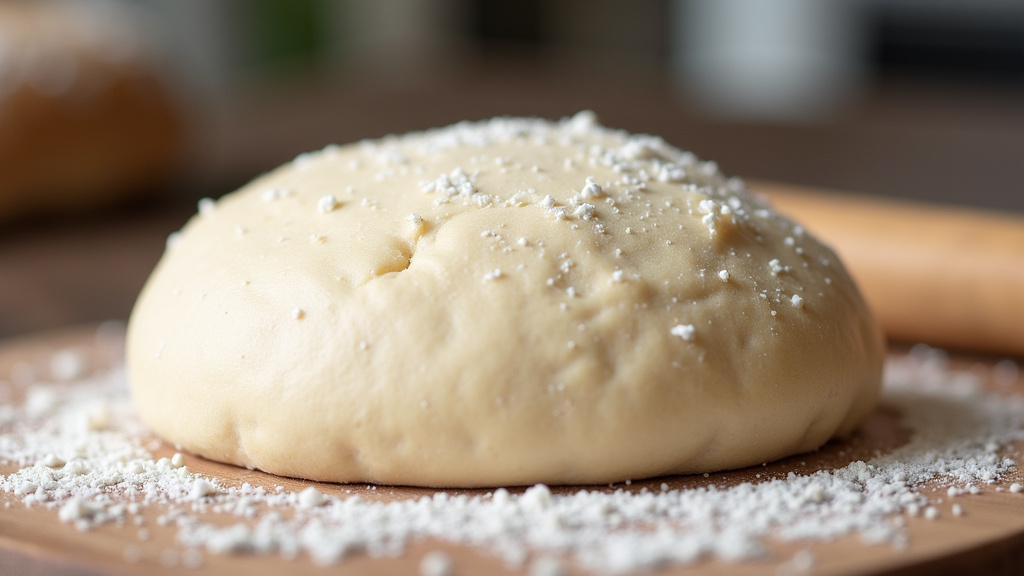
Proofing times are guidelines, not strict rules. Factors like the type of flour, amount of yeast, and ambient humidity can affect how long it takes. Learn to read your dough. It should look visibly puffed up and feel light and airy.
A gentle poke should leave a slight indentation that slowly springs back. If it springs back immediately, it needs more time. If it doesn’t spring back at all, it might be overproofed. Many bread-making resources suggest looking for the dough to increase in volume by about 50-75%. We found that visual cues are often more reliable than time alone.
Proofing Checklist for Success:
- Find a warm, draft-free spot.
- Use your oven (turned off!) or microwave.
- Consider a pan of hot water for extra warmth.
- Cover dough tightly to retain moisture.
- Check dough temperature with a thermometer.
- Observe dough for visual cues of readiness.
By understanding the ideal temperature range and employing a few simple techniques, you can ensure your dough proofs beautifully every time. Happy baking!
Conclusion
You’ve learned that the sweet spot for proofing your bread dough is between 75°F and 85°F. This range keeps your yeast happy and active, leading to that perfect, airy loaf you’re after. We know that avoiding extremes—too cold and your dough gets sluggish, too hot and it can be damaged—is key. By using simple tricks like your oven (turned off!) or microwave, you can create that ideal environment, even without a fancy setup. So, go ahead and try these methods. Your next delicious loaf is just a perfectly proofed rise away!
Frequently Asked Questions
What’s the quickest way to proof bread dough if my kitchen is cold?
If your kitchen is chilly, try the turned-off oven method with a pan of hot water. This creates a warm, humid microclimate that speeds up yeast activity. Alternatively, proofing in the microwave after heating a cup of water works wonders for quick rises.
Can I proof my dough in the refrigerator overnight?
Yes, you can proof dough in the refrigerator, but it’s a different process called cold fermentation. This slows yeast activity dramatically, developing deeper flavors over a longer period. You’ll still need to let it come to room temperature before baking to ensure a good rise.
How do I know if my dough is overproofed?
An overproofed dough will feel very airy and may have lost some of its structure. If you gently poke it, the indentation won’t spring back at all. It can also develop a slightly sour or alcoholic smell, and the crust might be overly delicate.
Does humidity affect dough proofing temperature?
Humidity plays a role by keeping the dough’s surface moist, which is important for a good rise. While temperature is the primary driver of yeast activity, a dry environment can lead to a crust forming too early. Methods like covering the dough or using a humid proofing box help manage this.
Is it okay to proof dough near a warm appliance?
Proofing near a warm appliance, like the top of your refrigerator or near a running dishwasher, can work if the heat is gentle and consistent. You want to avoid direct heat that could cook or dry out the dough. Always check the dough’s temperature to ensure it stays within the ideal range.
